Stores
Stores allow vendors to advertise their goods and customers to purchase them.
Before entering the data in the various fields, please review the Field Validation section that is associated with the last sheet.
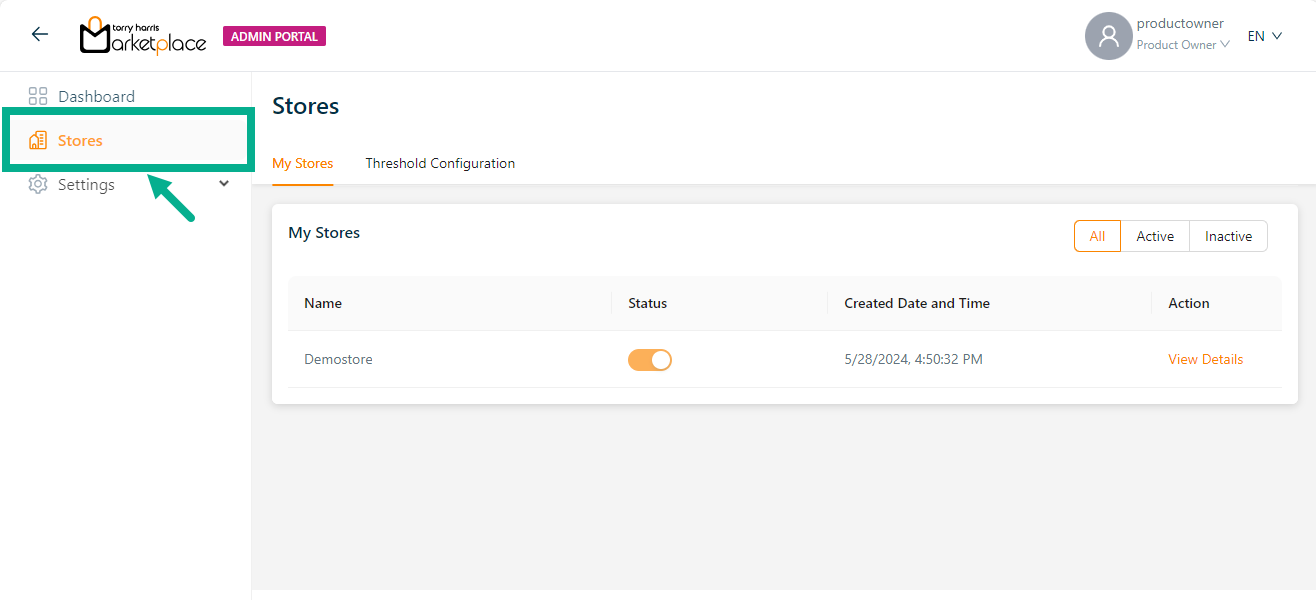
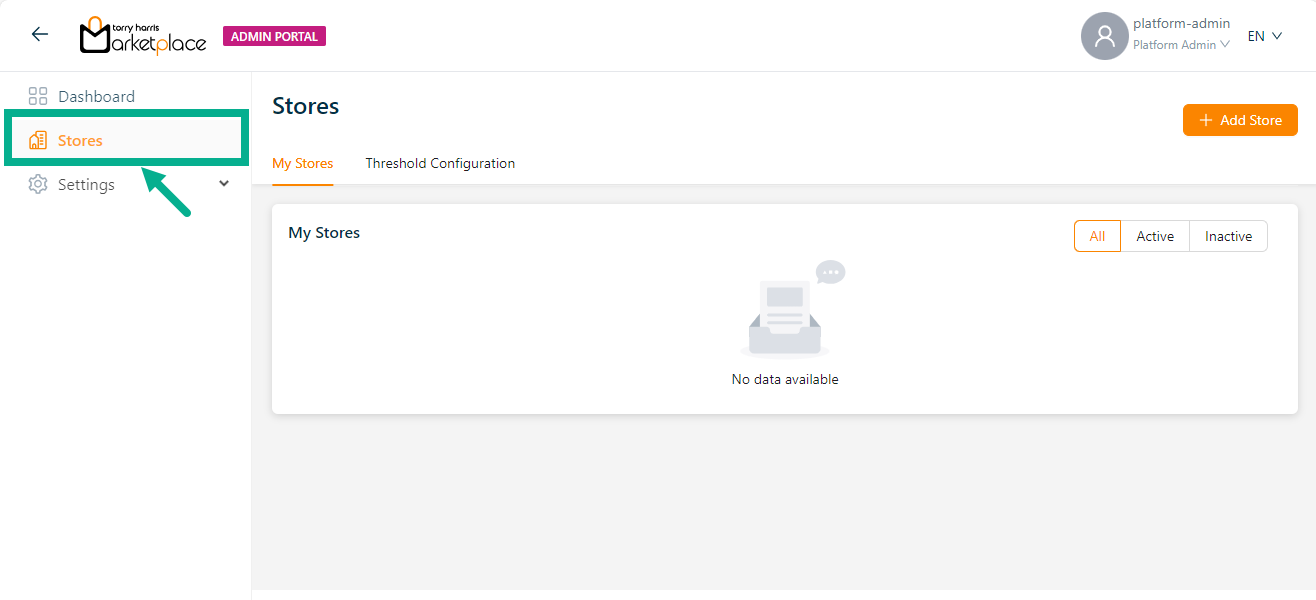
If the user logs in as Product Owner, the Store Module appears as shown below.
Viewing the store details
The Product Owner is limited to viewing store details that have been created by the Platform Admin.
- Click View Details.
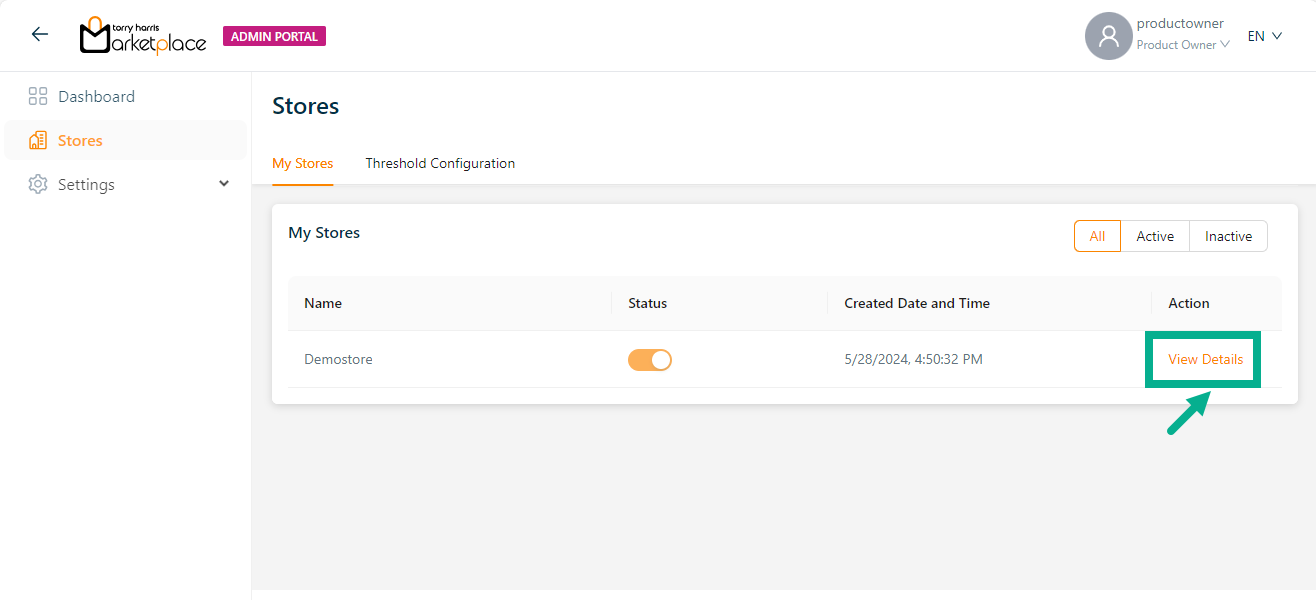
The respective store details appears as shown below.
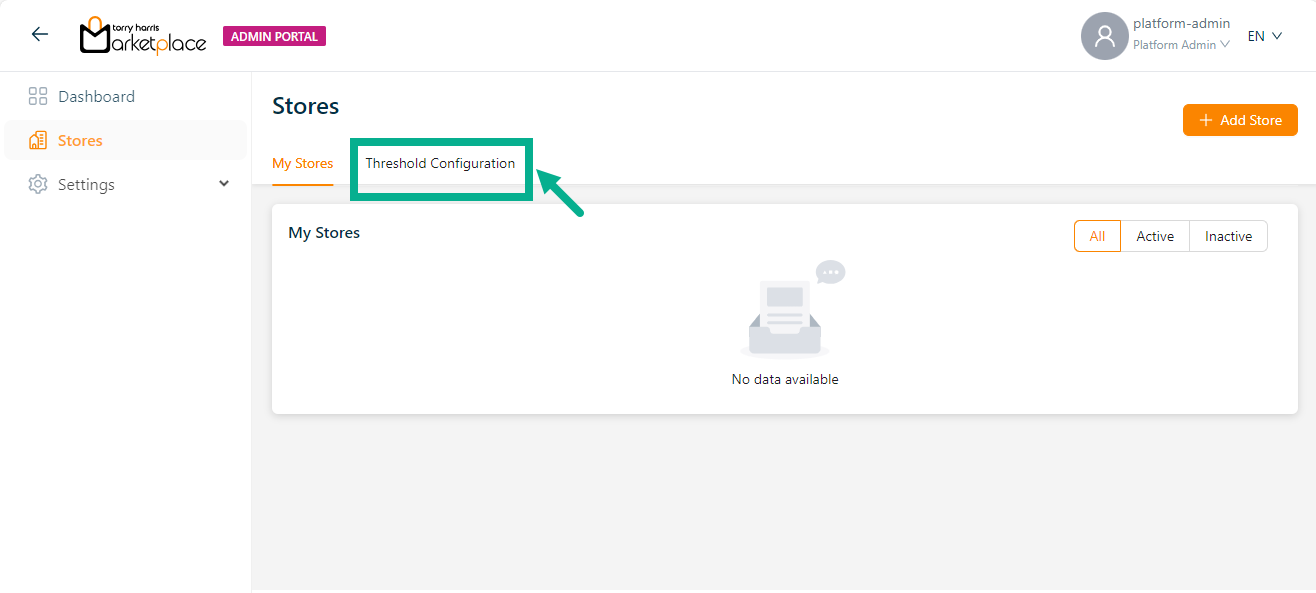
Updating the threshold configuration
The threshold configuration values updated by the product owner will be applied to all stores.
- Click Threshold Configuration tab.
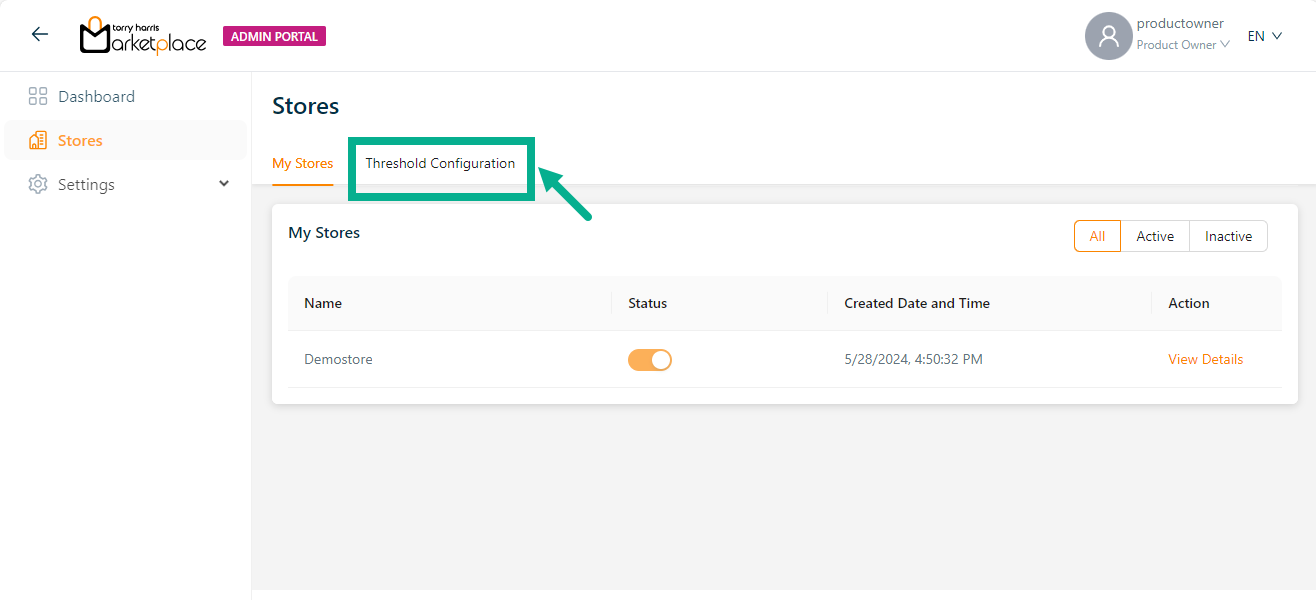
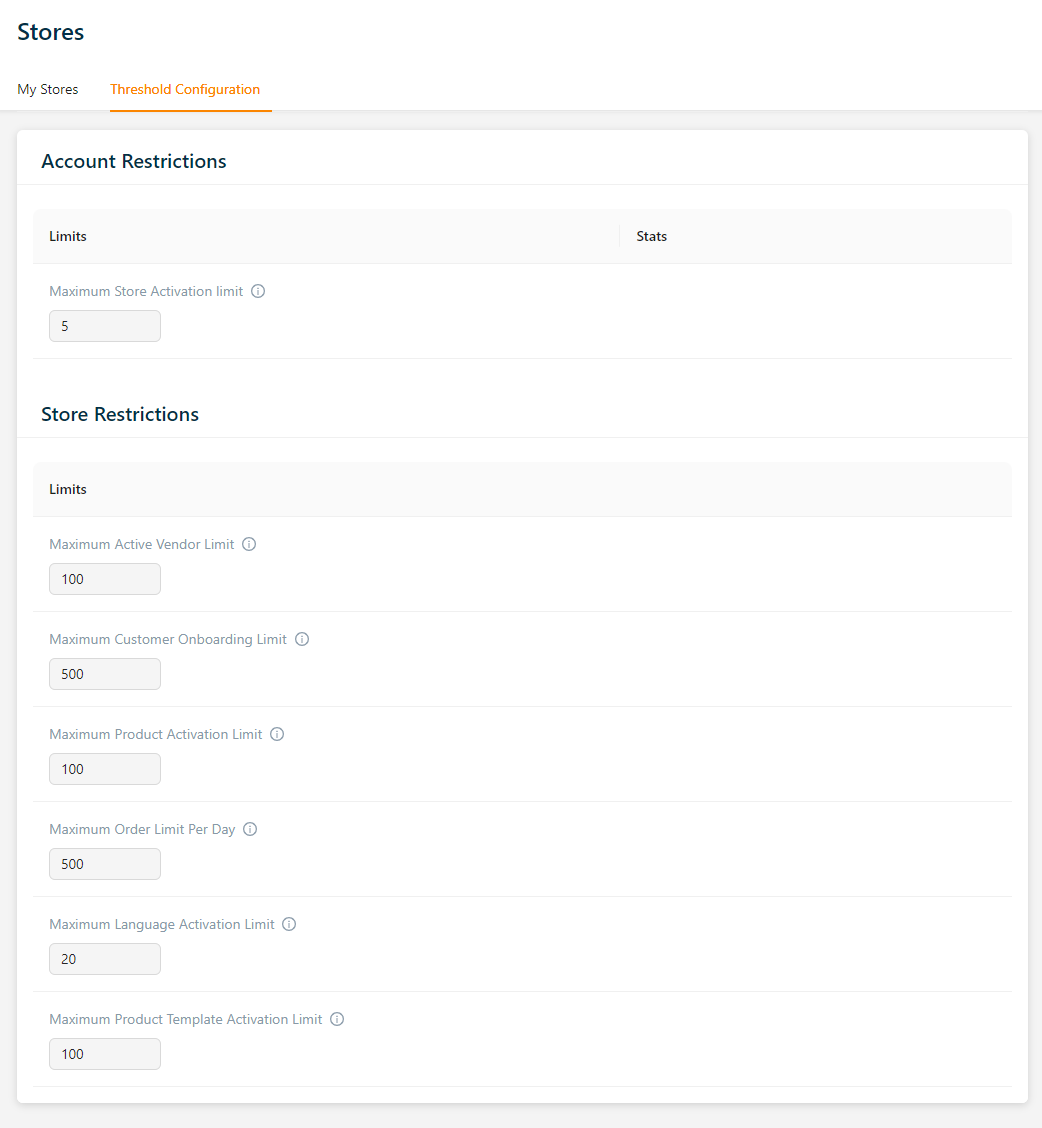
The Threshold Configuration screen appears as shown below.
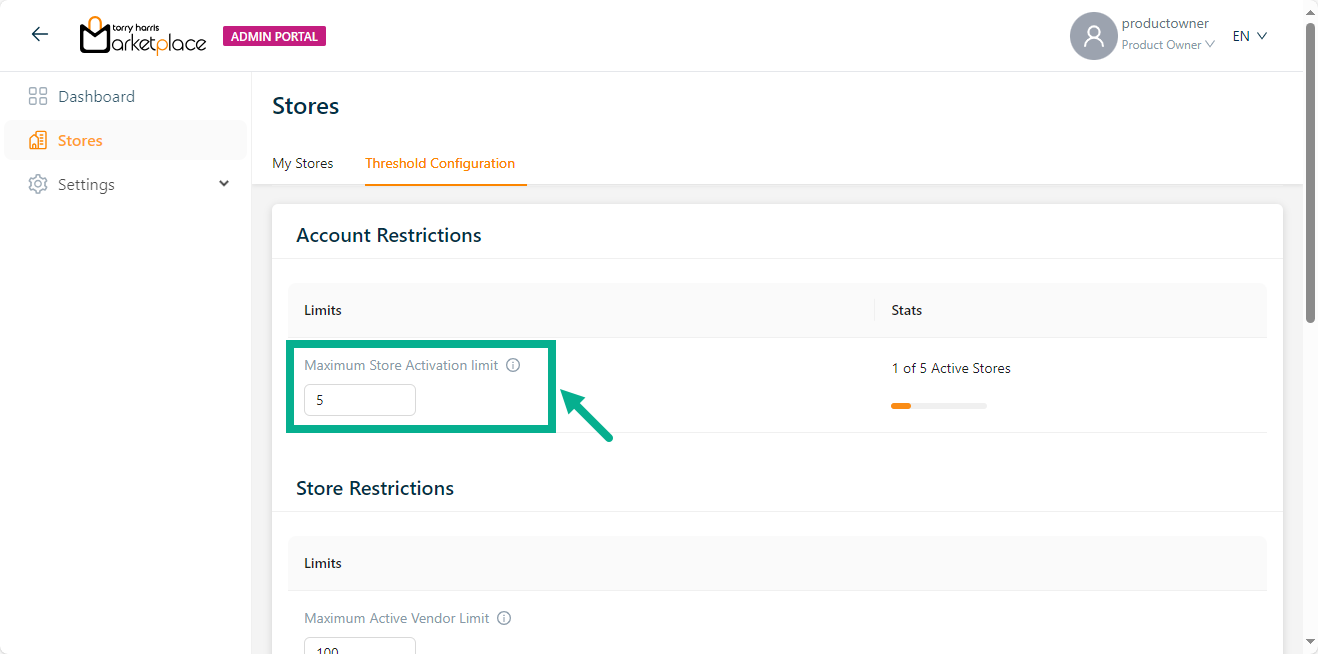
The Maximum Store Activation Limit is set to 5 by default but also can be adjusted by the product owner to match their requirements.
- Enter the Maximum Store Activation Limit.
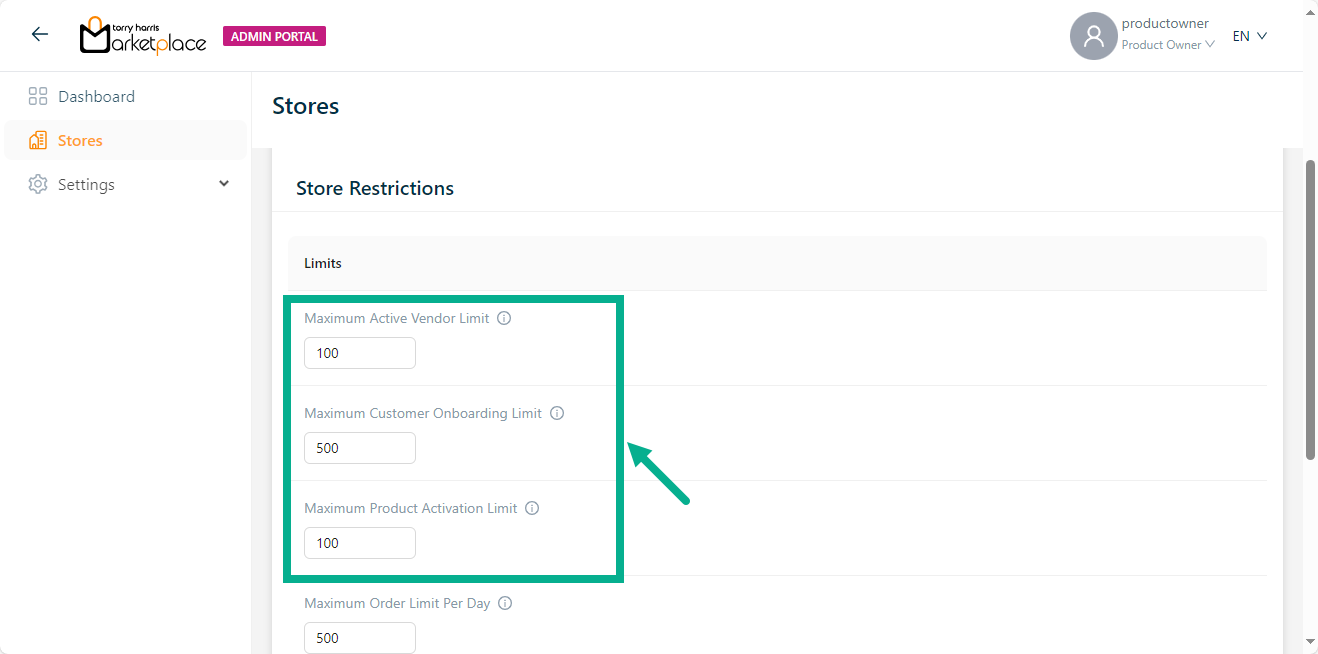
- Enter the Maximum Active Vendor Limit, Maximum Customer Onboarding Limit, and Maximum Product Activation Limit.
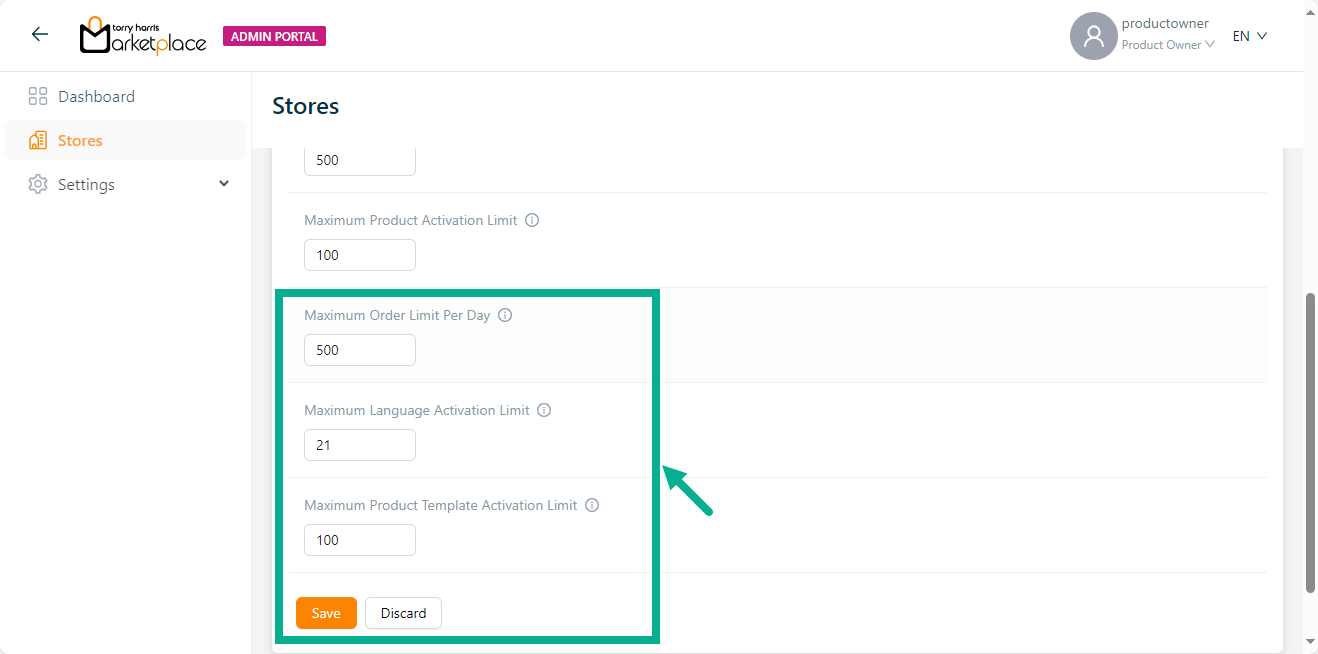
Enter the Maximum Order Limit Per Day, Maximum Language Activation Limit, and Maximum Product Template Activation Limit.
Click Save.
On saving, the confirmation message appears as shown below.

If the user logs in as Platform Admin, the Store Module appears as shown below.
Viewing the threshold configuration
Platform admins can only view the threshold configuration defined by the product owner.
- Click the Threshold Configuration tab.
The Threshold Configuration screen appears as shown below.
Creating and activating a store
- Click Add Store.
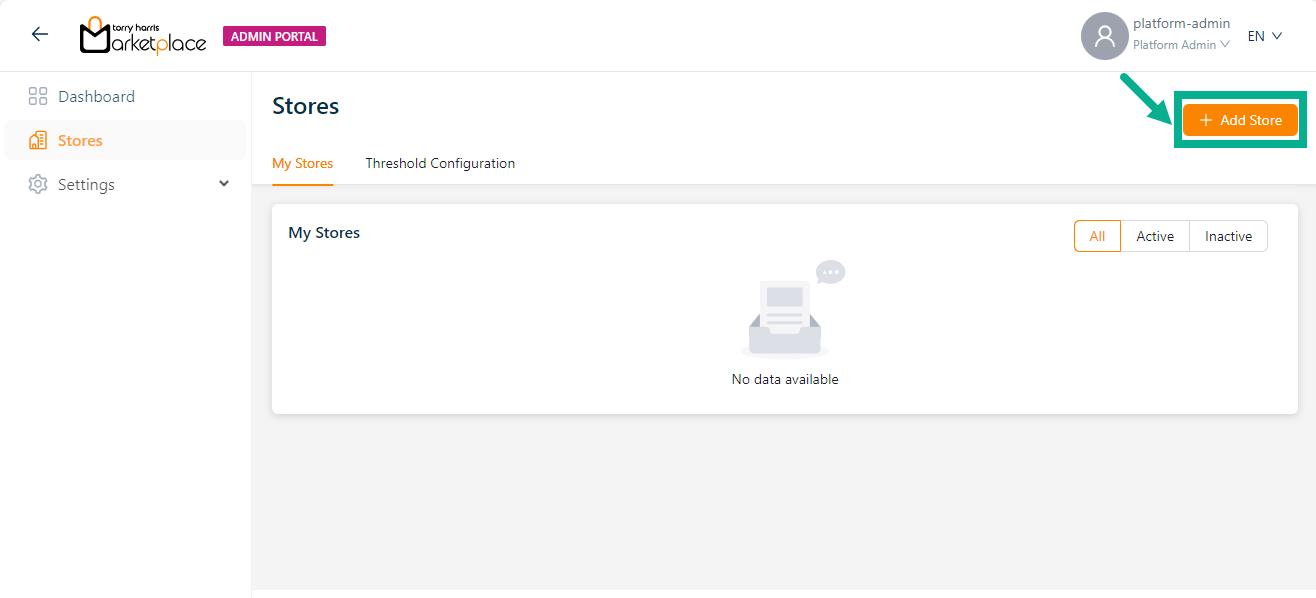
The Add Store sidebar appears as shown below.
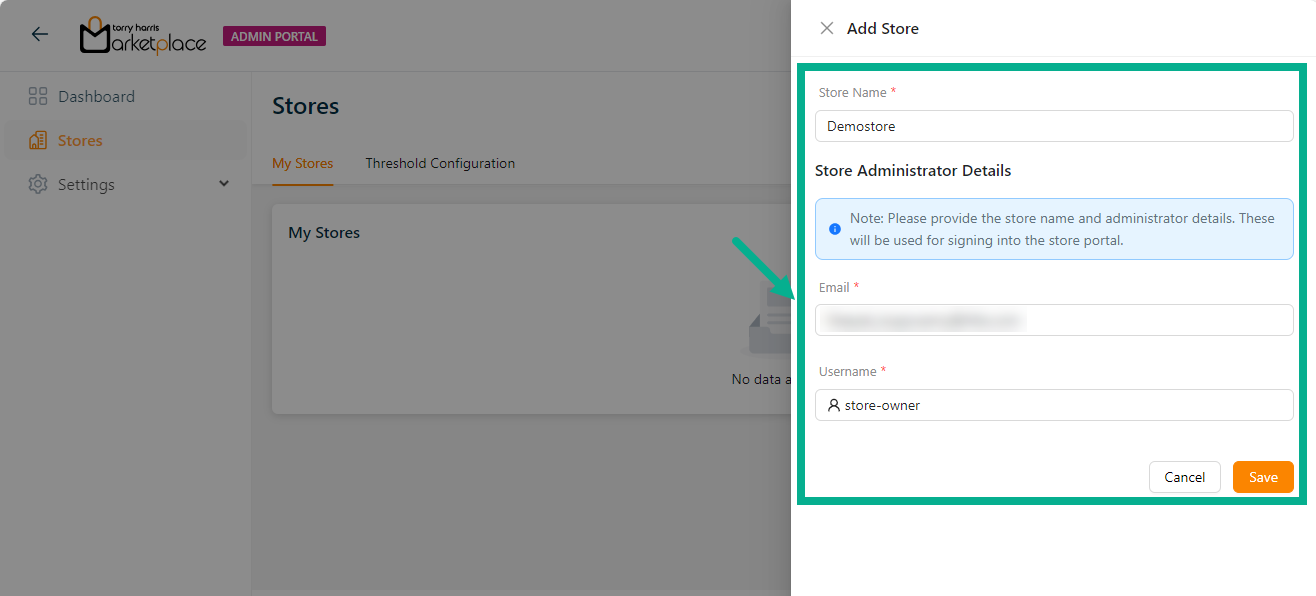
- Enter the Store Name.
Store Name must contain minimum of 3, maximum of 15 characters.
Enter the Email and Username.
Click Save.
On saving, the dialogue box appears as shown below.
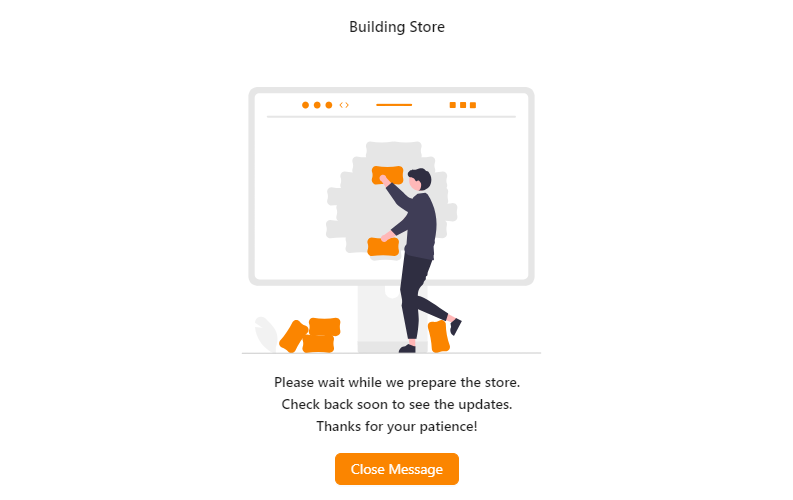
- Click Close Message.
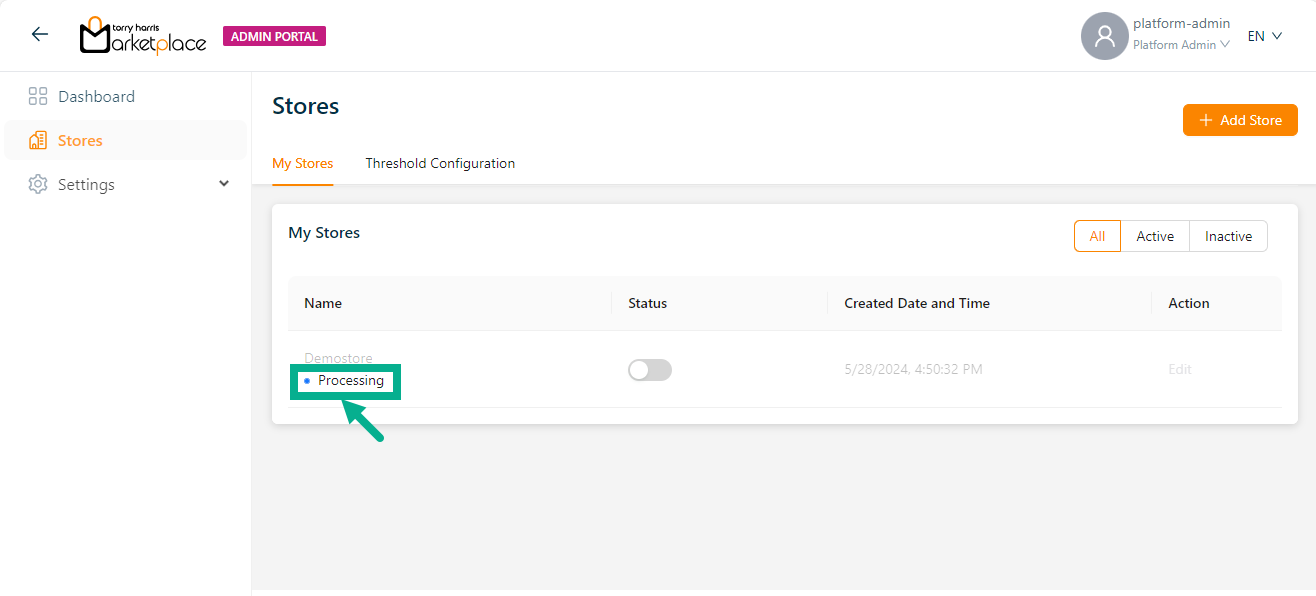
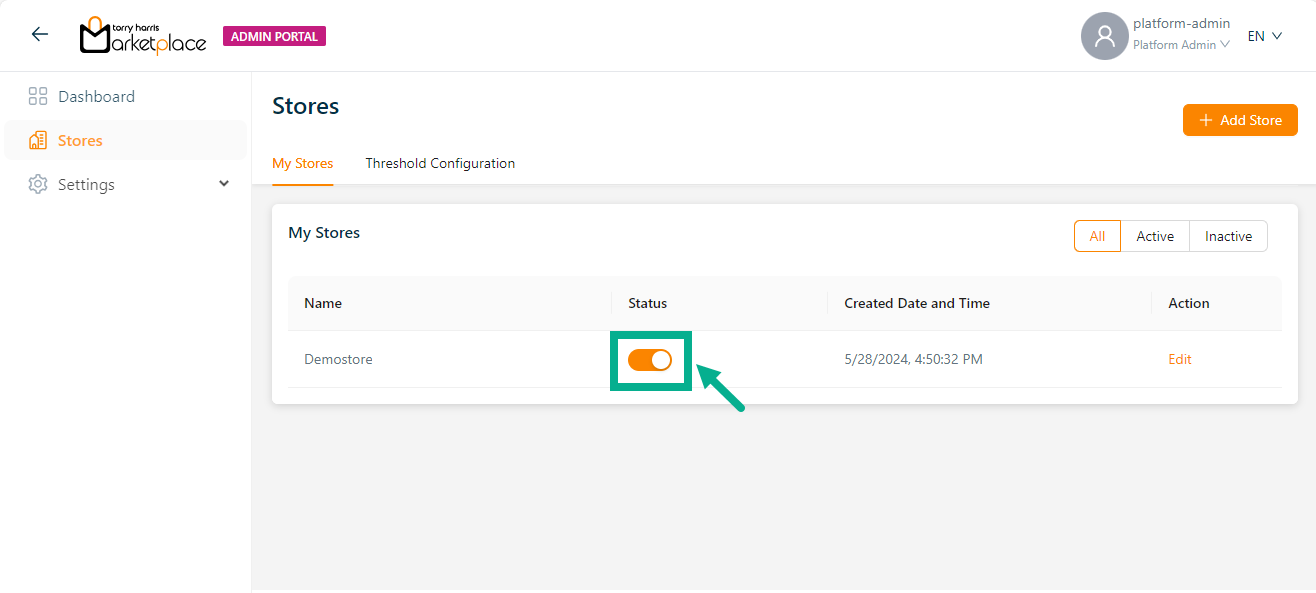
The newly created store is now available on the My Stores screen (All and Inactive tab), along with creation date, and time.
The store creation is running in the background until the Processing message appears as shown in the below screenshot.
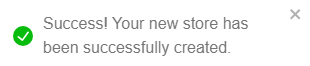
After processing, the confirmation message appears as shown below.
- Upon store creation, enable the Status toggle to activate the created store.

The dialogue box appears as shown below.
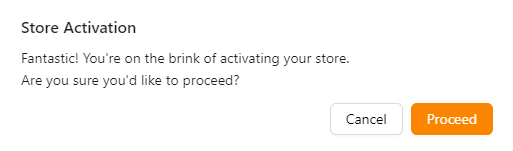
- Click Proceed.
On proceeding, the dialogue box appears as shown below.
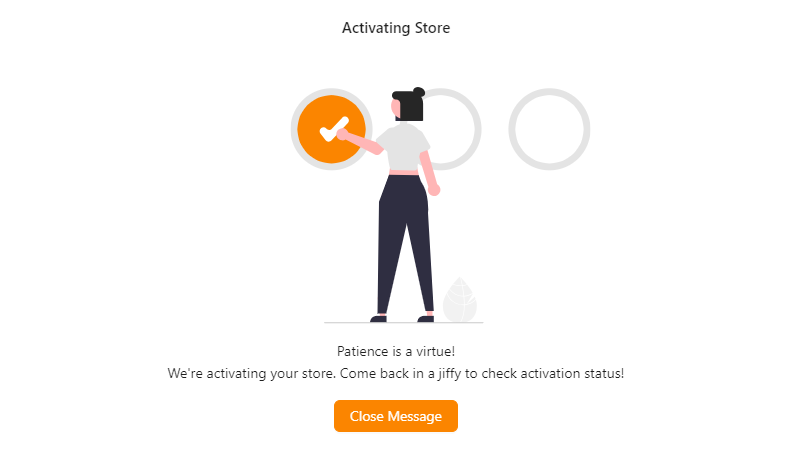
- Click Close Message.
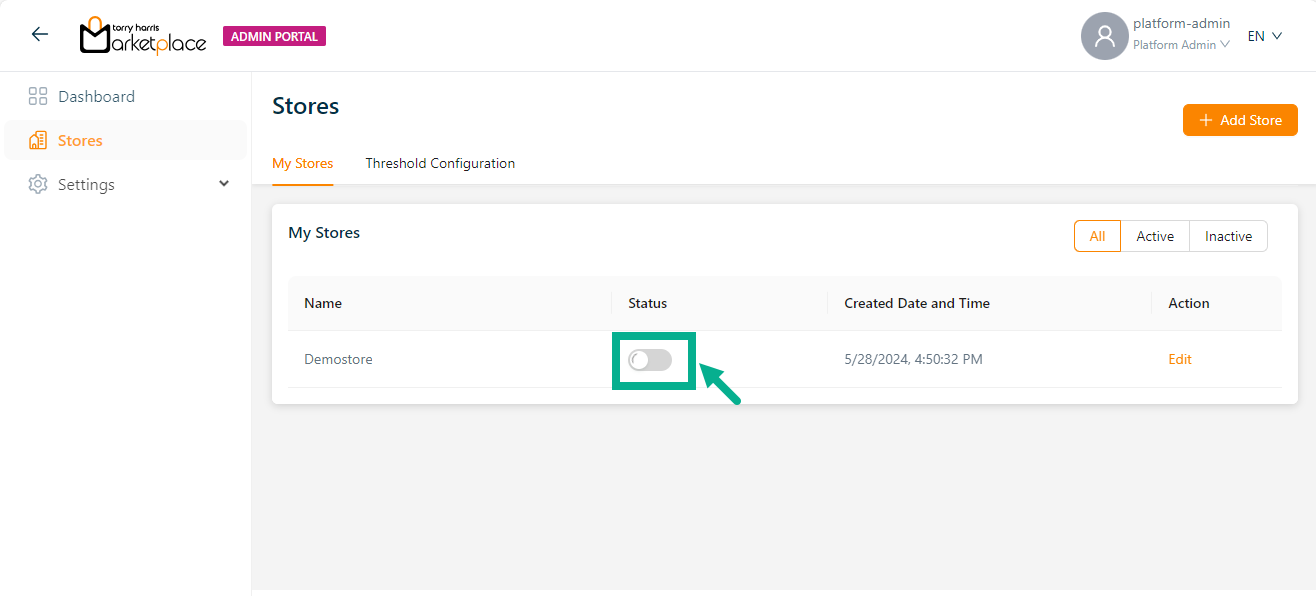
The store activation is running in the background until the loader will be displayed in the status toggle as shown in the below screenshot.
On activating, the confirmation message appears as shown below.
Upon initial activation, an email is sent to the registered email id including the Store URL, Username, and Temporary Password.
Upon logging in, you'll be directed to a form where you can create your permanent password.
Enter your desired password and confirm it to ensure accuracy.
After setting your password, you'll be automatically logged in and redirected to the store landing page.
Editing a store
- Click the Edit button of the desired record to edit the desired store.
Viewing Overview
The Overview screen appears as shown below.
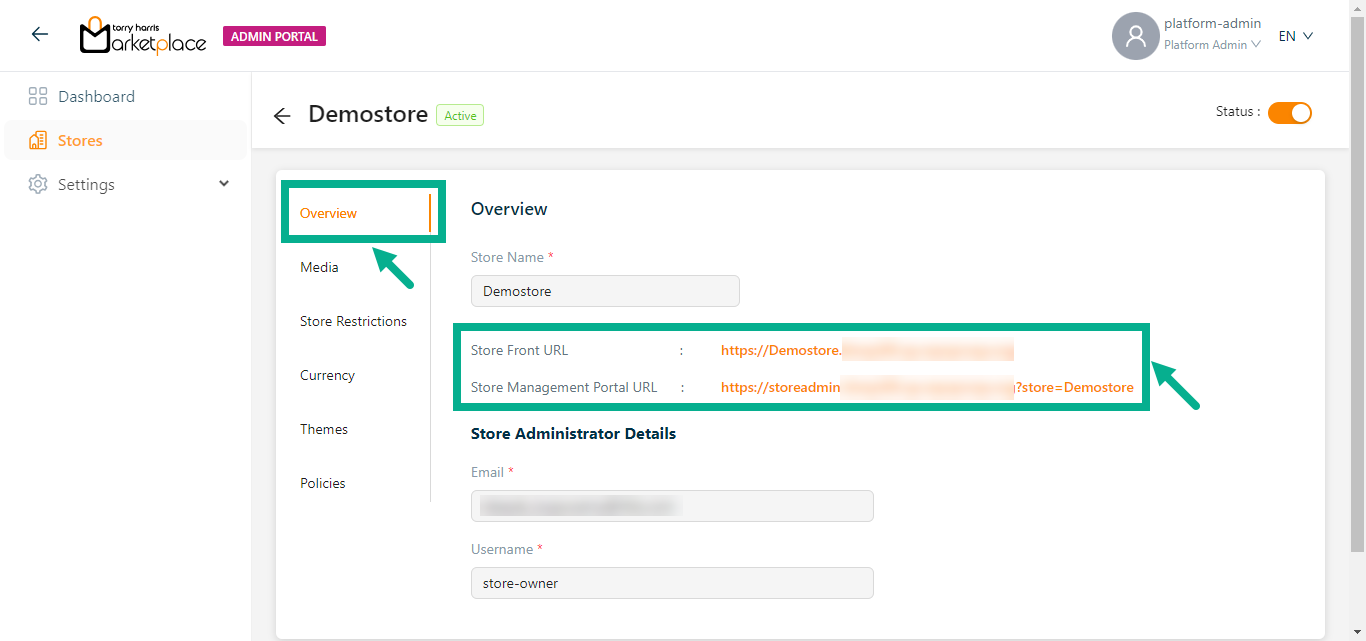
The Overview Section displays the necessary information about the store created, which includes:
- Store Name
- Storefront URL
- Store Management Portal URL
- Store Administrator Details (Email and User Name)
Click the Storefront URL to navigate to the Storefront page and click the Store Management Portal URL to navigate to the Store Management Portal.
Editing Overview
- Click Media tab.
The Media screen appears as shown below.
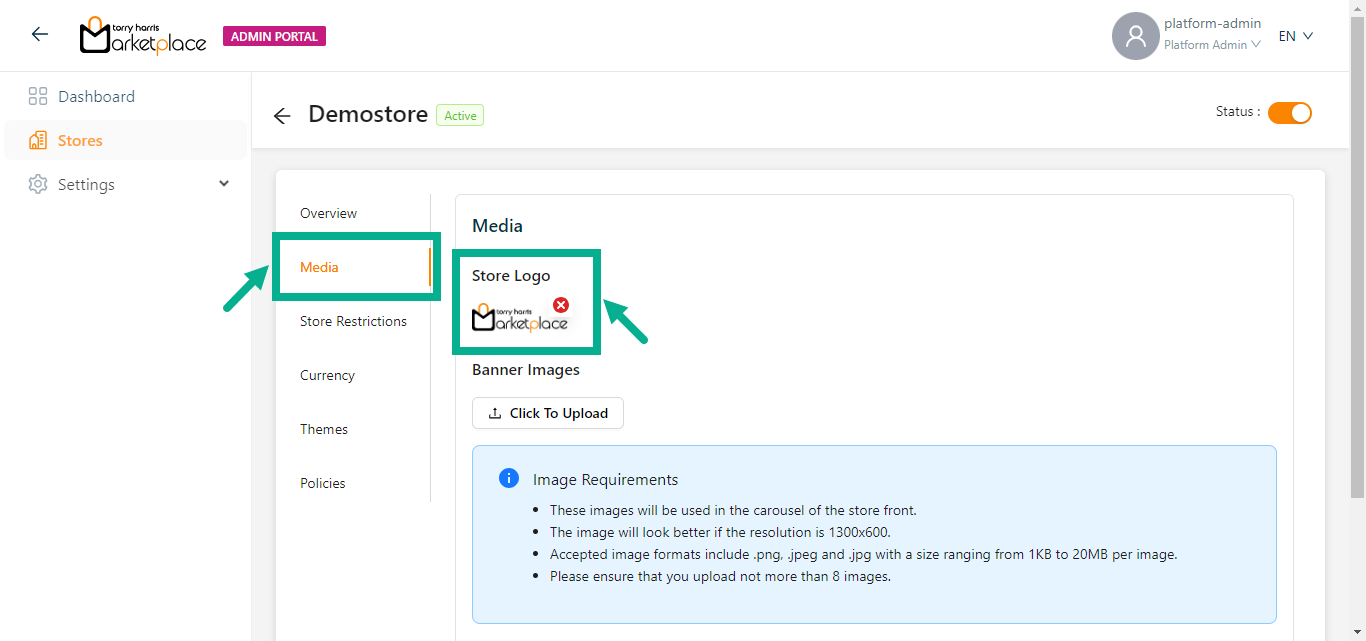
The Store Logo is generated by default when a store is created.
Click the Remove icon to remove the store logo.
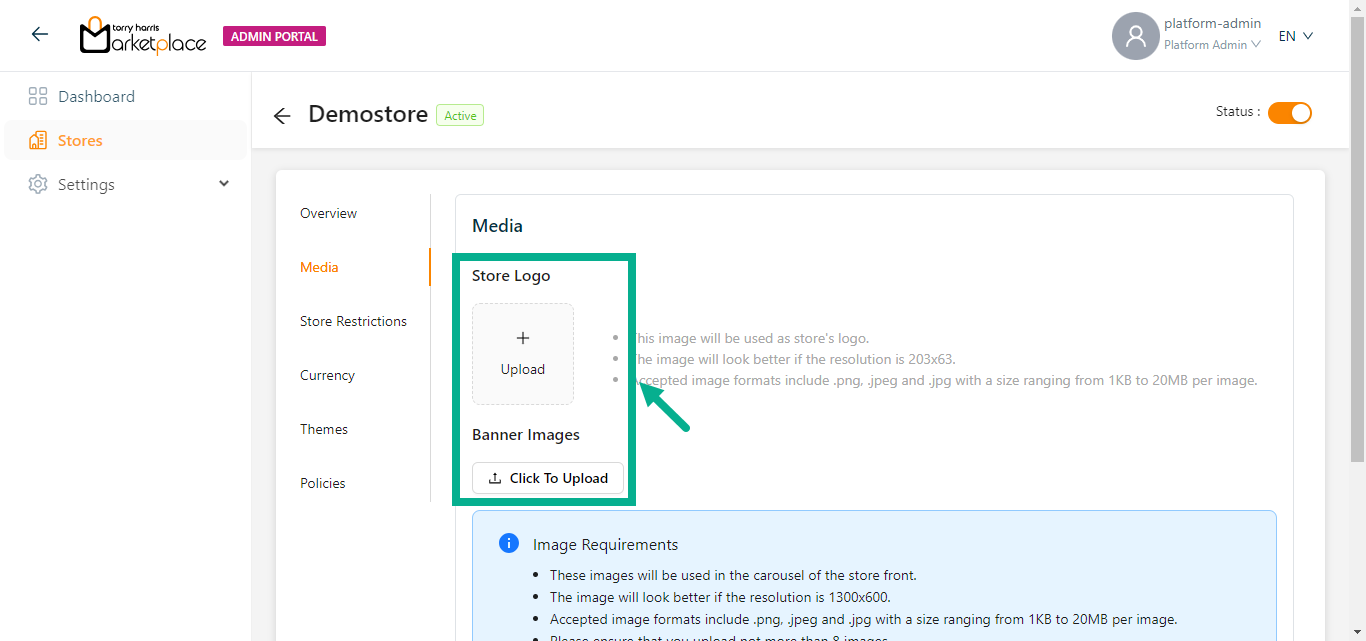
- Click the Upload icon and Click To Upload button to upload the Store Logo and Banner Images From your local drive.
Maximum of 8 images can be uploaded for banner images.
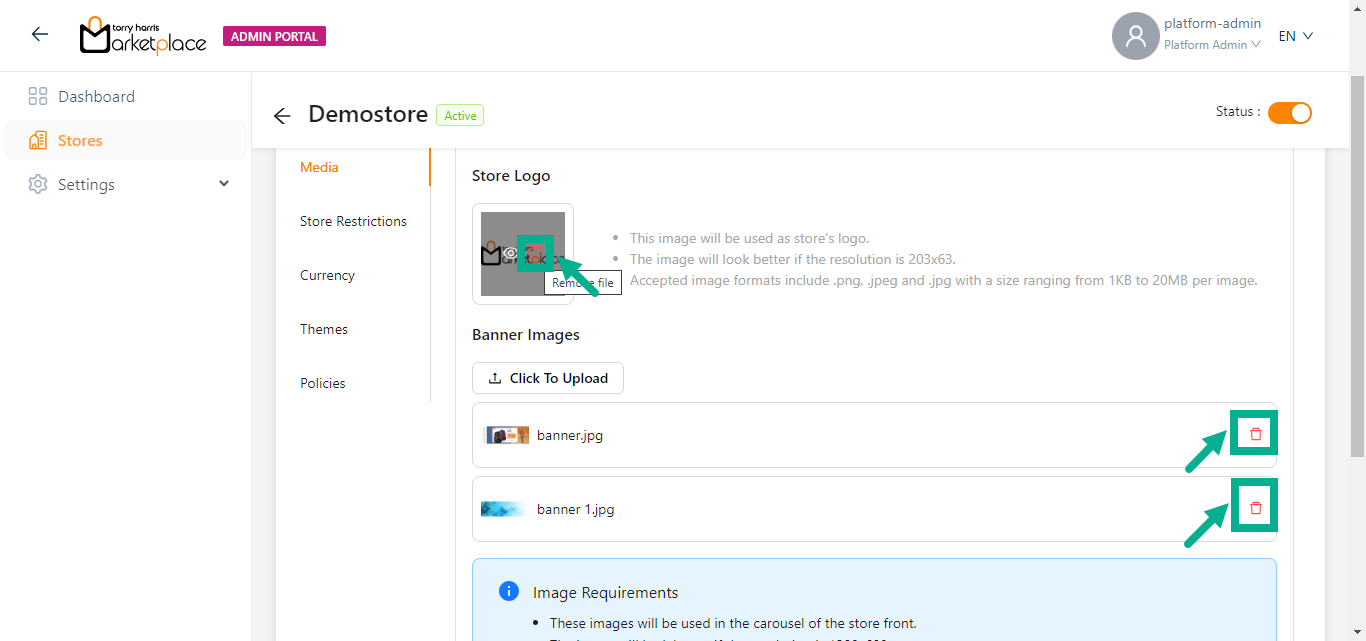
Click the Remove File icon to delete the added Store Logo and Banner Images.

- Click Save.
On saving, the confirmation message appears as shown below.

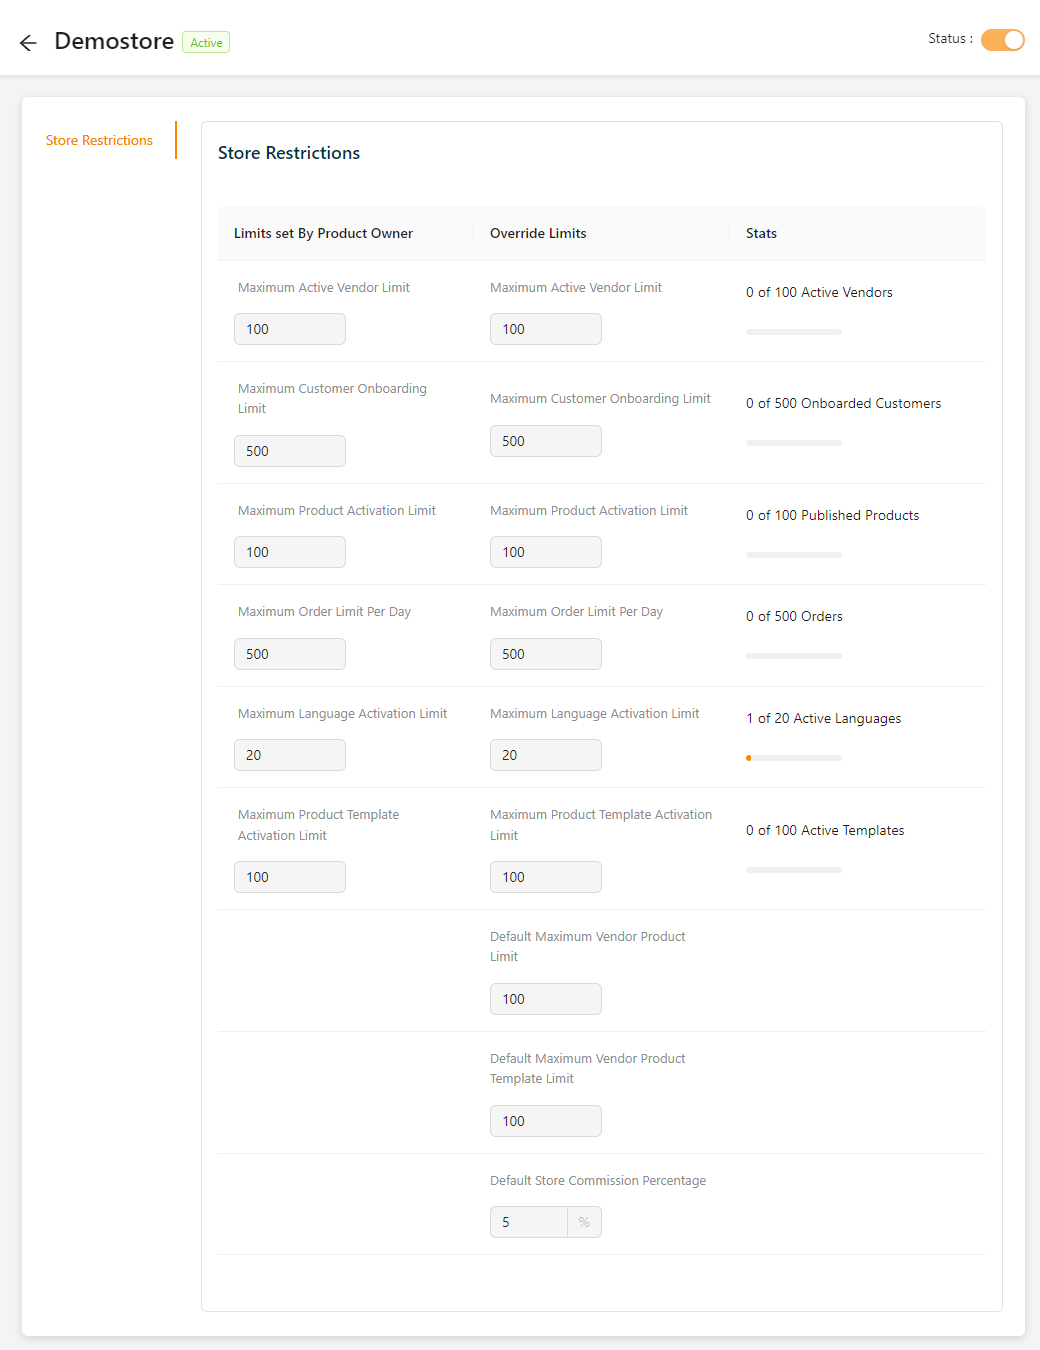
Editing Store Restrictions
- Click Store Restrictions tab.
The Store Restrictions screen appears as shown below.
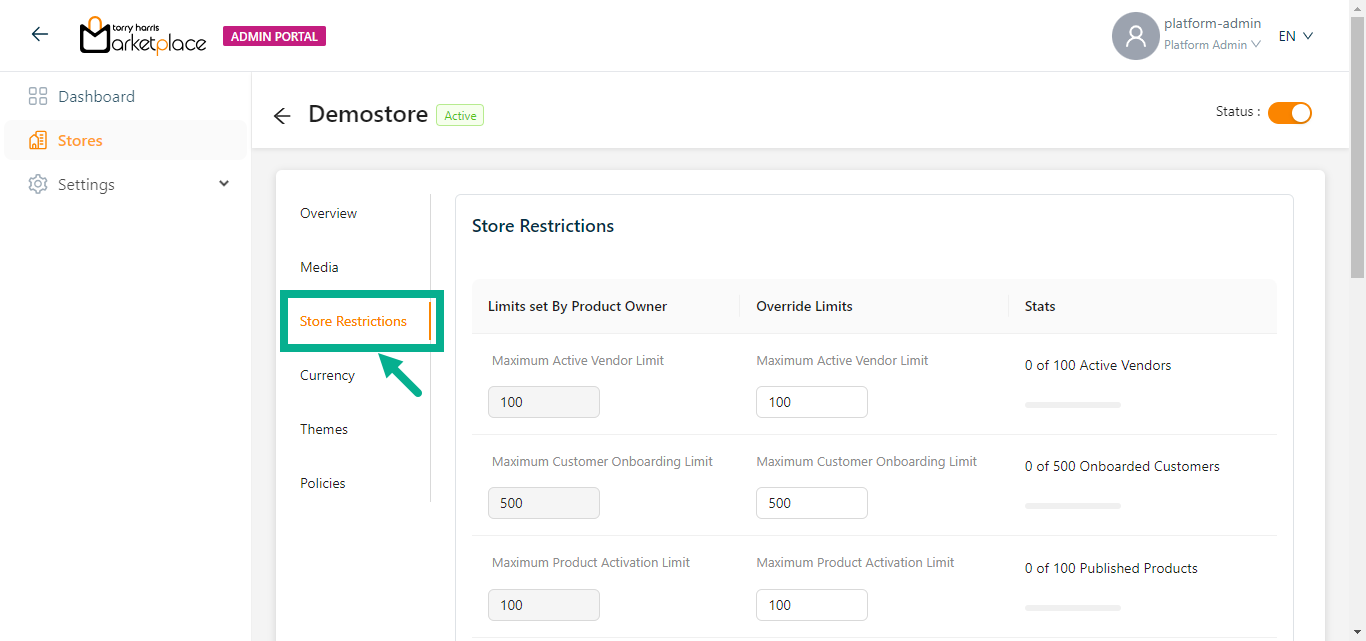
Platform admin cannot increase the Store Restrictions beyond the limit specified by the product owner.
The Threshold configuration value updated by the platform admin related to the vendor will be applied to all the vendors.
- Enter the Maximum Active Vendor Limit, Maximum Customer Onboarding Limit, and Maximum Product Activation Limit.
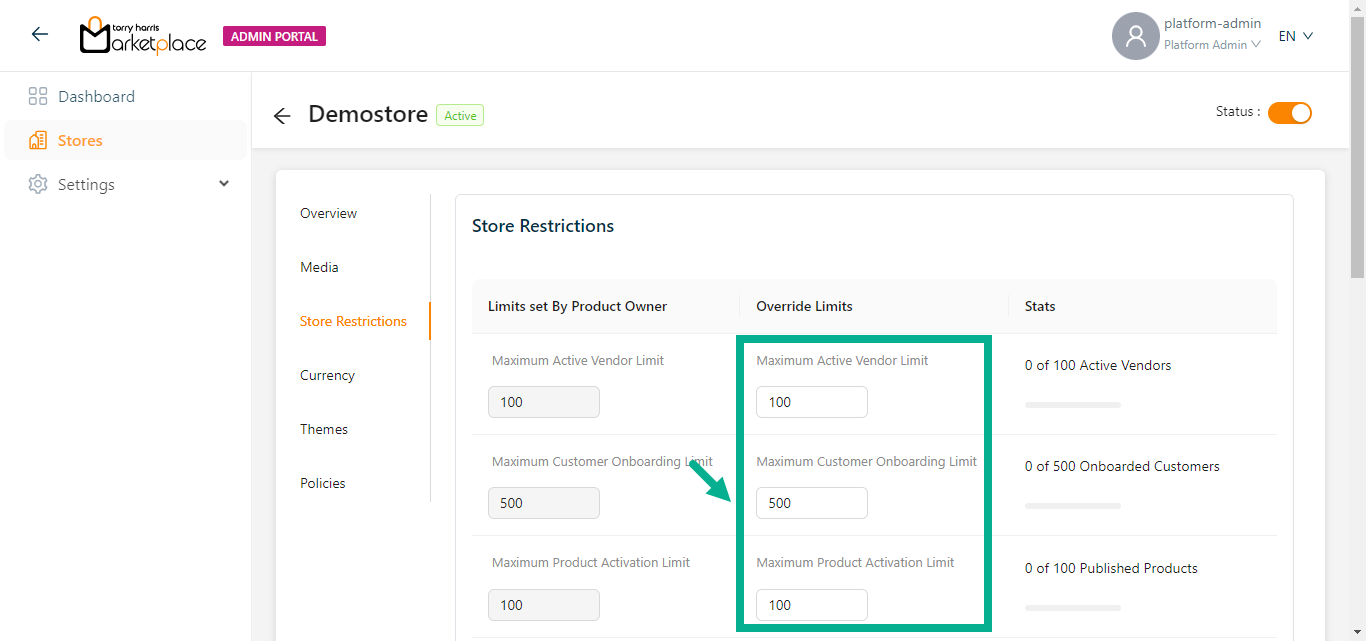
The Default Maximum Vendor Product Limit value must be less than or equal to the Maximum Product Activation Limit.
The Default Maximum Vendor Product Template Limit value must be less than or equal to the Maximum Product Template Activation Limit.
- Enter the Maximum Order Limit Per Day, Maximum Language Activation Limit, Maximum Product Template Activation Limit, Default Maximum Vendor Product Limit and Default Maximum Vendor Product Template Limit.
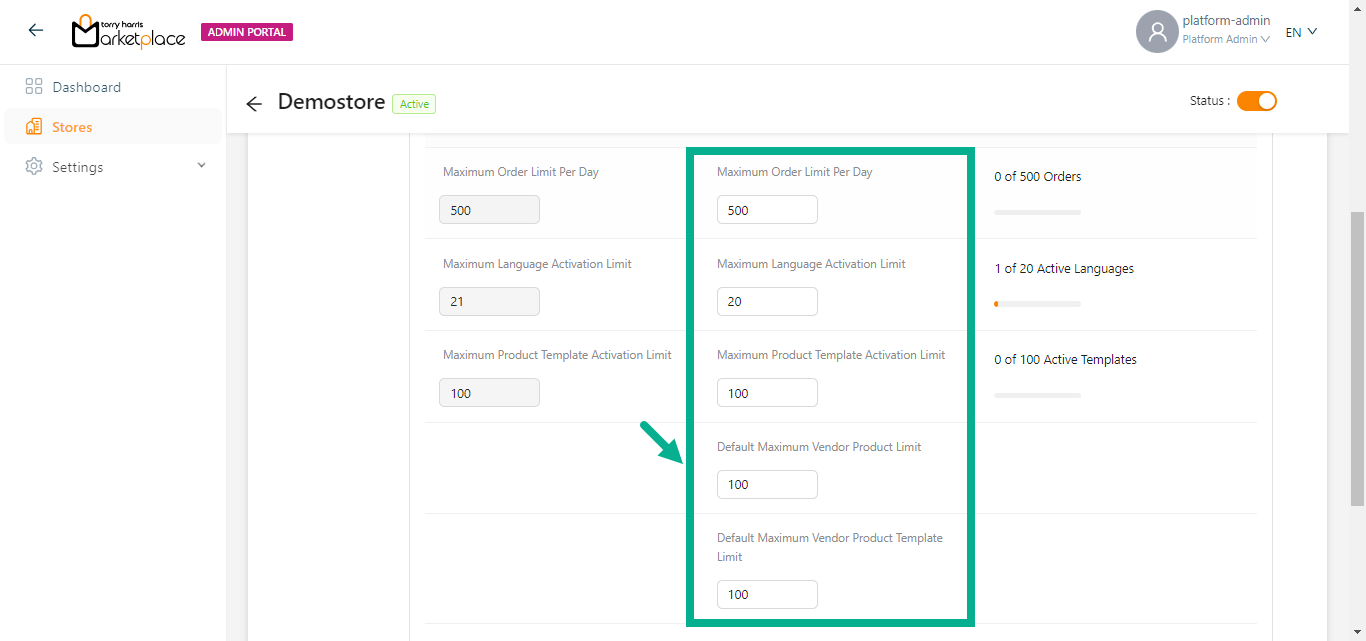
If any of the values under the Store Restrictions section are left blank, they will be considered as unlimited.
For example: If the value under Maximum Language Activation Limit section is left blank, it will be considered as unlimited.
- Enter the Default Store Commission Percentage.
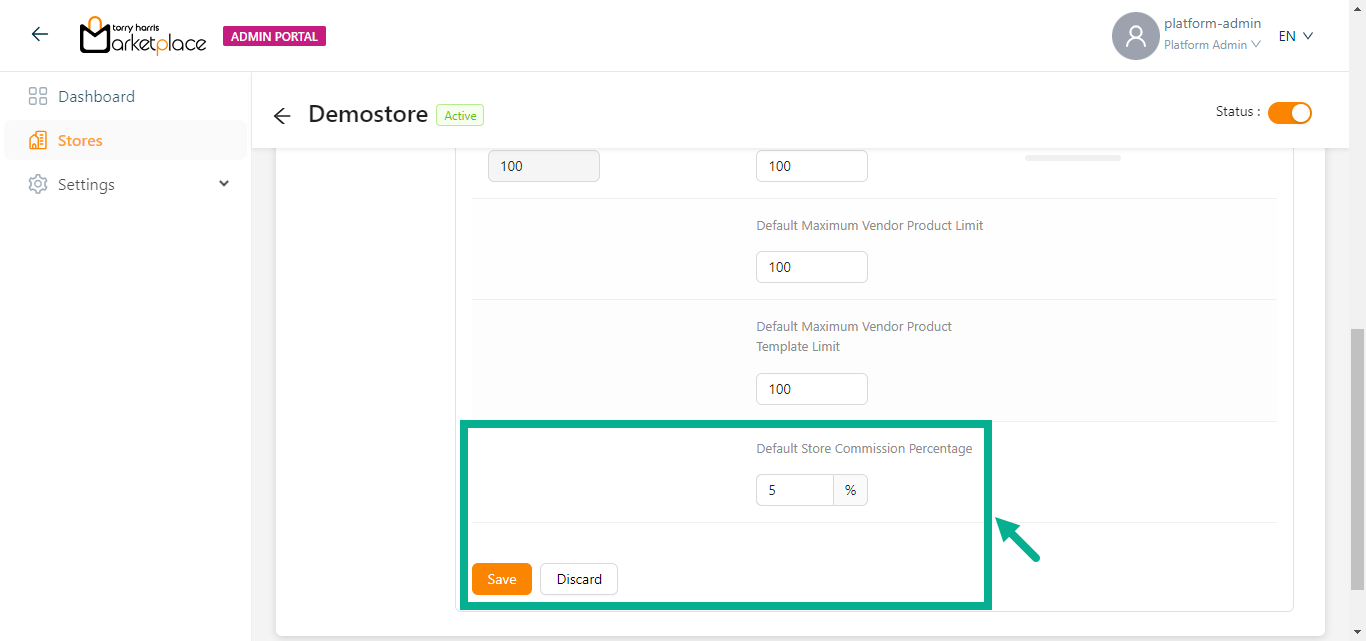
- Click Save.
On saving, the confirmation message appears as shown below.

Editing Currency
- Click Currency tab
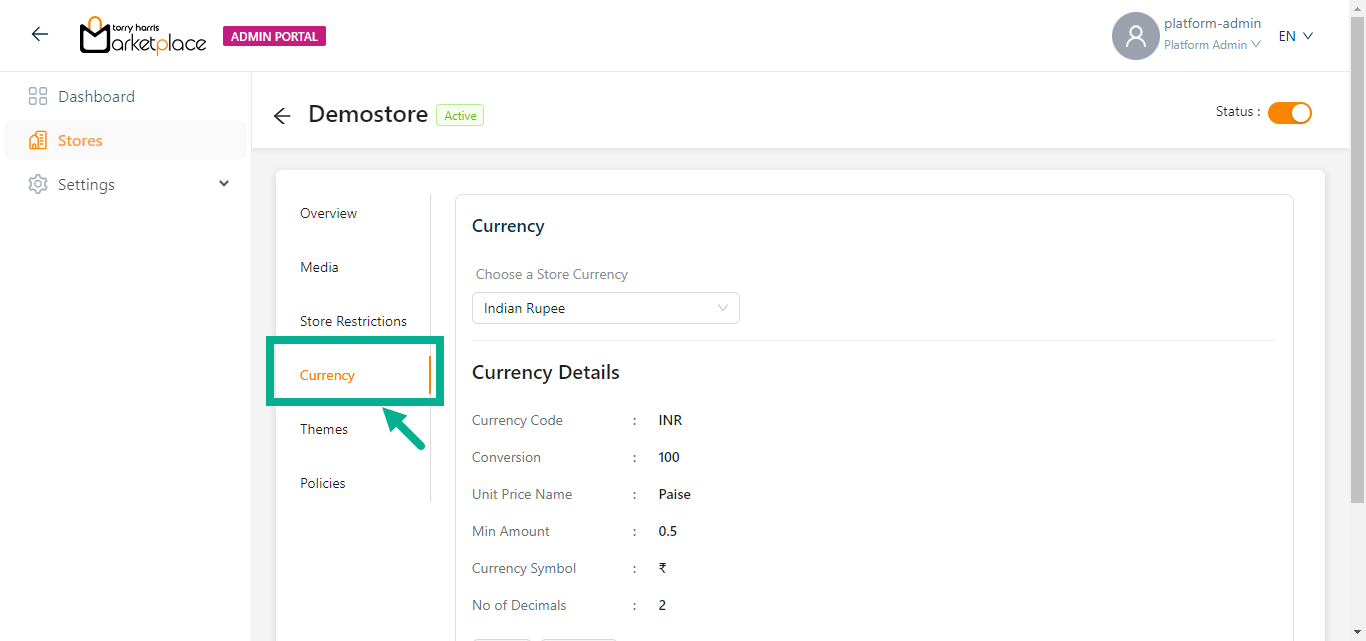
The Currency screen appears as shown below.
- Choose a Store Currency from the dropdown.
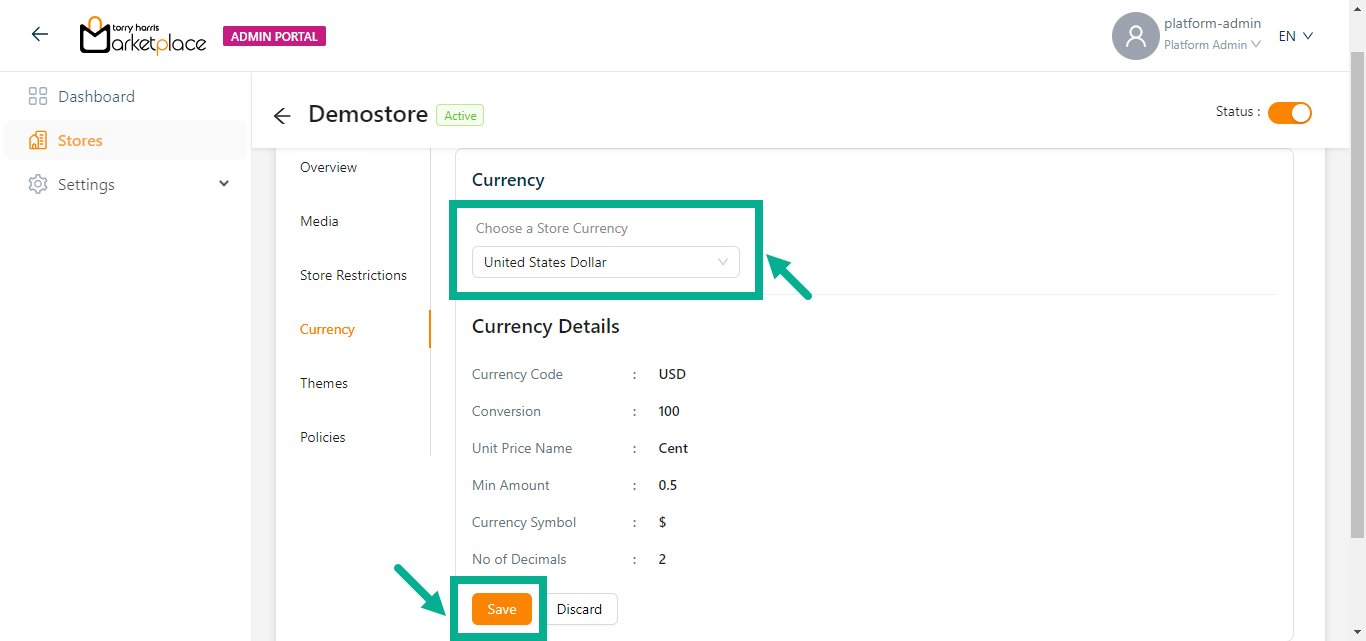
- Click Save.
On saving, the confirmation message appears as shown below.
Editing Themes
- Click Themes tab.
The Themes screen appears as shown below.
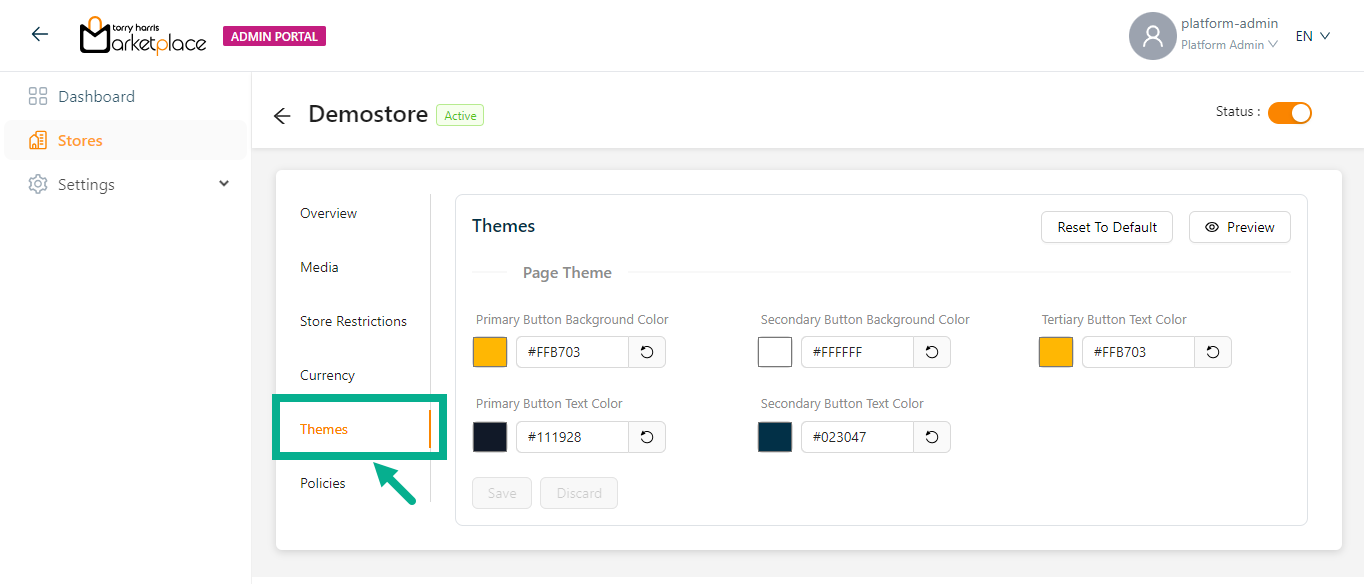
- Select the Page Theme using the corresponding color picker as needed.
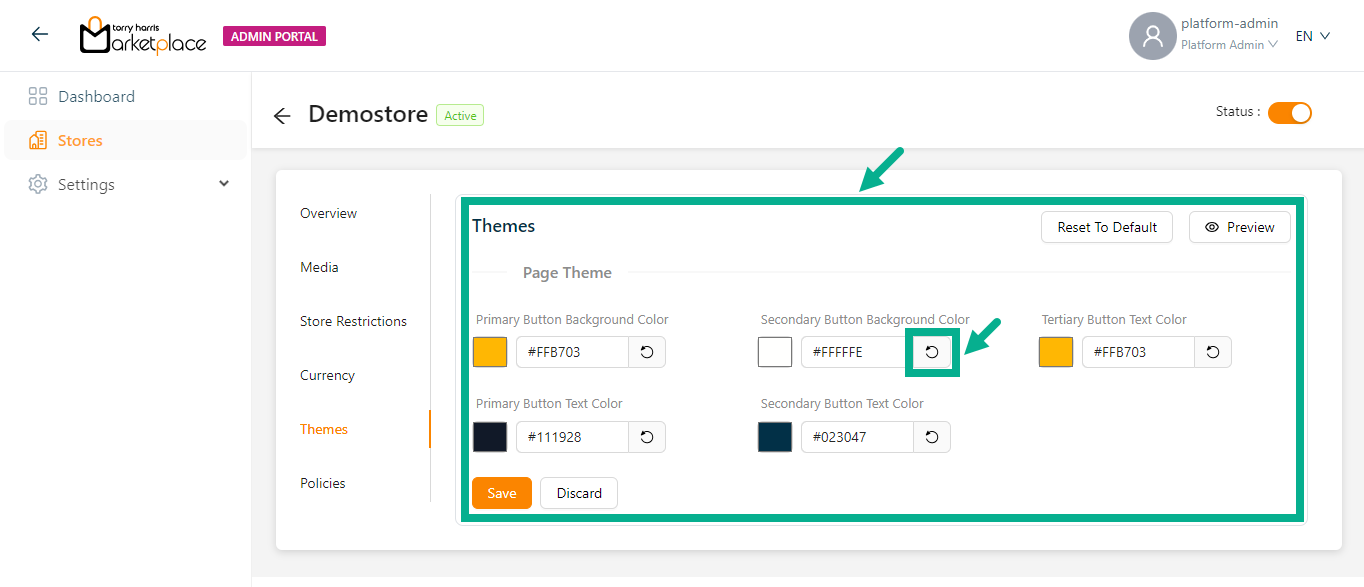
Click the Preview button to preview the Page Theme, Store Header Setting, and Store Footer Setting color codes.
Click the Reset To Default button to reset the updated Page Theme, Store Header Setting, and Store Footer Setting values to the default value.
Click the Undo Changes icon to undo the selected color.
- Click Save.
On saving, the confirmation message appears as shown below.

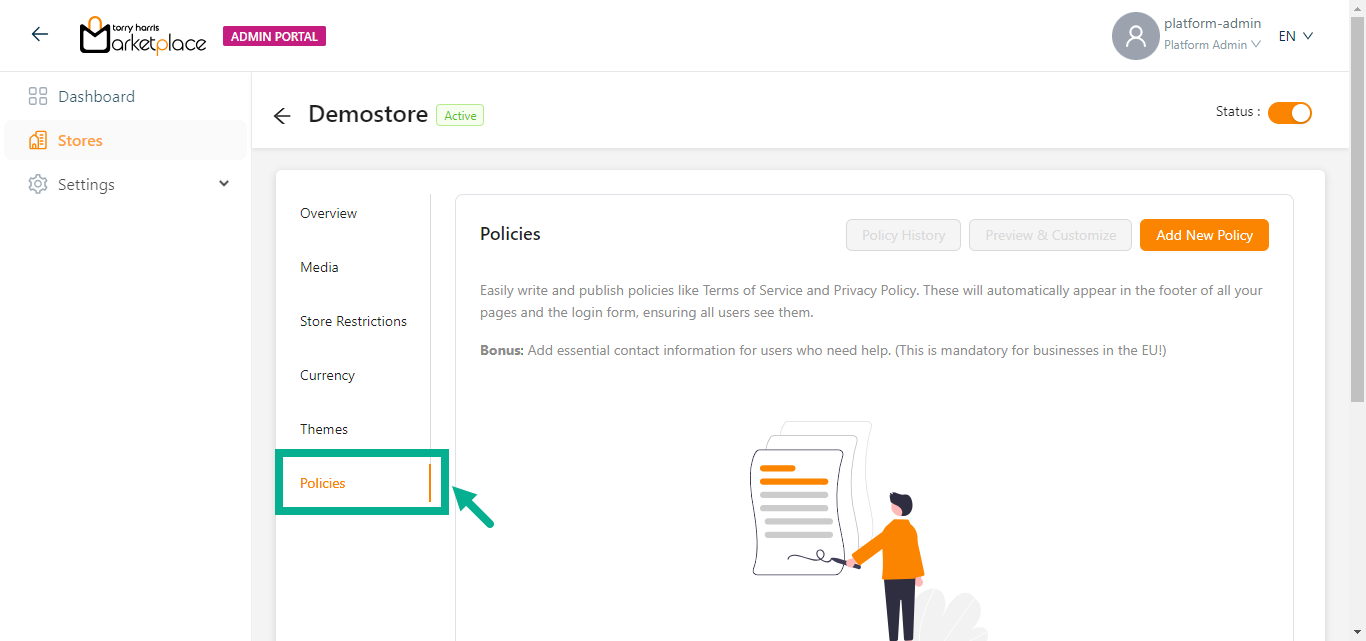
Editing Policies
- Click Policies tab.
The Policies screen appears as shown below.
Adding Policy
- Click the Add New Policy button to add the user consent for the store manager/owner.
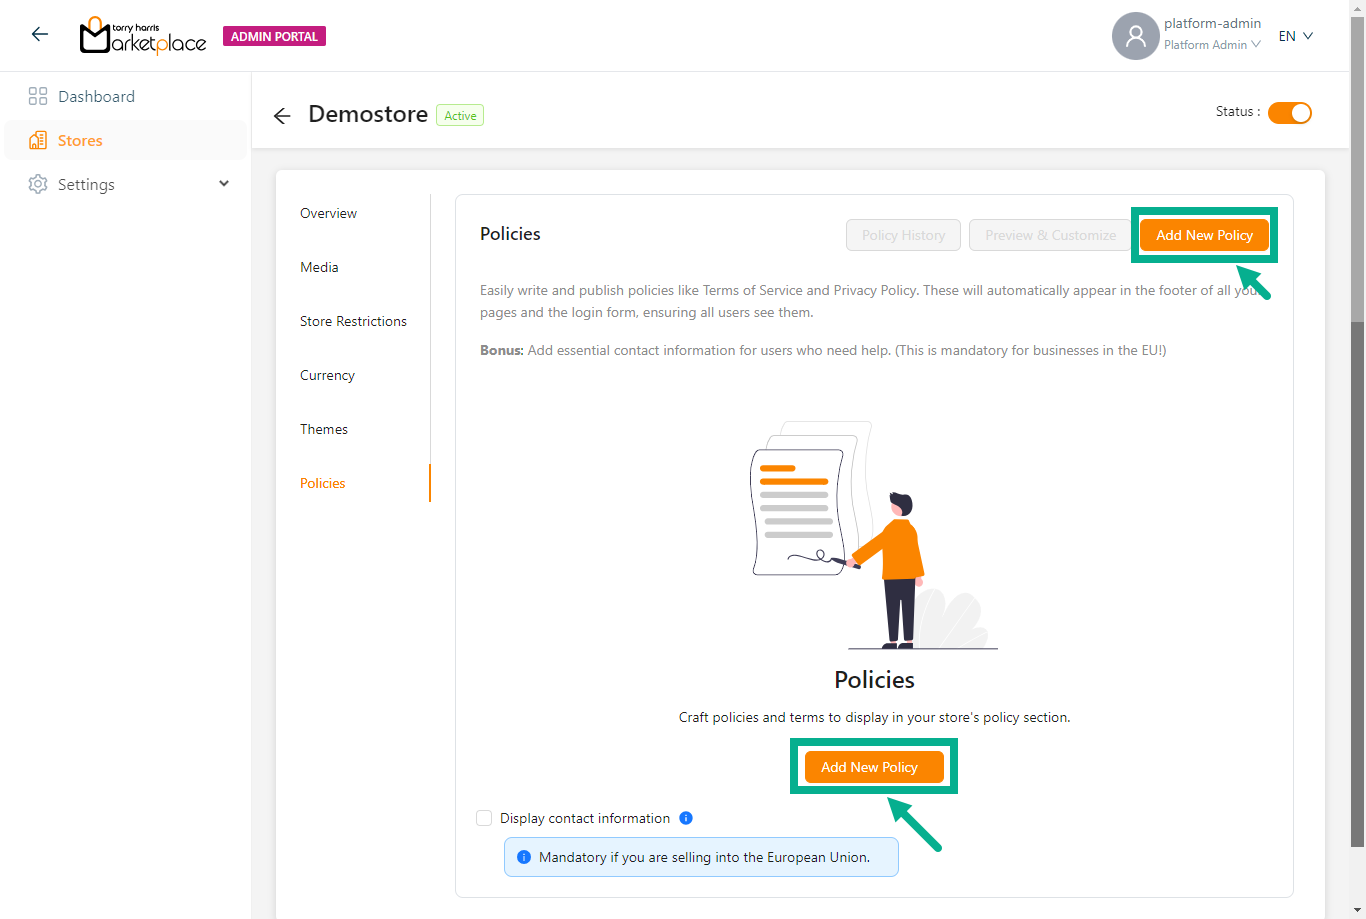
On proceeding, the screen appears as shown below.
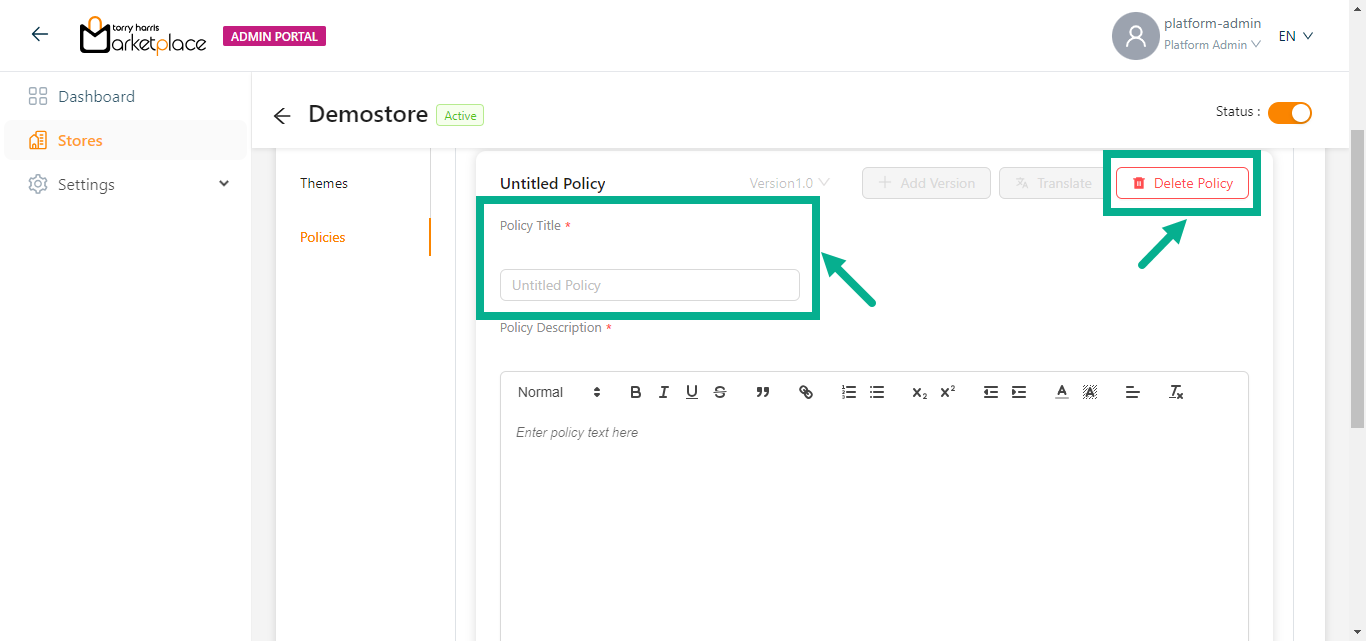
- Enter the Policy Title.
Click the Delete button to delete the policies if necessary.
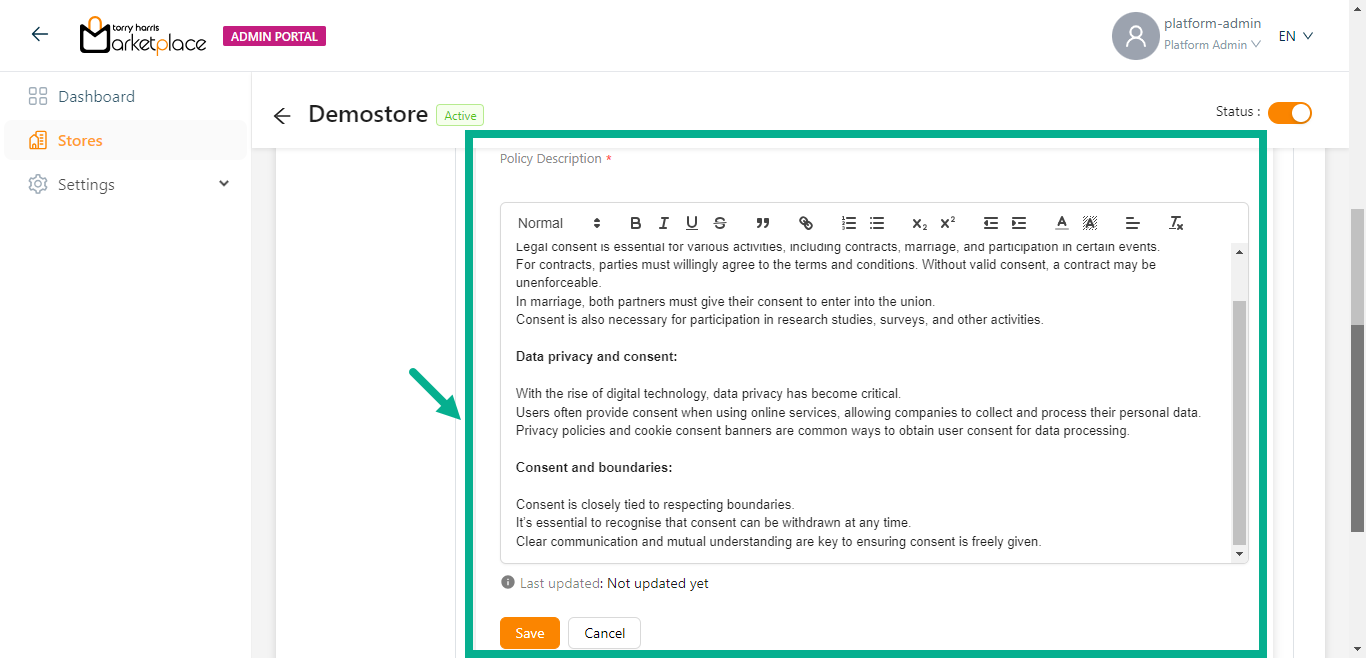
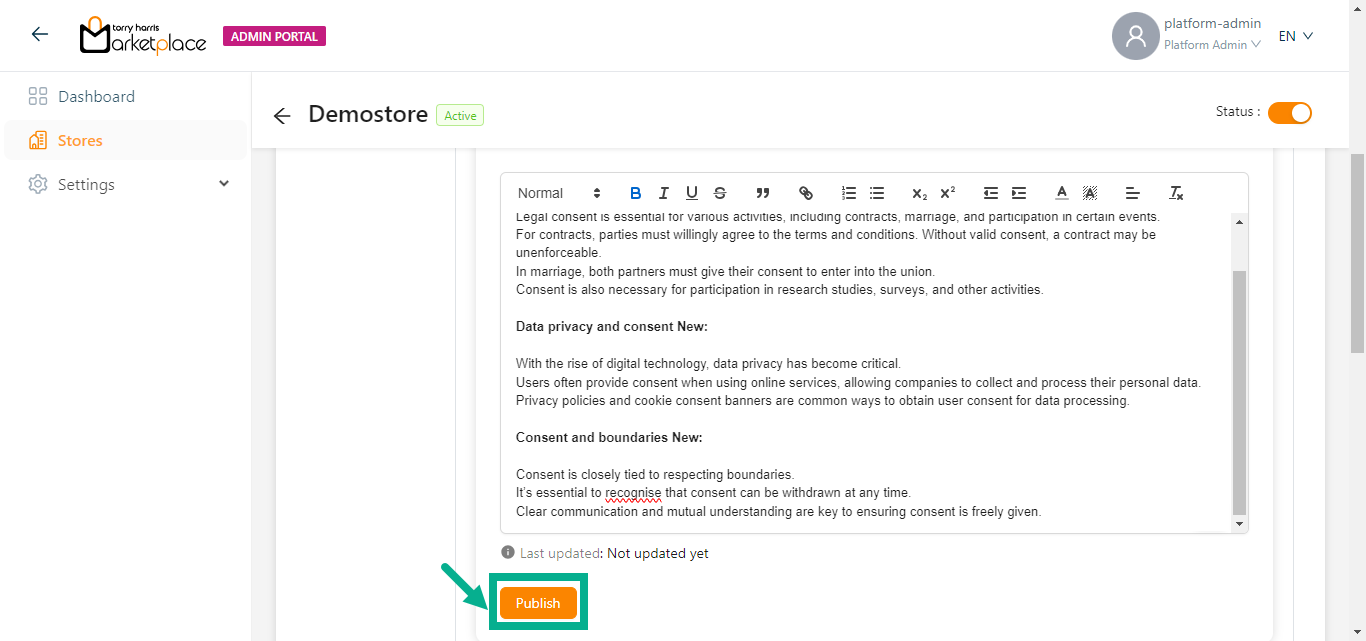
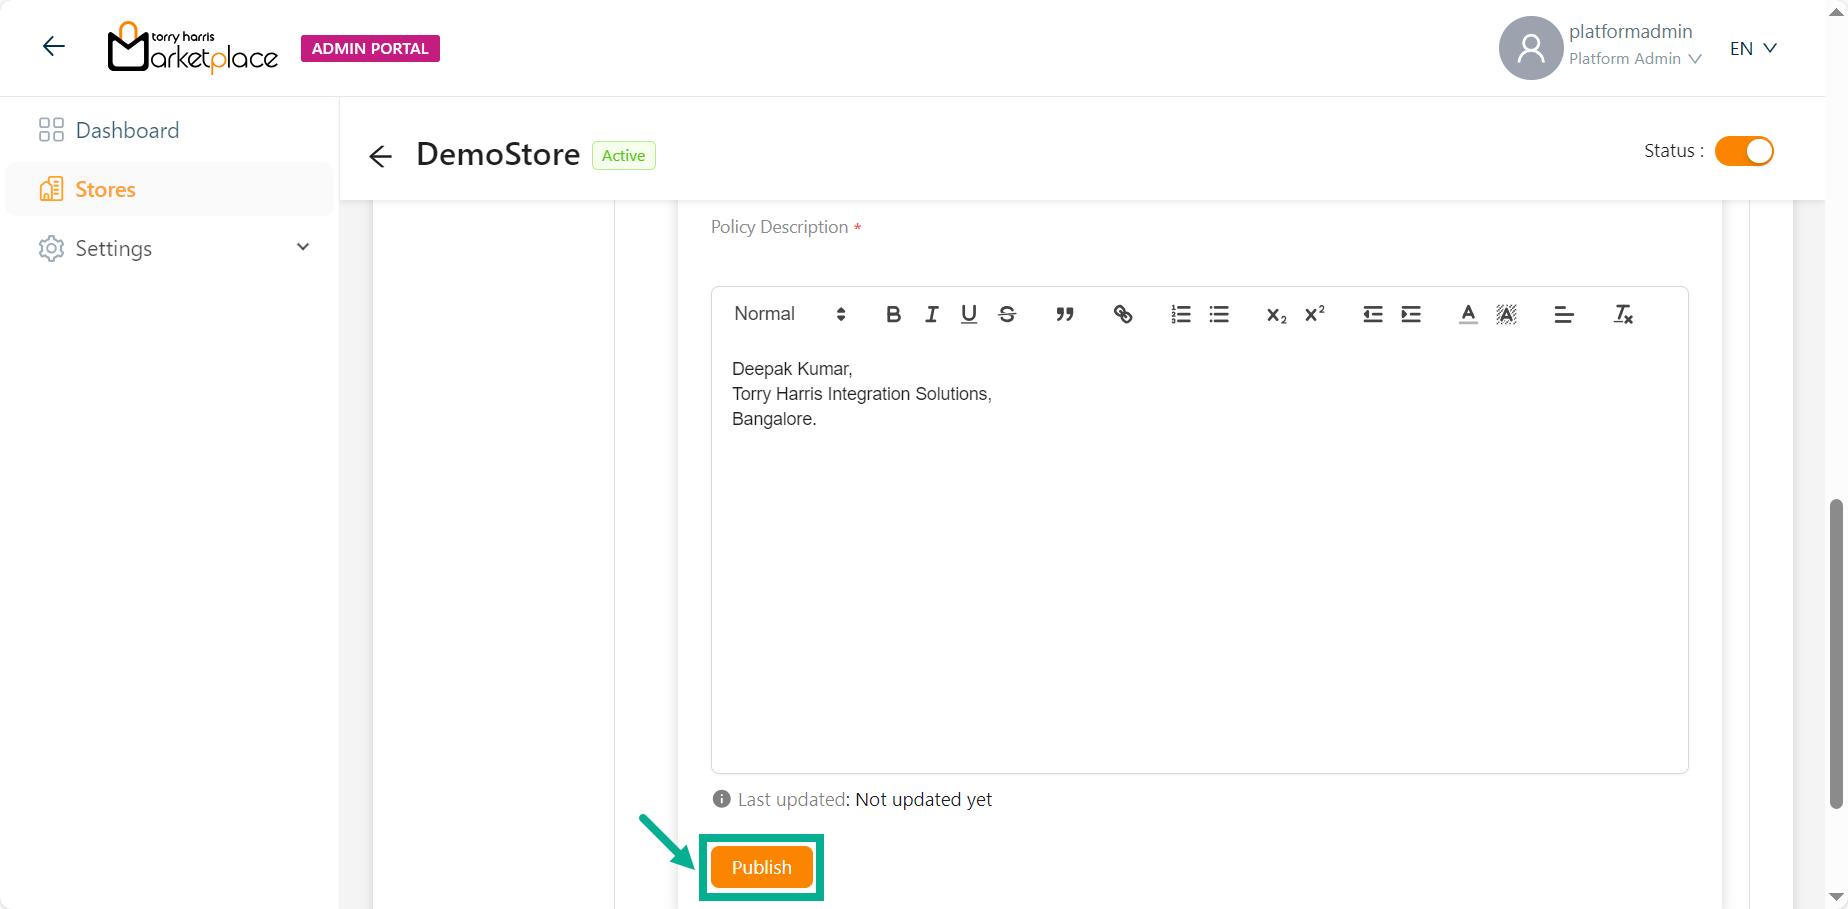
- Enter the Policy Description and click the Save button to save the policy details.
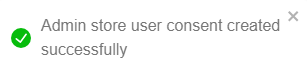
On saving, the confirmation message appears as shown below.
- Click Publish.
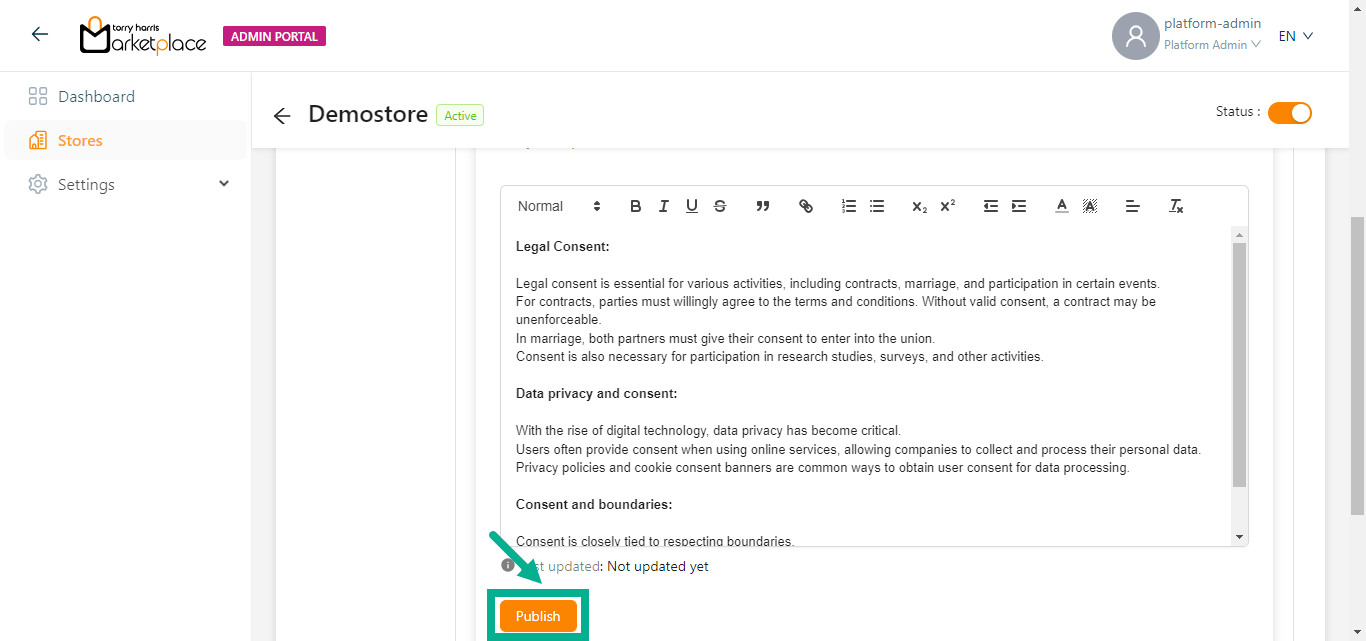
The dialogue box appears as shown below.
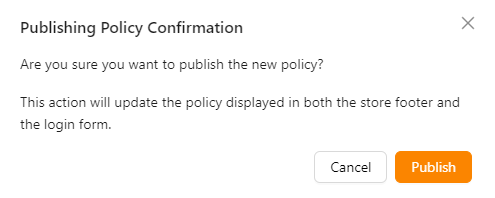
- Click Publish.
Upon publishing, the confirmation message appears as shown below.

The user can create a new policies by clicking Add New Policy button.
The Preview & Customize and Policy History buttons are enabled once the policy is created and saved.
Click the Policy History button to view the history of the respective policy.
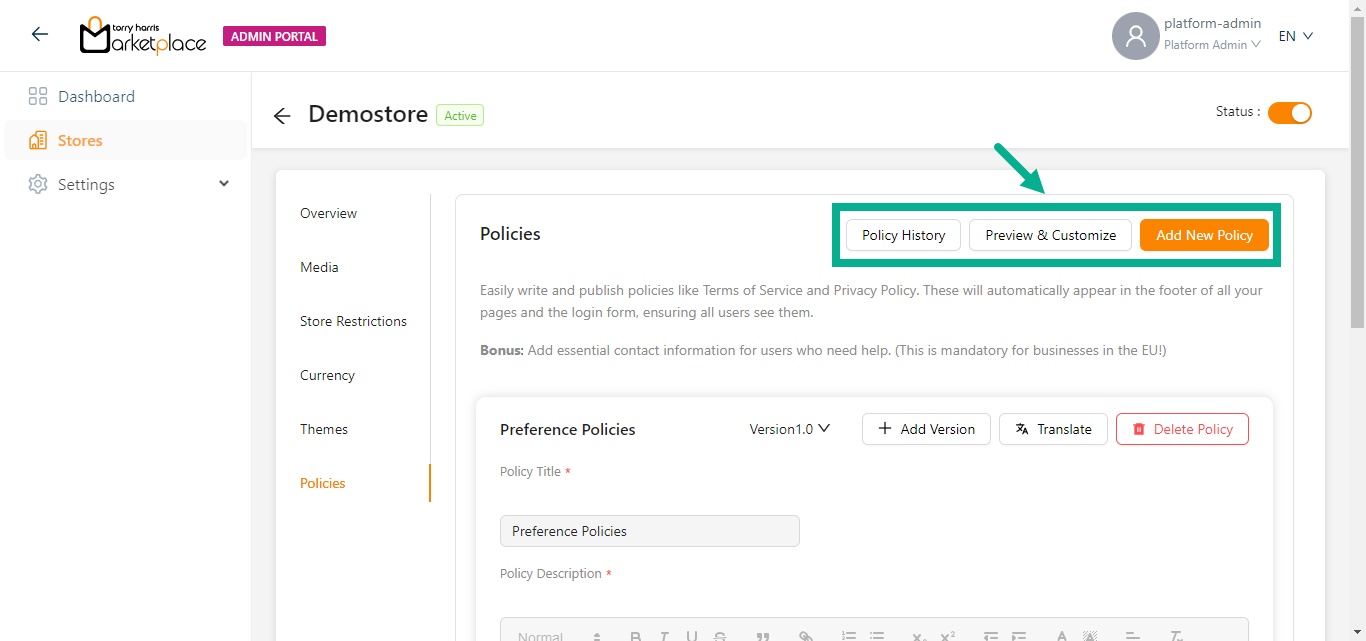
- Click Preview & Customize button to preview and customize the added policies.
The Preview & Customize dialogue box appears as shown below.
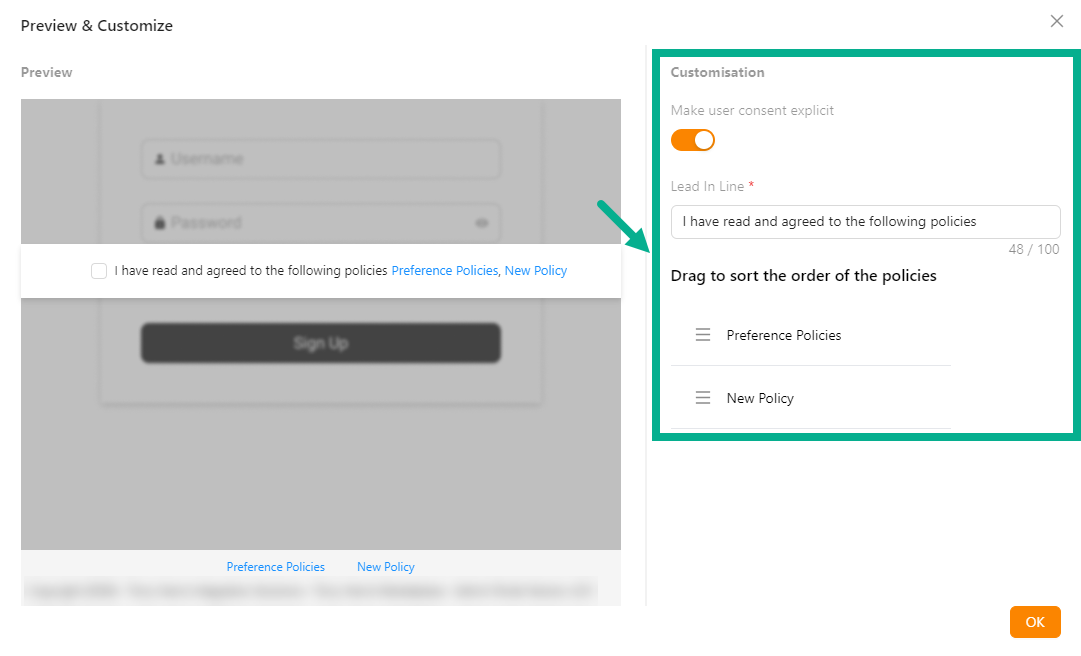
Enable the Make user consent explicit toggle to show the User Consent checkbox in the store management portal.
Update the Lead In Line if necessary.
Drag the added policies/contact information to sort the order of the policies/contact information.
Click OK.
Add Version to the Policy
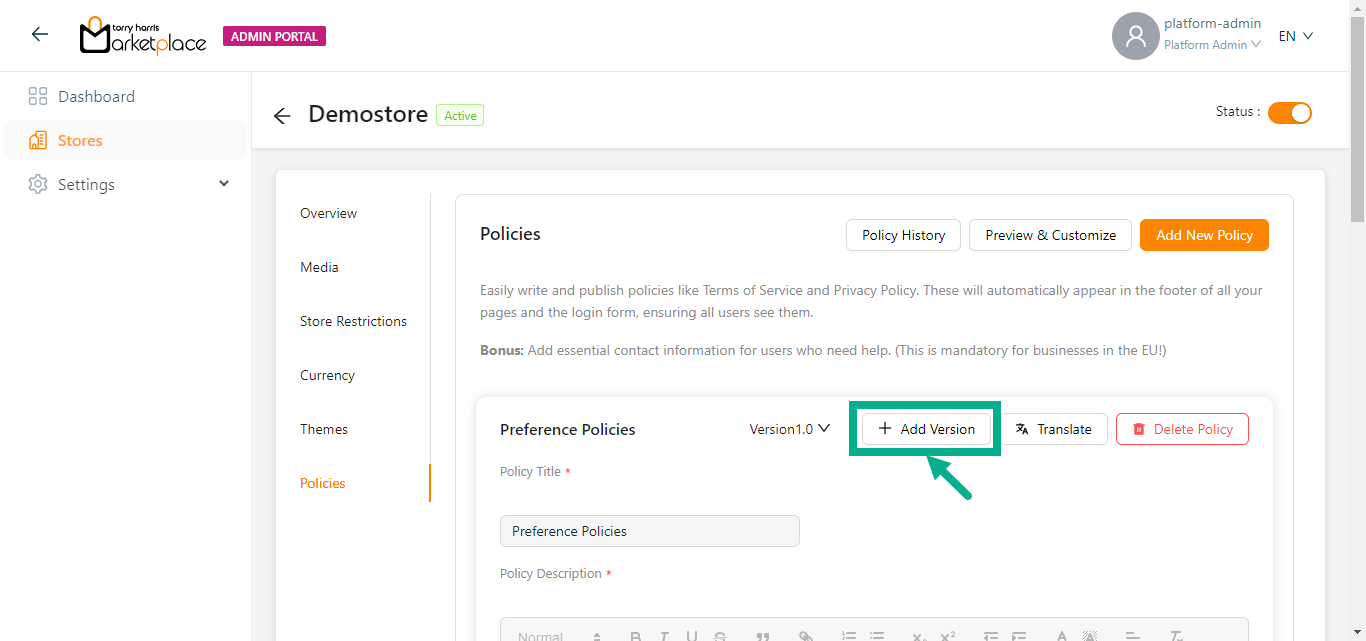
The Add Version button will only be enabled if the previous version has been published.
- Click Add Version button to add a new version of the policy.
Add Version dialogue box appears as shown below.
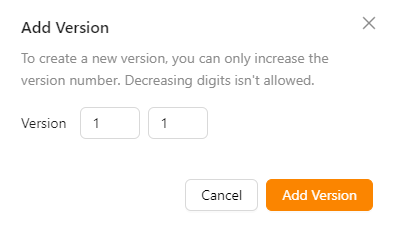
Increase the Version number as needed.
Click Add Version.
On adding, the confirmation message appears as shown below.
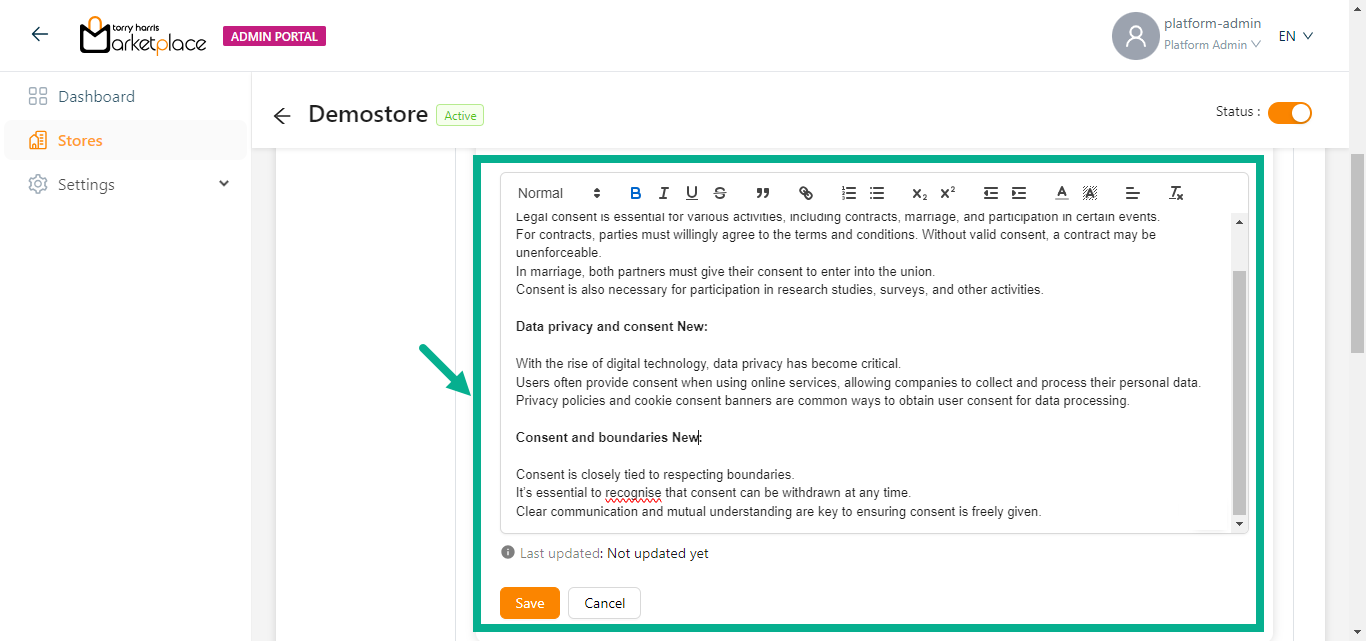
- Update the Policy Description and Click Save.
On saving, the confirmation message appears as shown below.
- Click Publish.
The dialogue box appears as shown below.
- Click Publish.
Upon publishing, the confirmation message appears as shown below.
Add Translation to Policies
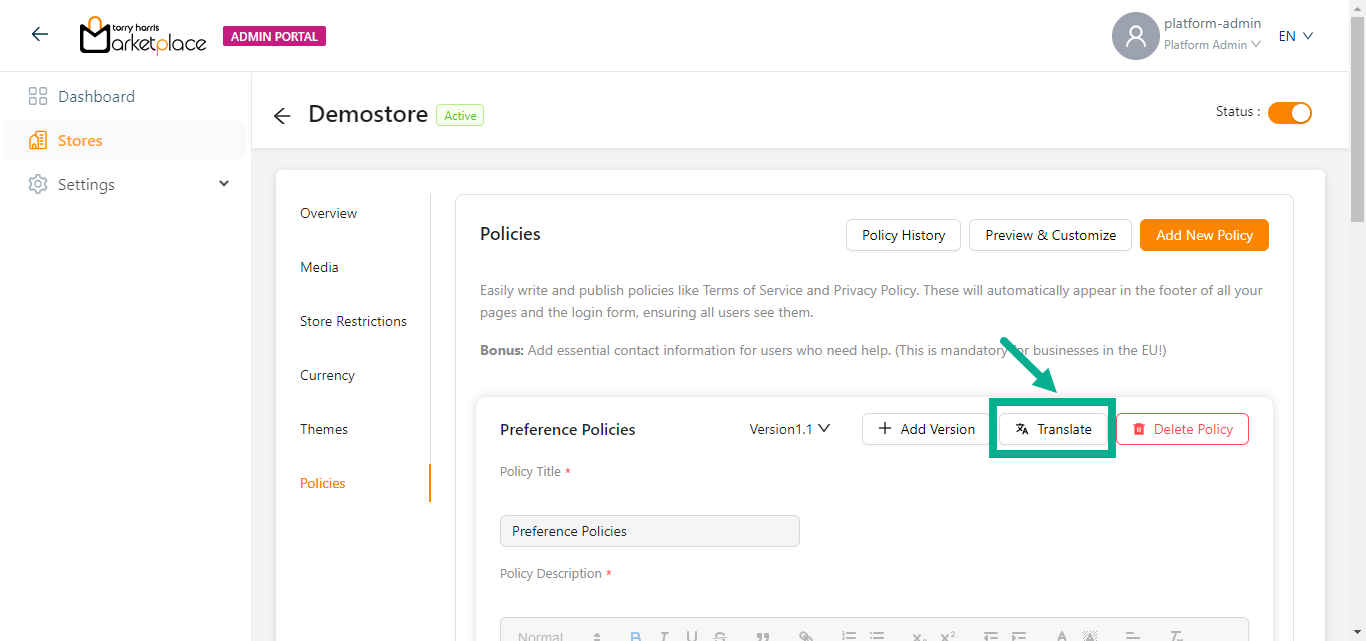
- Click Translate button.
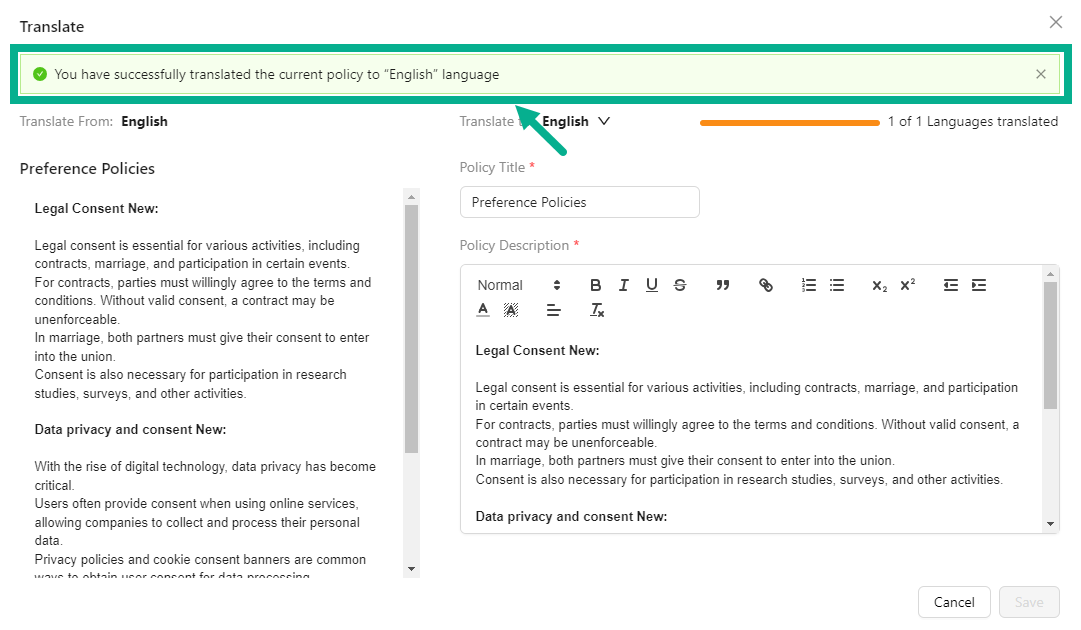
Translate dialogue box appears as shown below.
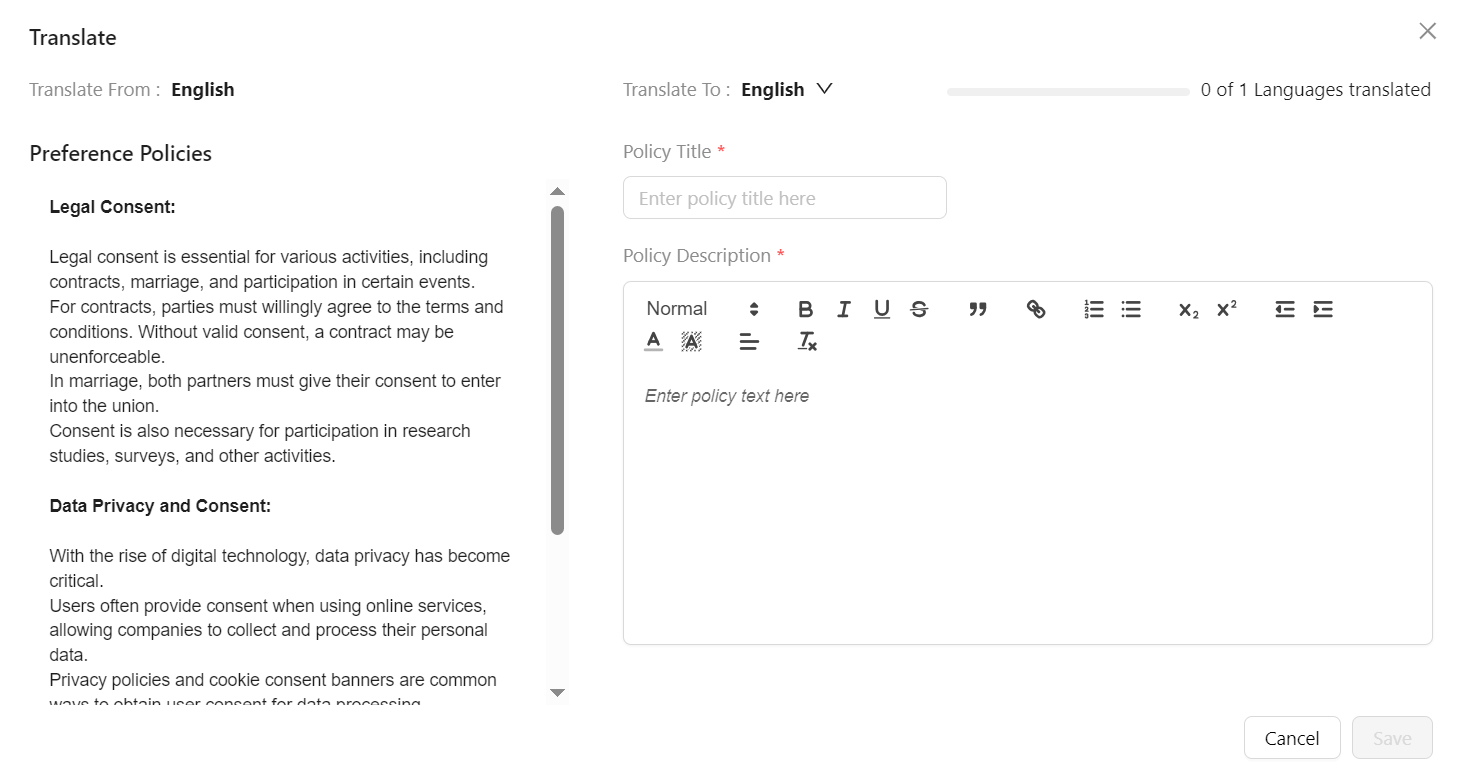
- Select Translate To from the drop-down if multiple languages are available.
The languages appear in the Translate To dropdown menu only if the Platform admin has created and activated them in the Admin portal.
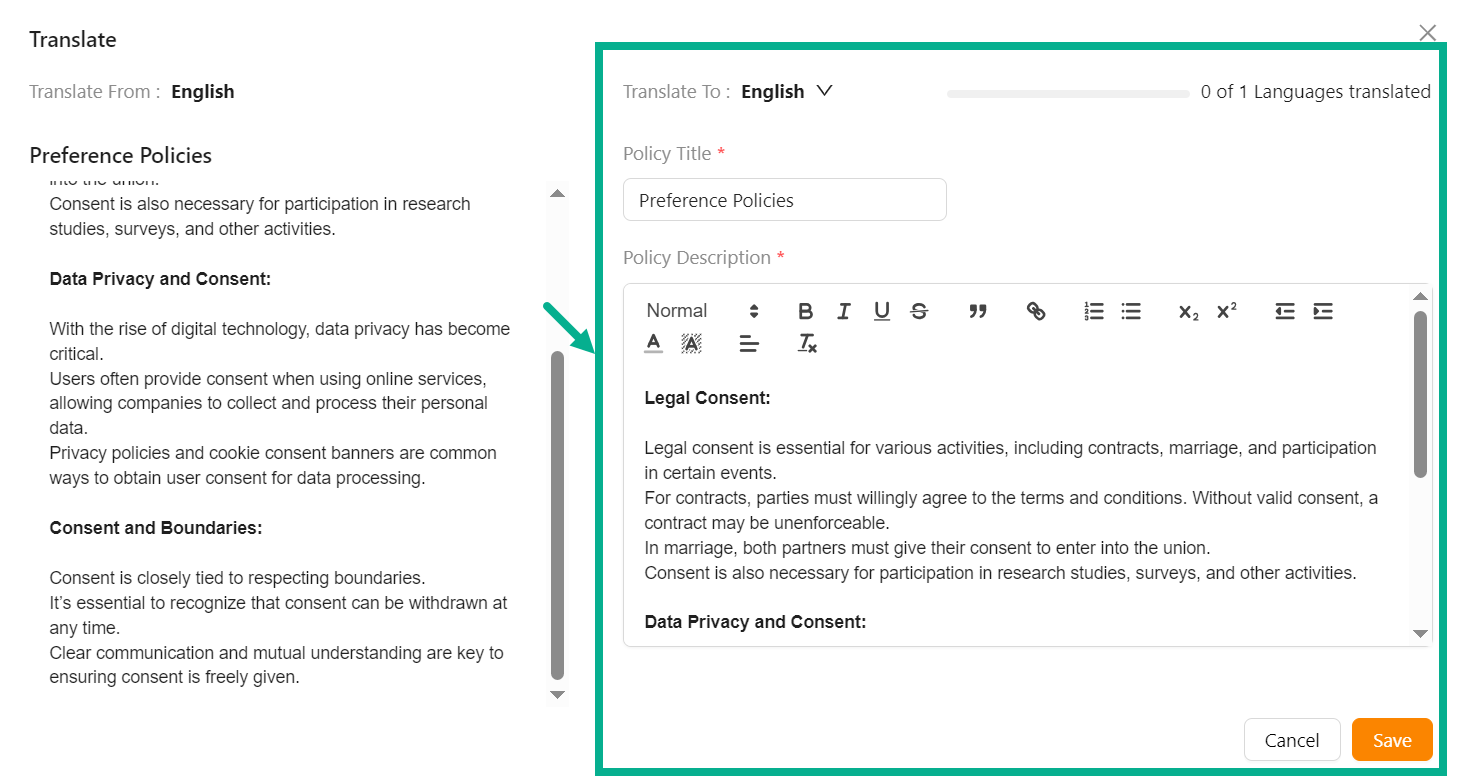
Enter the Policy Title and Policy Description in the language that needs to be translated.
Click Save.
On saving, the confirmation message appears as shown below.
Add Contact Information
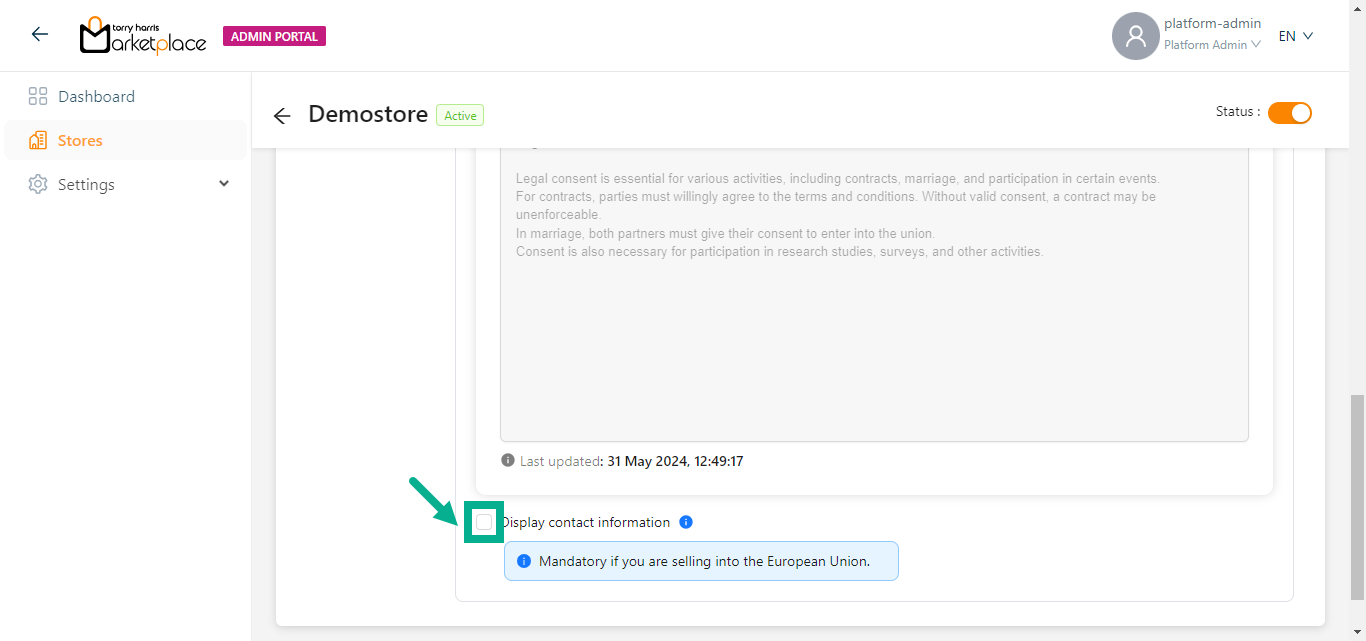
- Enable the Display Contact Information check box to add the contact information.
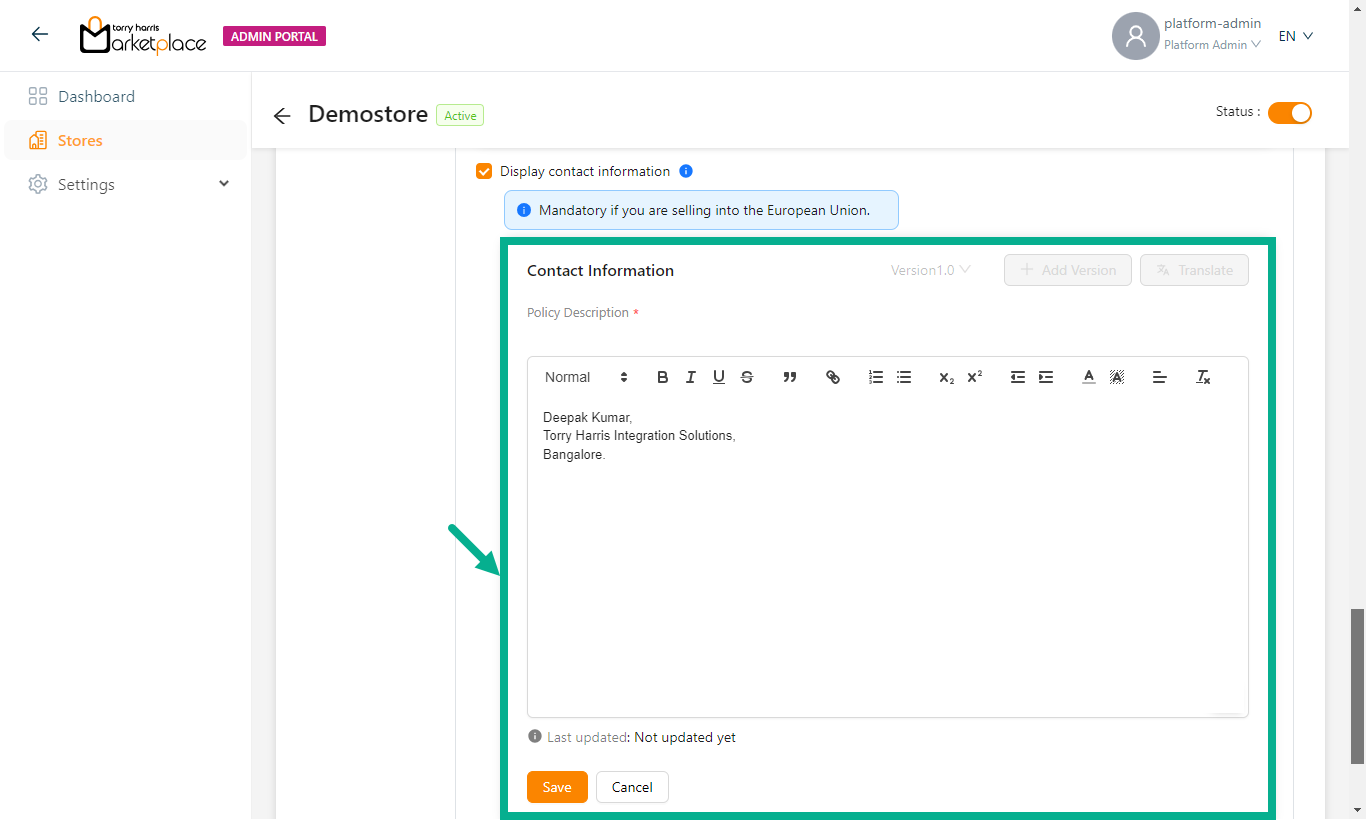
- Enter the Contact Information and click the Save.
On saving, the confirmation message appears as shown below.
- Click Publish.
The Publishing Policy Confirmation dialogue box appears as shown below.
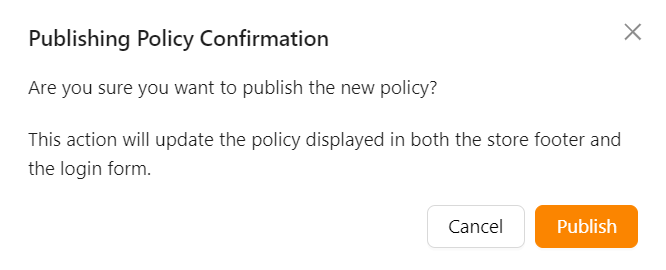
- Click Publish.
Upon publishing, the confirmation message appears as shown below.
Deactivating a Store
If you aren’t using a Store for a while, you can deactivate it. The same store may later be reactivated if needed.
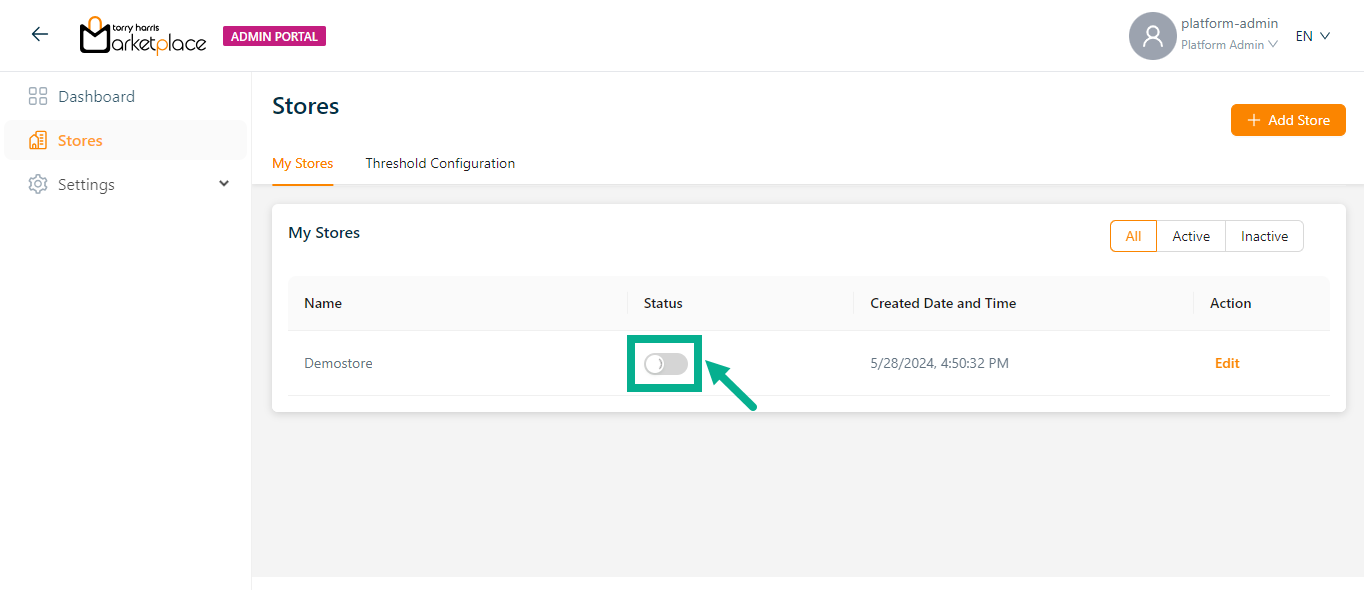
- Choose a store and turn off the Status toggle.
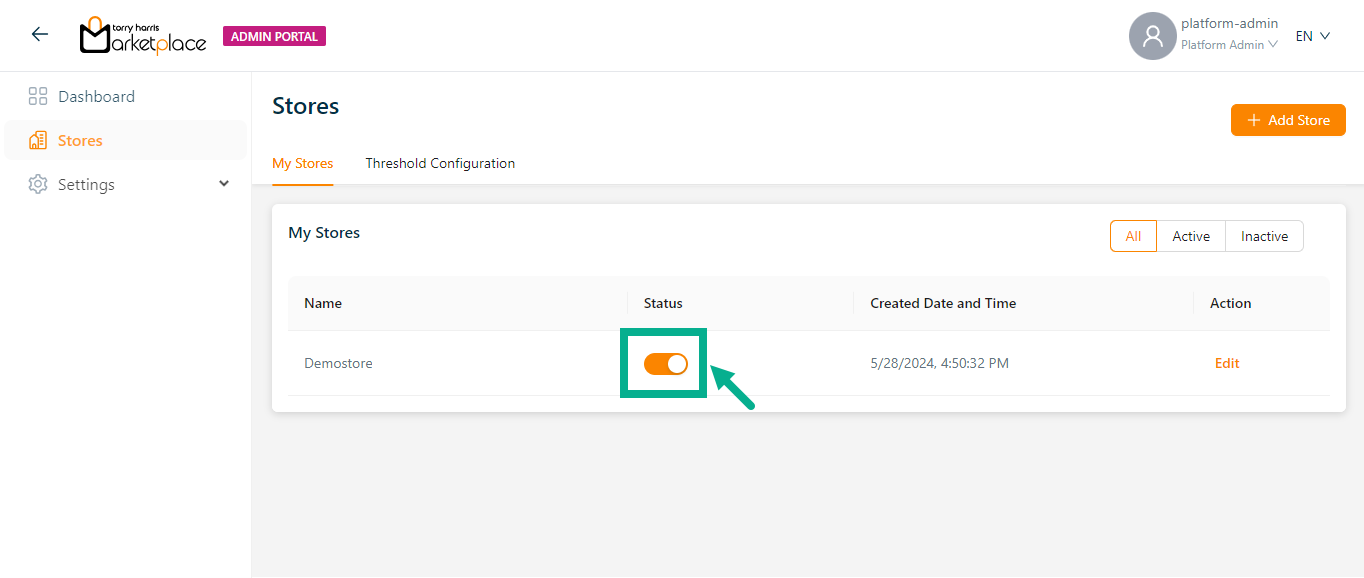
The dialogue box appears as shown below.
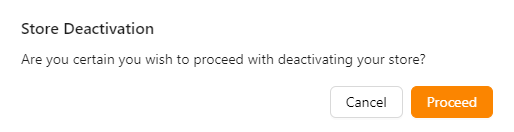
- Click Yes.
On clicking yes, the dialogue box appears as shown below.
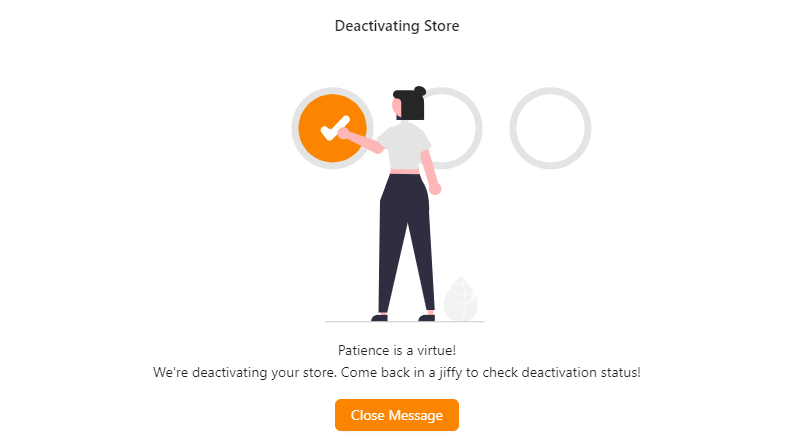
- Click Close Message.
The store deactivation is running in the background until the loader is displayed in the status toggle as shown in the below screenshot.
Upon deactivation, the confirmation message appears as shown below.