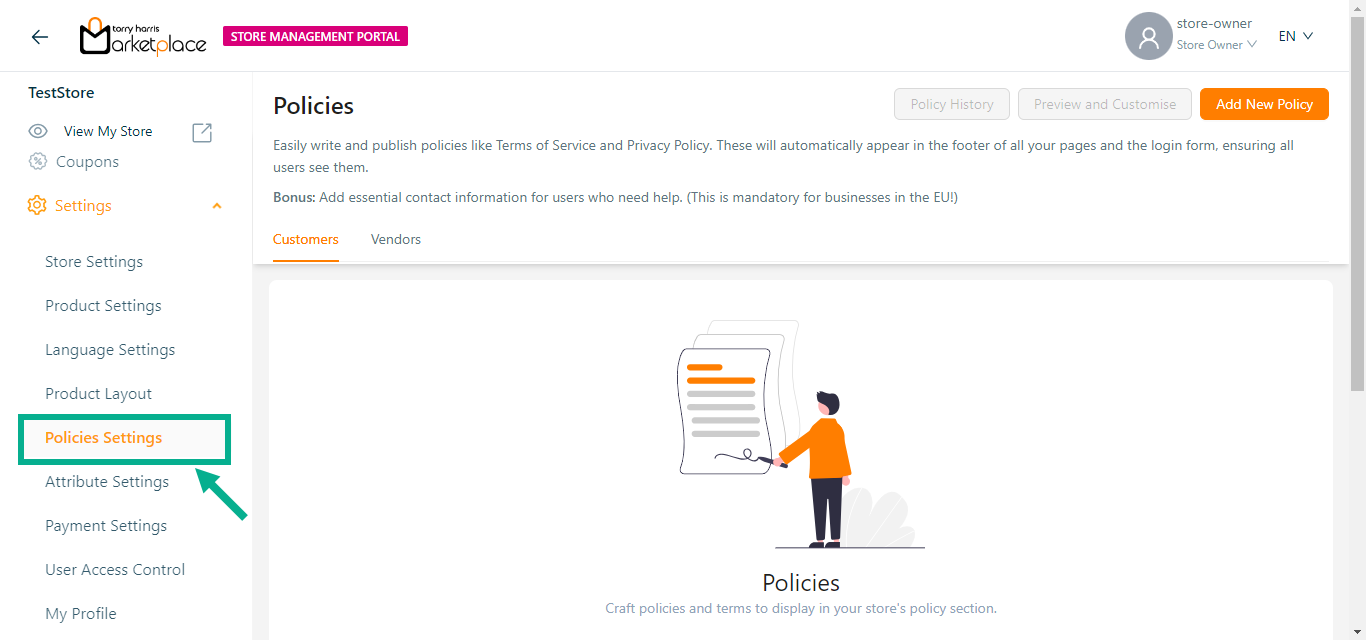
Policy Setting
The Policy Settings section allows the store owner to post policies and contact information for the vendor portal and storefront.
Creating Policy for Customers
- Click the Add New Policy button to add the user consent for the customer.
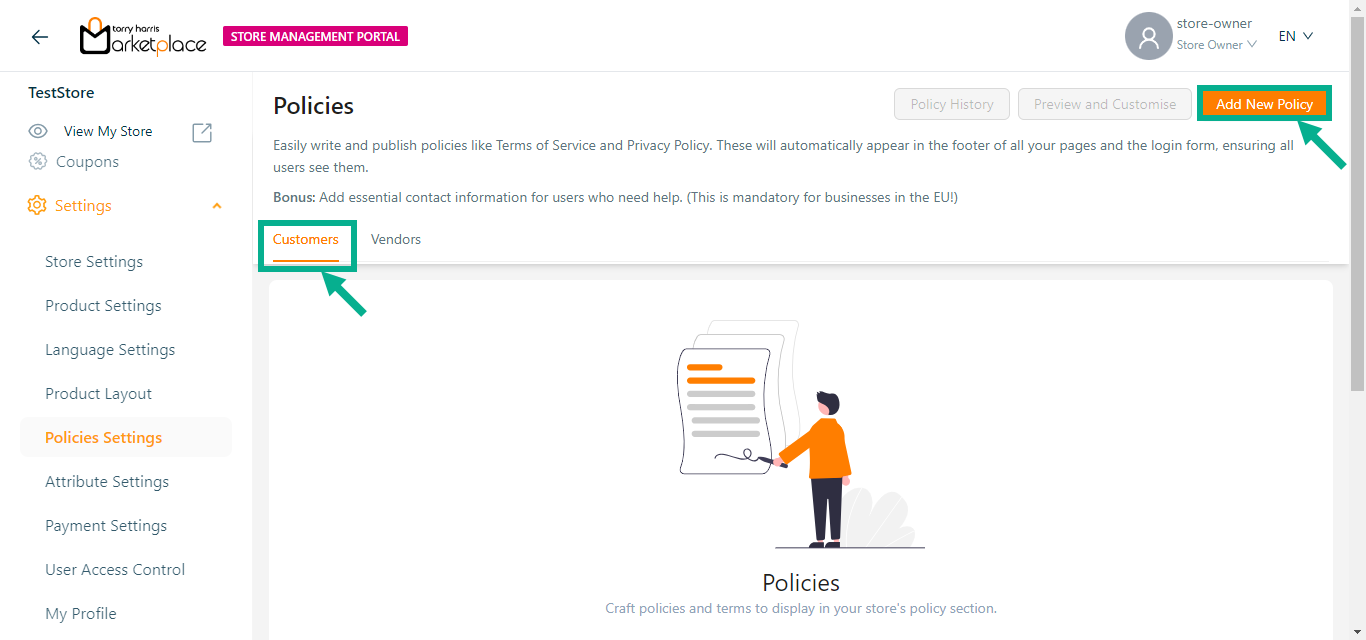
Upon adding, the screen appears as shown below.
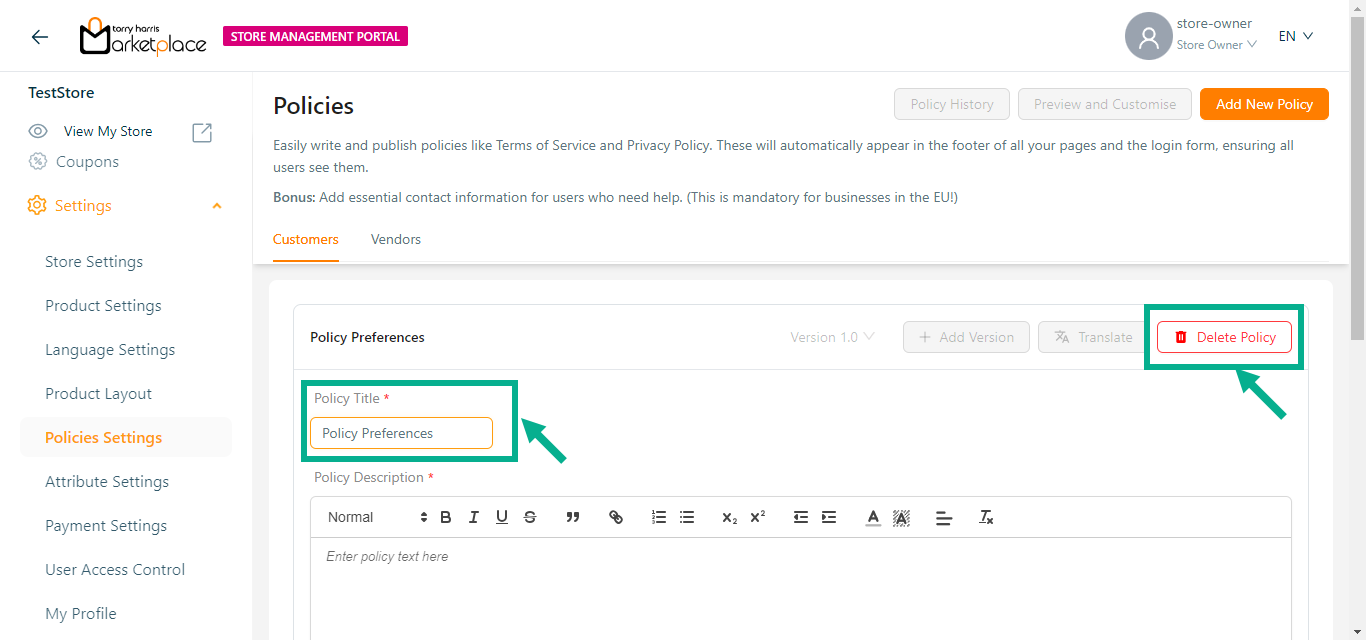
- Enter Policy Title.
Click the Delete button to delete the policies if necessary.
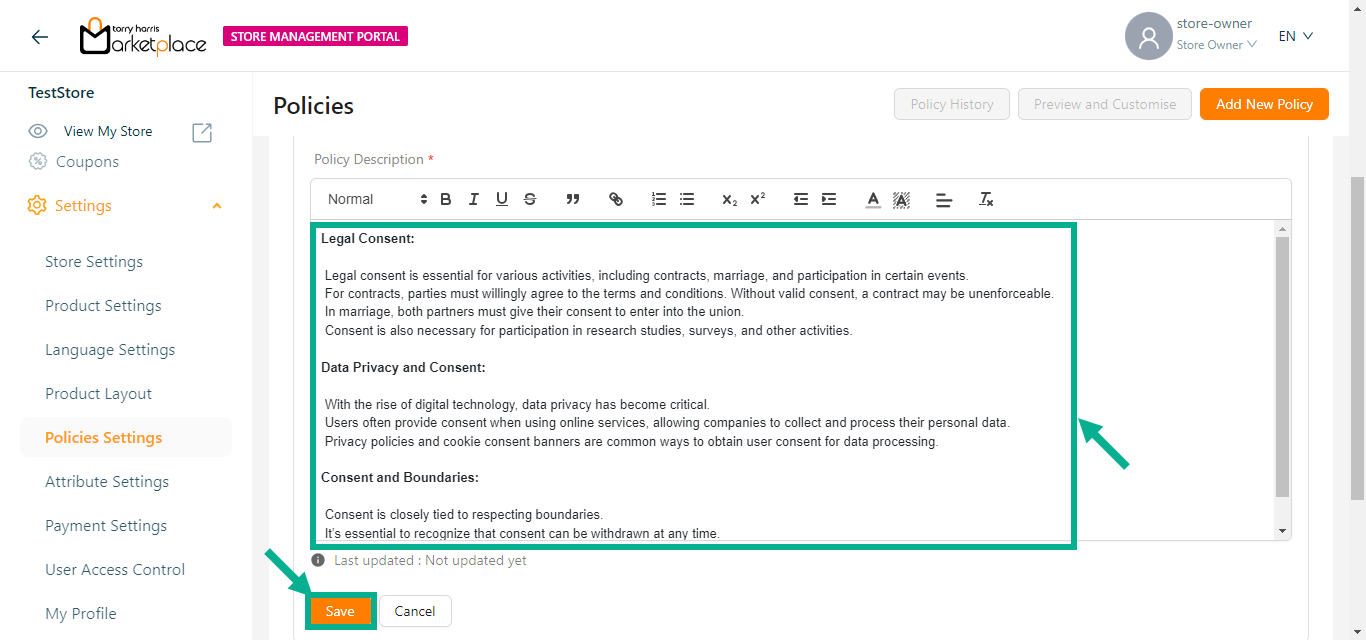
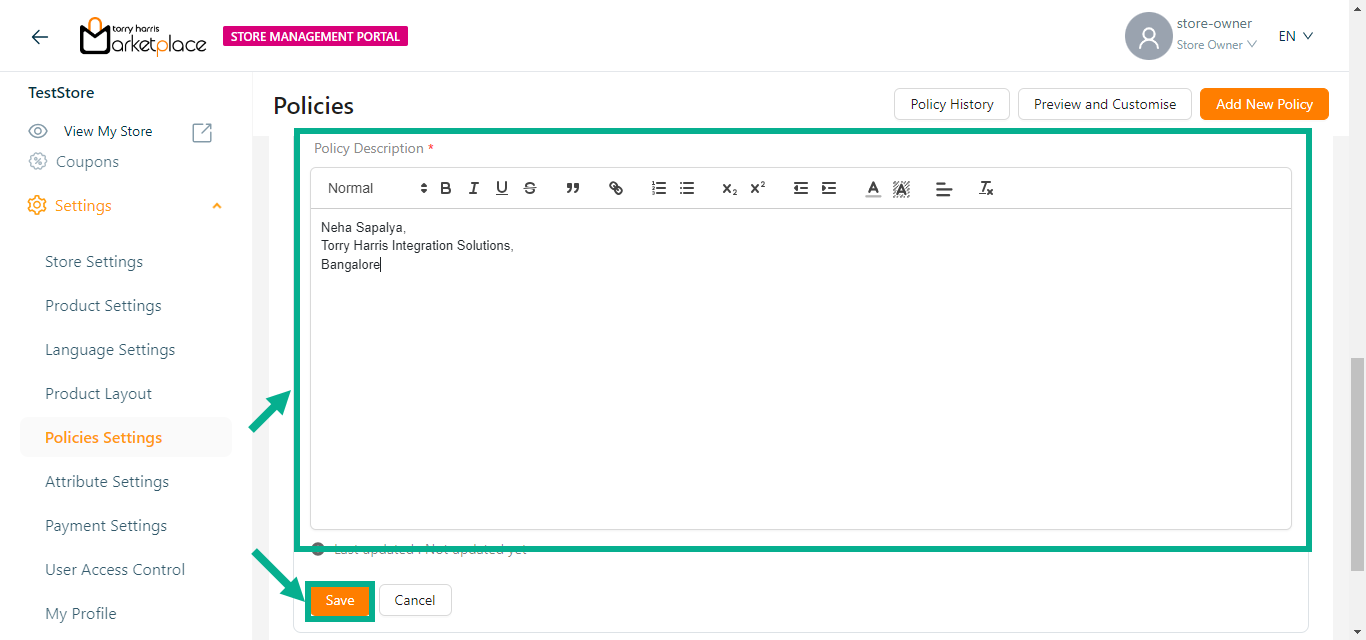
- Enter the Policy Description and click the Save button to save the policy details.
On saving, the confirmation message appears as shown below.

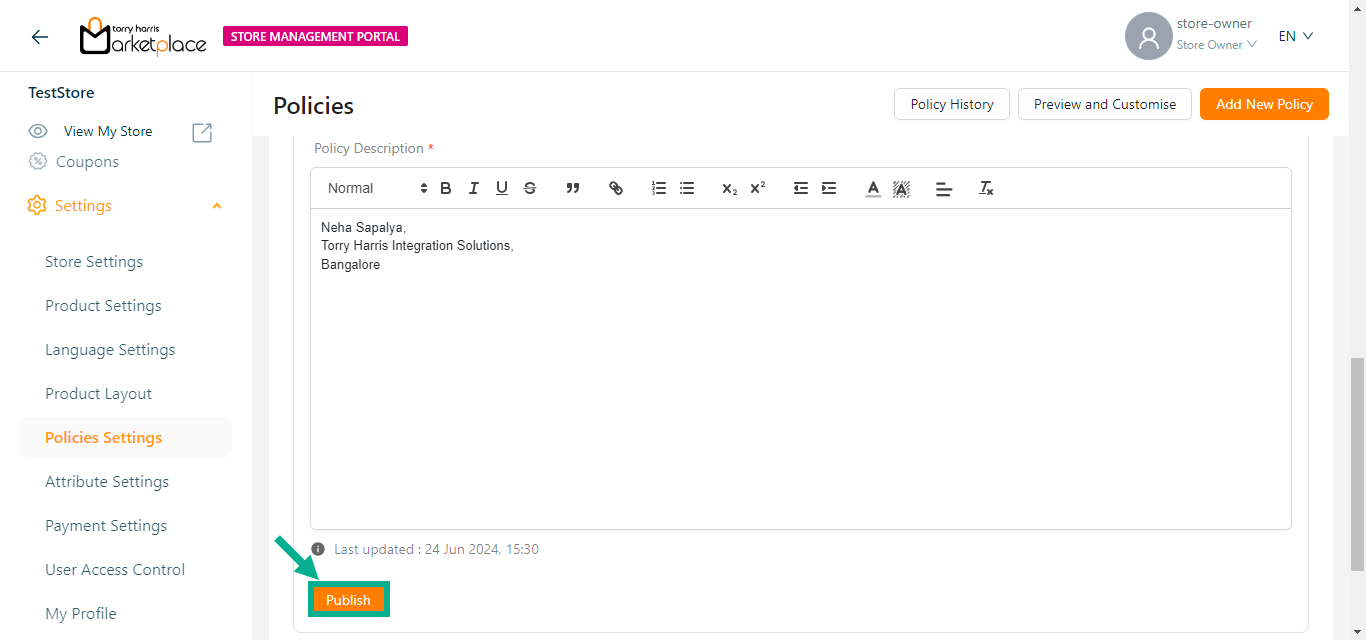
- Click Publish.

The dialogue box appears as shown below.
- Click Publish.
Upon publishing, the confirmation message appears as shown below.

The user can create a new policies by clicking Add New Policy button.
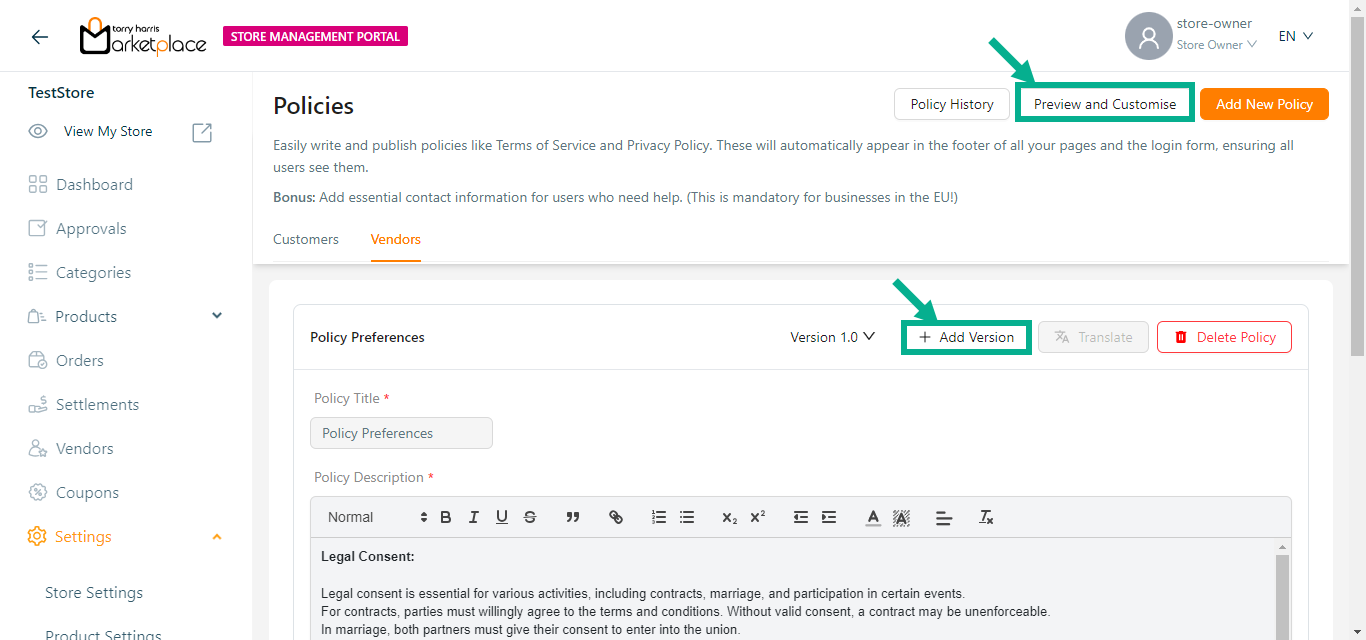
The Preview and Customise button is enabled once the policy is created and saved.
Click the Policy History button to view the history of the respective policy.
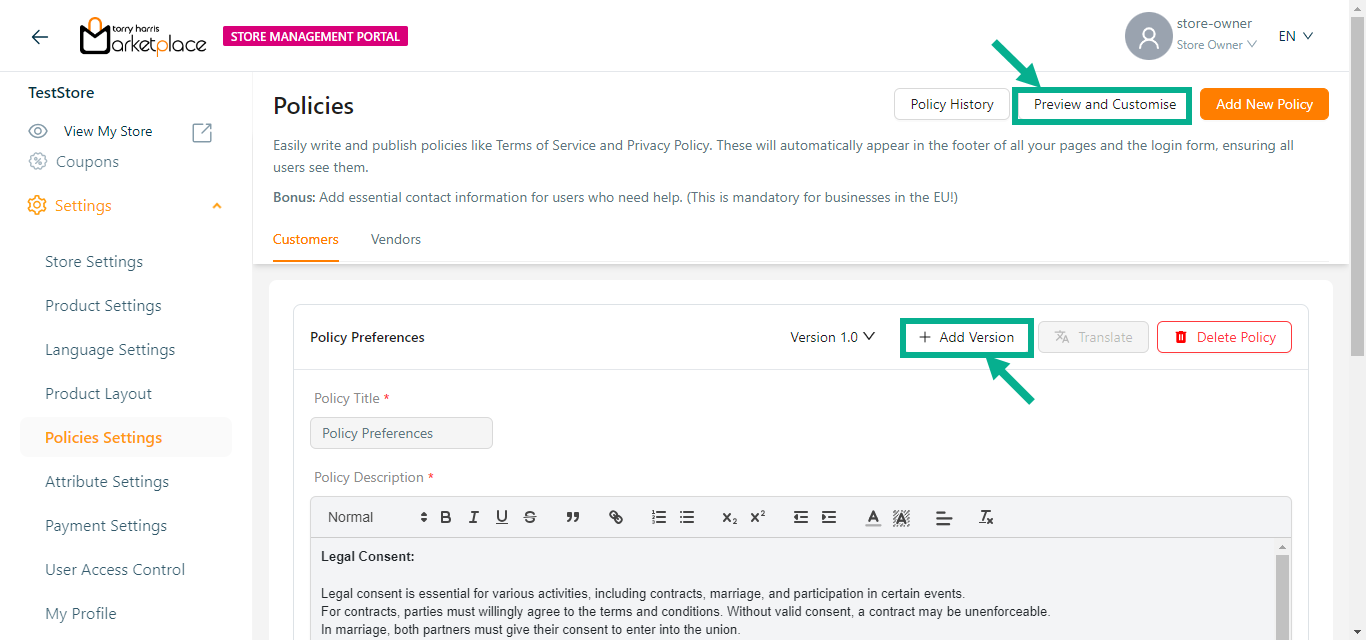
- Click Preview and Customise button to preview and customise the added policies.
The Preview and Customise dialogue box appears as shown below.
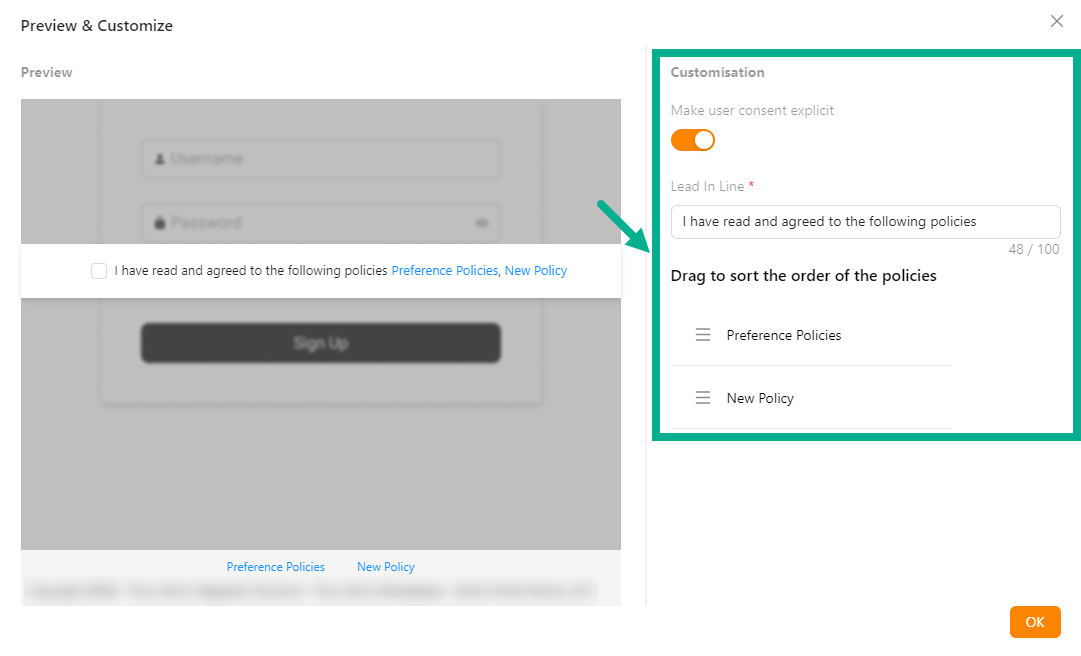
Enable the Make user consent explicit toggle to show the User Consent checkbox in the store management portal.
Update the Lead In Line if necessary.
Drag the added policies/contact information to sort the order of the policies/contact information.
Click OK.
The Add Version button will only be enabled if the previous version has been published.
- Click Add Version button to add a new version of the policy.
Add Version dialogue box appears as shown below.
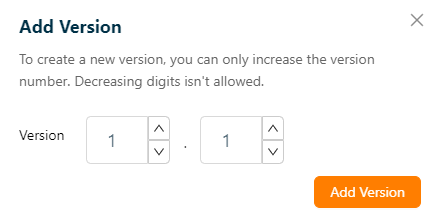
Increase the Version number as needed.
Click Add Version.
On adding, the confirmation message appears as shown below.

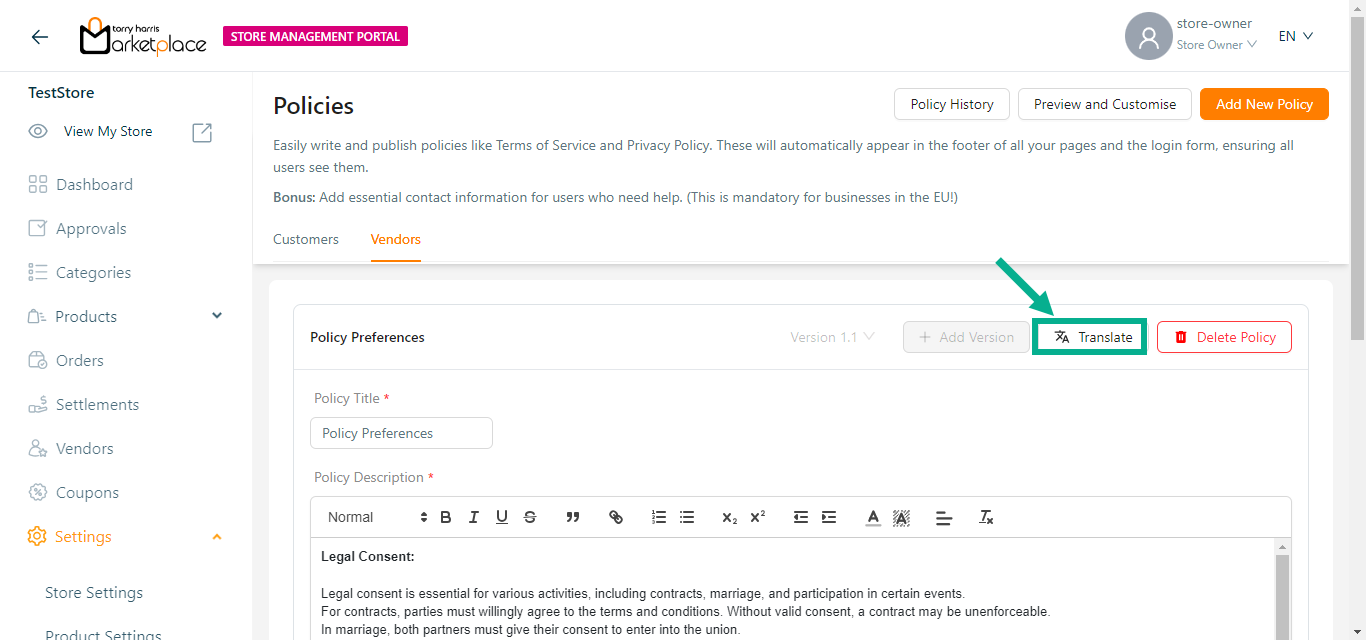
- Click Translate.
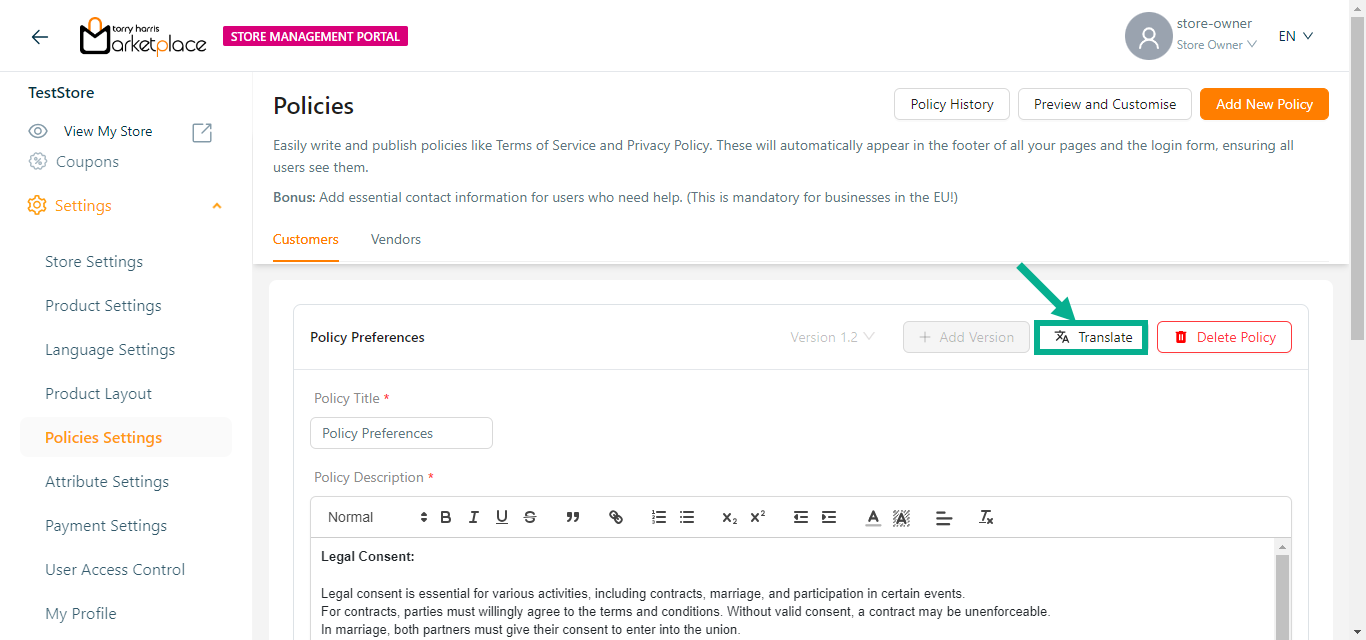
Translate dialogue box appears as shown below.
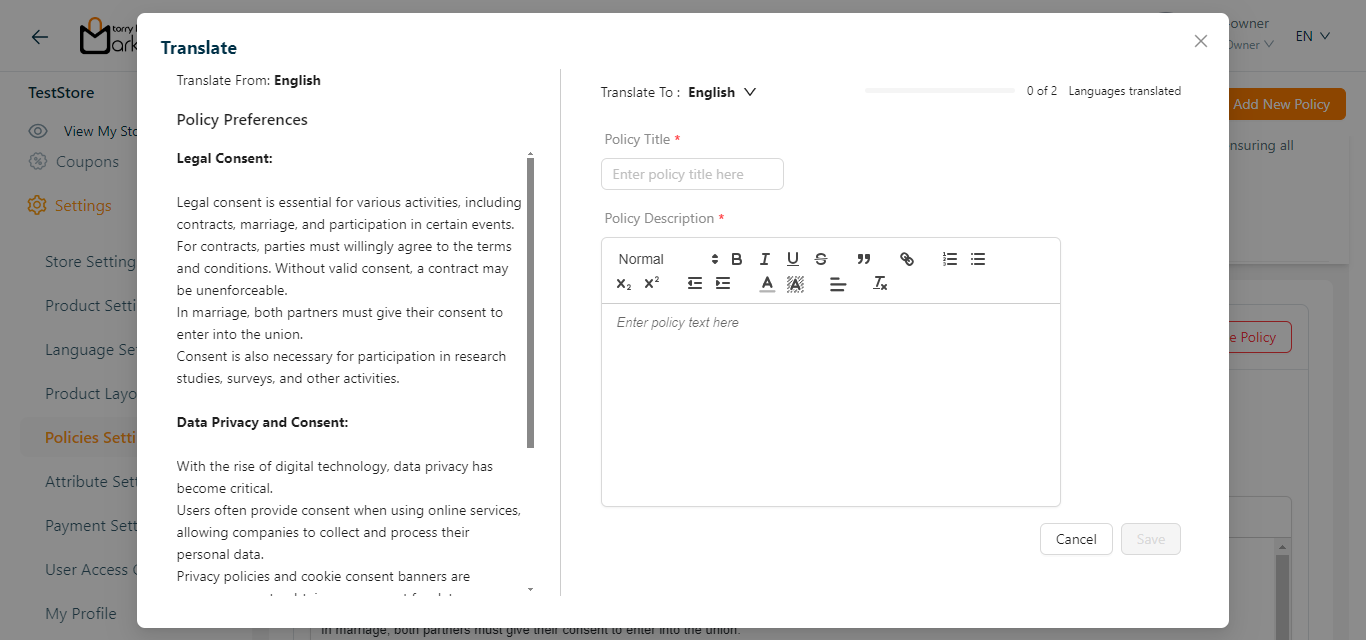
- Select Translate To from the drop-down if multiple languages are available.
The languages appear in the Translate To dropdown menu only if the Store Owner has created and activated them in the Store Management Portal.

Enter the Policy Title and Policy Description in the language that needs to be translated.
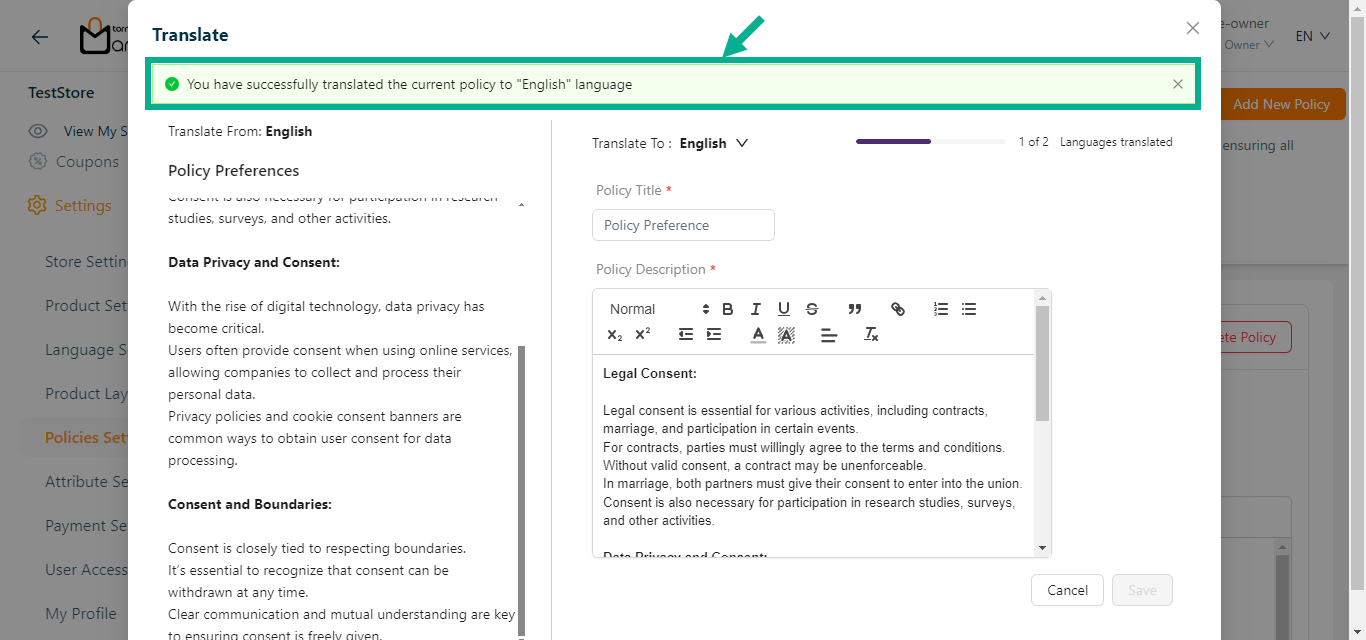
Click Save.
On saving, the confirmation message appears as shown below.
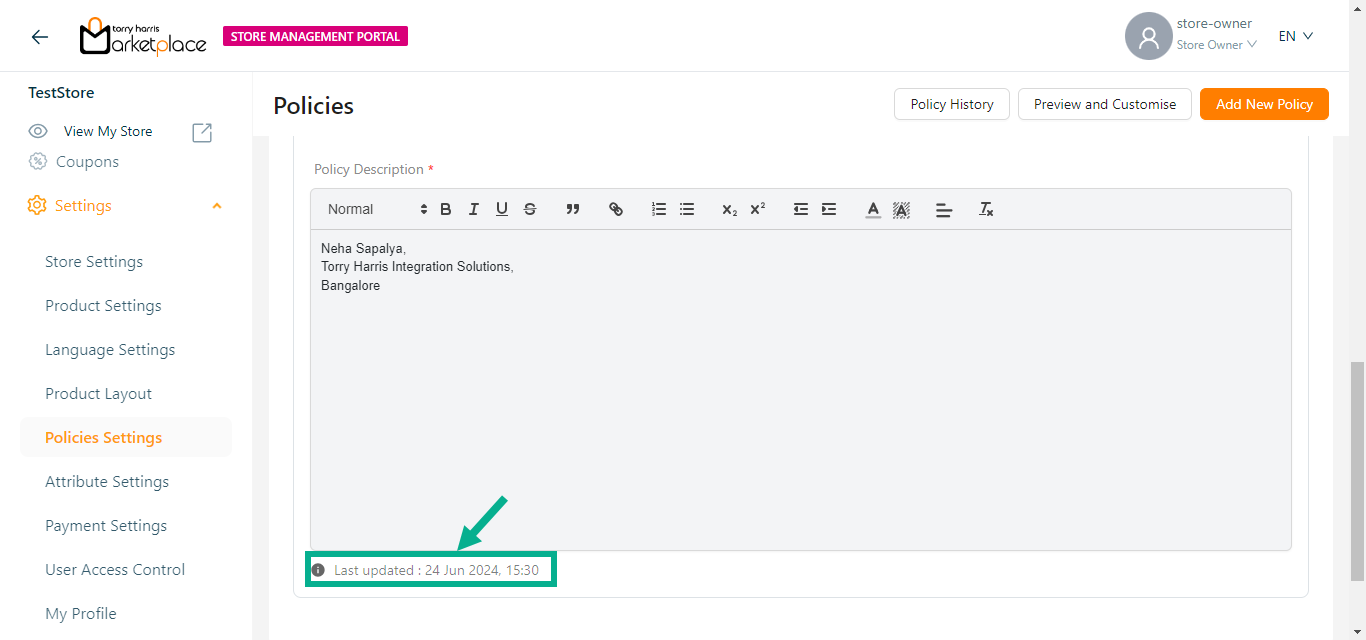
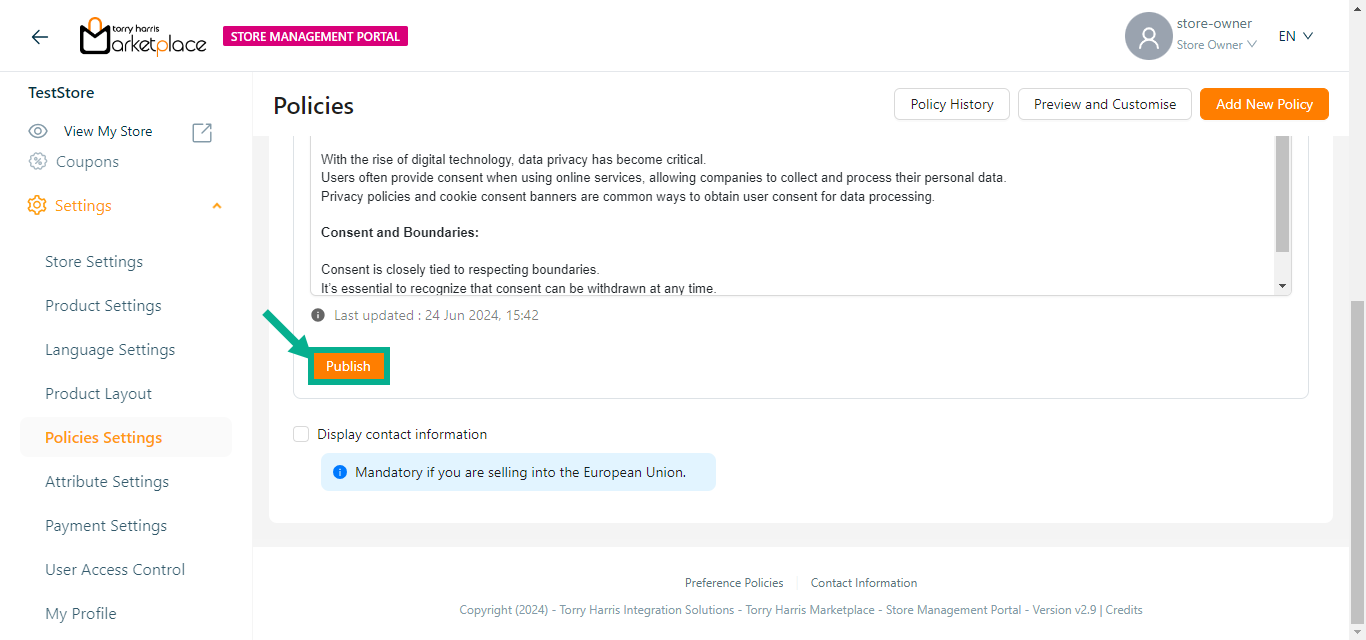
The Last updated date is auto-populated and displays the last updated date.
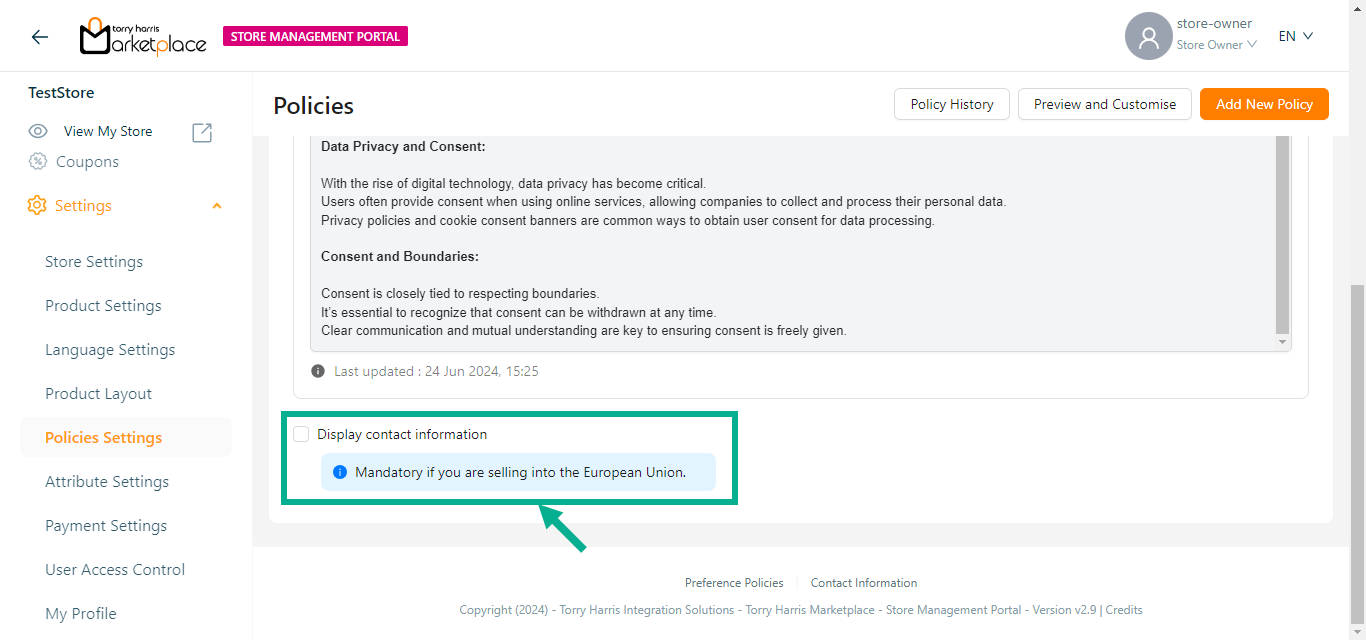
- Enable the Display contact information check box to add the contact information.
- Enter the Contact Information and click the Save button to save the contact information.
On saving, the confirmation message appears as shown below.

- Click Publish.
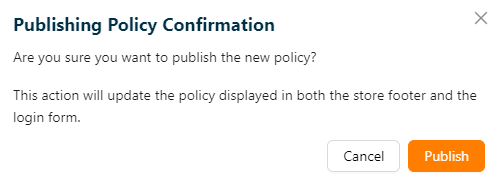
The Publishing Policy Confirmation dialogue box appears as shown below.
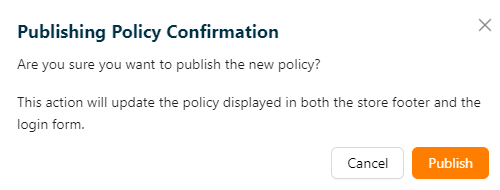
- Click Publish.
Upon publishing, the confirmation message appears as shown below.
The Last updated date is auto-populated and displayed.
The Saved Contact Information and Policies are automatically linked to all page footer and the login form footer in Storefront.
Creating Policy for Vendors
- Click the Add New Policy button to add the user consent for the vendors.
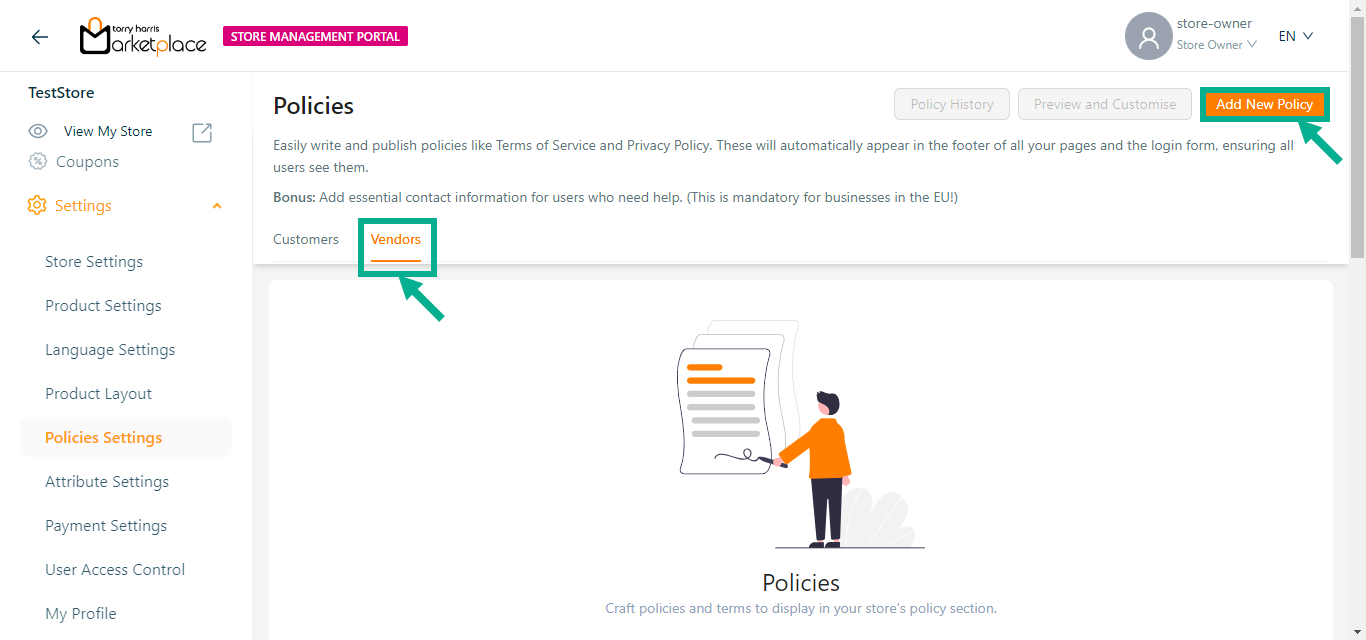
Upon adding, the screen appears as shown below.
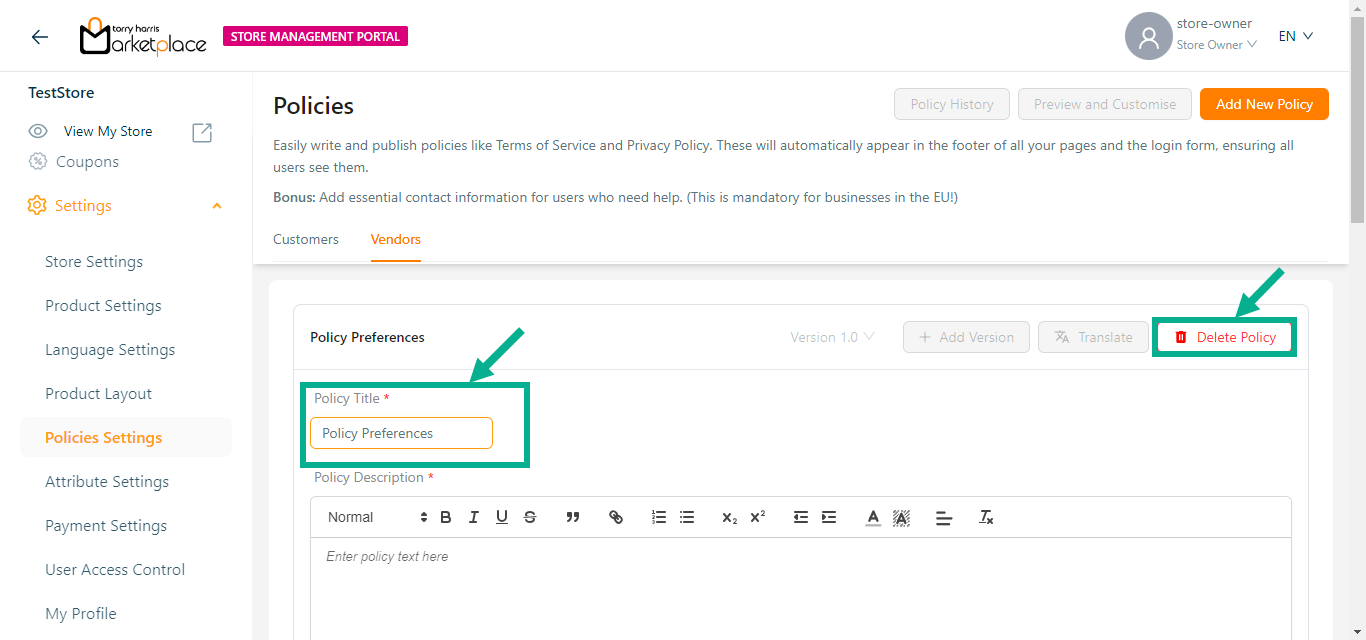
- Enter Policy Title.
Click the Delete button to delete the policies if necessary.
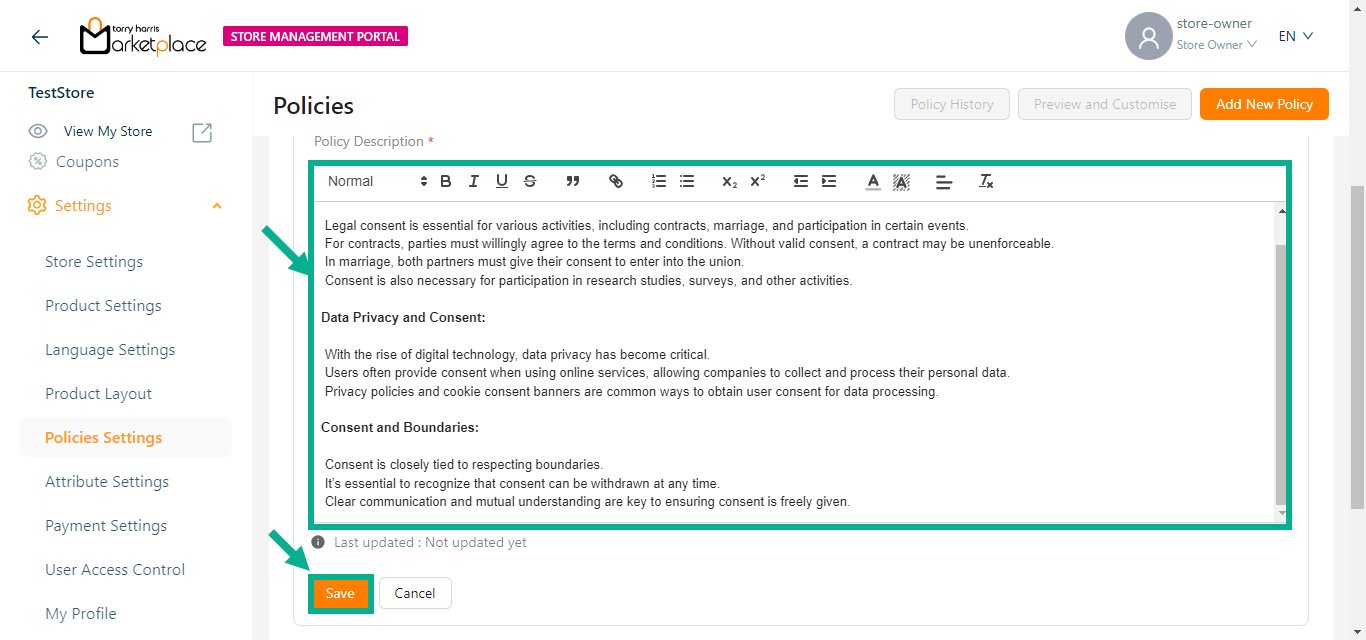
- Enter the Policy Description and click the Save button to save the policy details.
On saving, the confirmation message appears as shown below.
- Click Publish.
The dialogue box appears as shown below.
- Click Publish.
Upon publishing, the confirmation message appears as shown below.
The user can create a new policies by clicking Add New Policy button.
The Preview and Customise button is enabled once the policy is created and saved.
Click the Policy History button to view the history of the respective policy.
- Click Preview and Customise button to preview and customise the added policies.
The Preview and Customise dialogue box appears as shown below.
Enable the Make user consent explicit toggle to show the User Consent checkbox in the store management portal.
Update the Lead In Line if necessary.
Drag the added policies/contact information to sort the order of the policies/contact information.
Click OK.
The Add Version button will only be enabled if the previous version has been published.
- Click Add Version button to add a new version of the policy.
Add Version dialogue box appears as shown below.
Increase the Version number as needed.
Click Add Version.
On adding, the confirmation message appears as shown below.
- Click Translate.
Translate dialogue box appears as shown below.
- Select Translate To from the drop-down if multiple languages are available.
The languages appear in the Translate To dropdown menu only if the Store Owner has created and activated them in the Store Management Portal.
Enter the Policy Title and Policy Description in the language that needs to be translated.
Click Save.
On saving, the confirmation message appears as shown below.
The Last updated date is auto-populated and displays the last updated date.
- Enable the Display contact information check box to add the contact information.
- Enter the Contact Information and click the Save button to save the contact information.
On saving, the confirmation message appears as shown below.
- Click Publish.
The Publishing Policy Confirmation dialogue box appears as shown below.
- Click Publish.
Upon publishing, the confirmation message appears as shown below.
The Last updated date is auto-populated and displayed.
The Saved Contact Information and Policies are automatically linked to all page footer and the login form footer in Storefront.