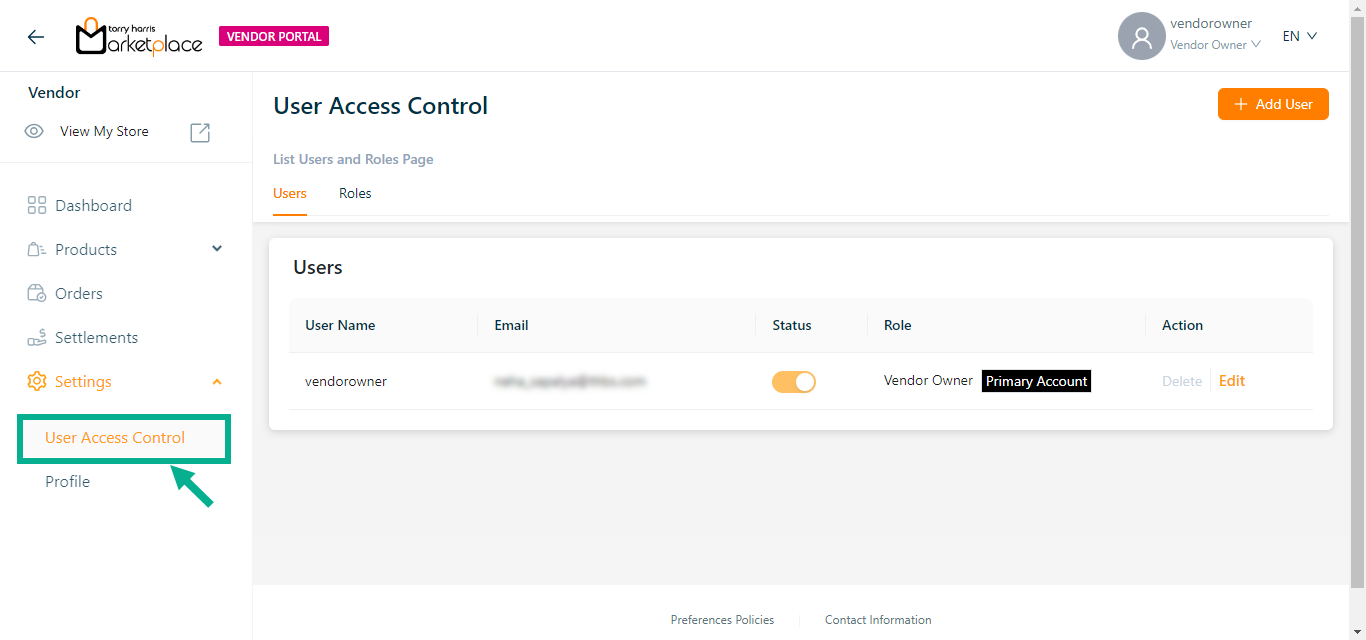
User Access Control
User Access Control enables administrators to create/delete an individual users and assign them responsibilities within as per the requirement.
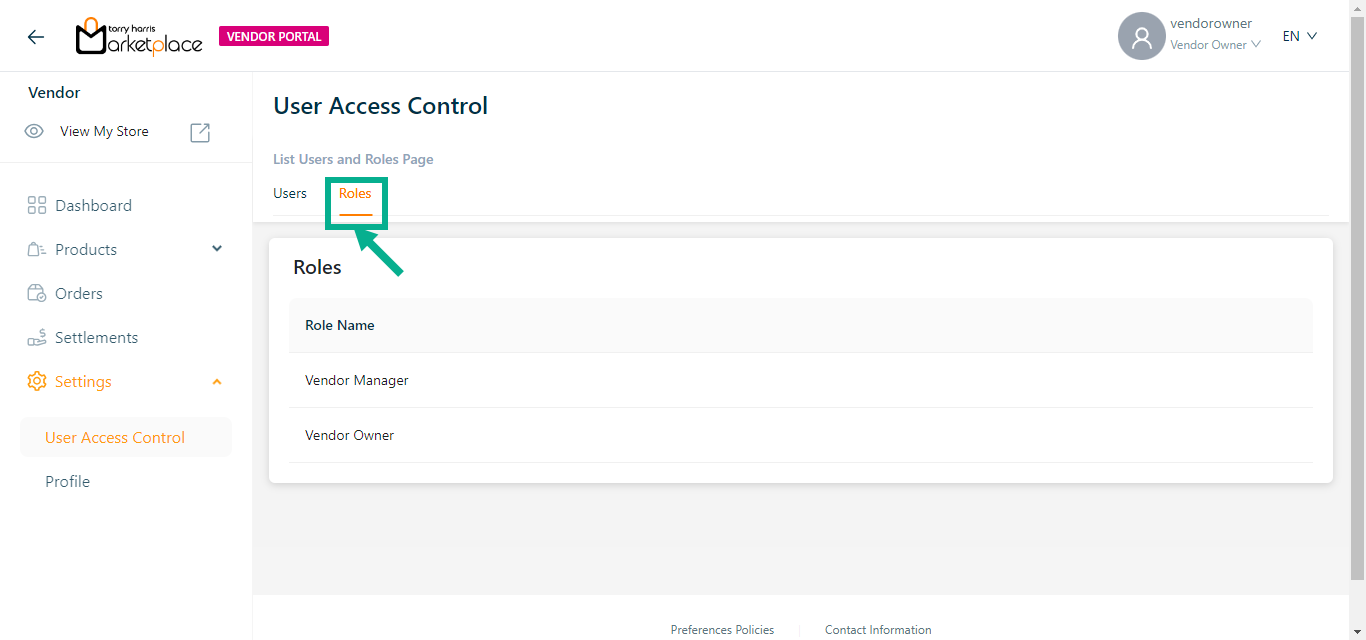
The Roles tab lists all the available roles.
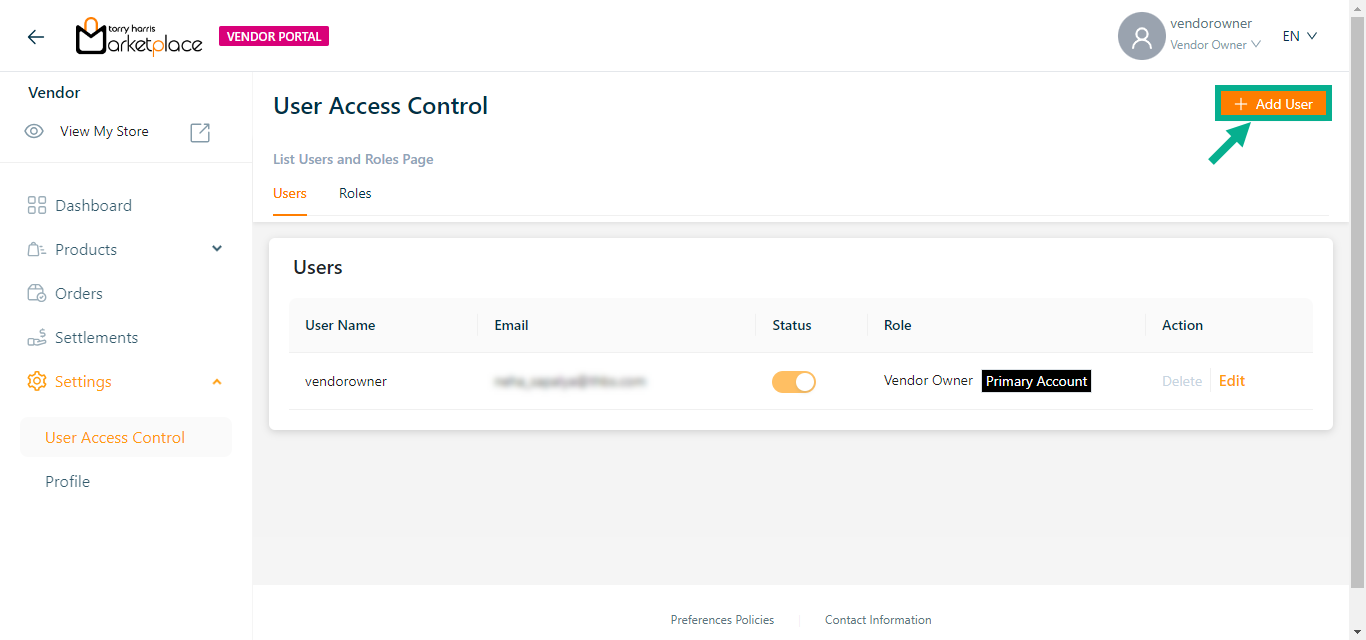
Adding a User
- Click Add User.
Add User screen appears as shown below.
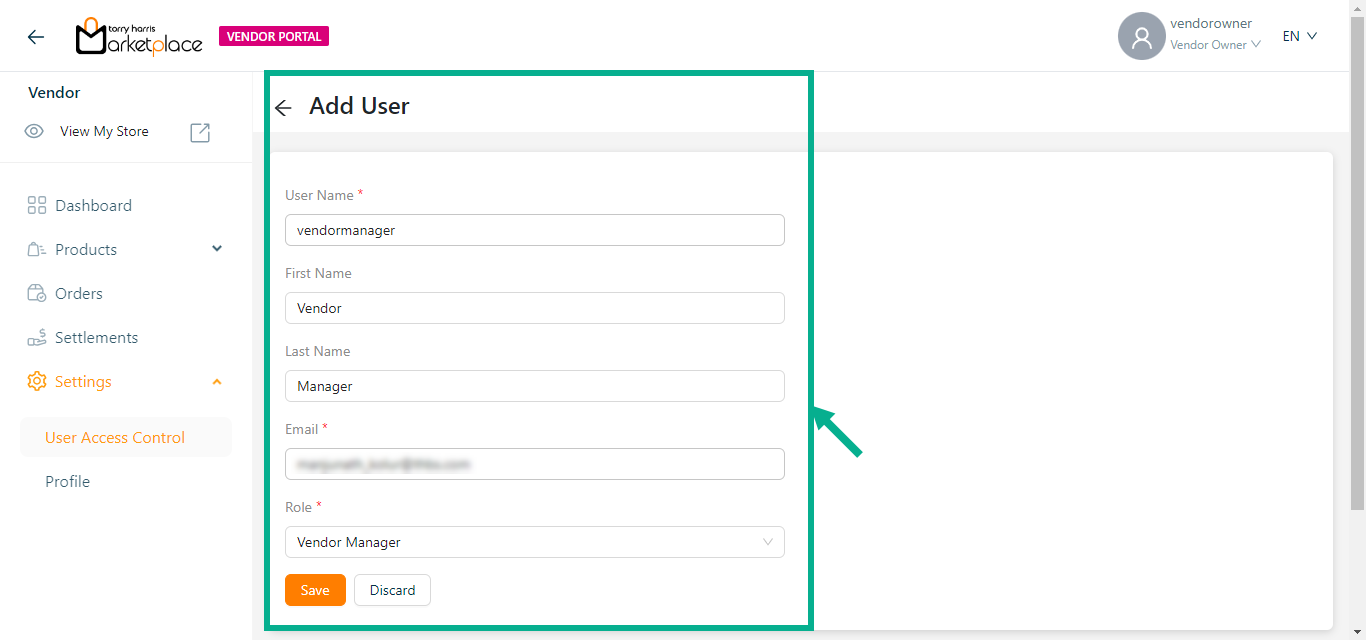
- Enter the User Name, First Name, Last Name and Email.
Password must contain at least 12 characters, one uppercase letter, one lowercase letter, one digit, and one special character.
From the drop-down menu, select the Role.
Click Save.
On saving, the confirmation message appears as shown below.

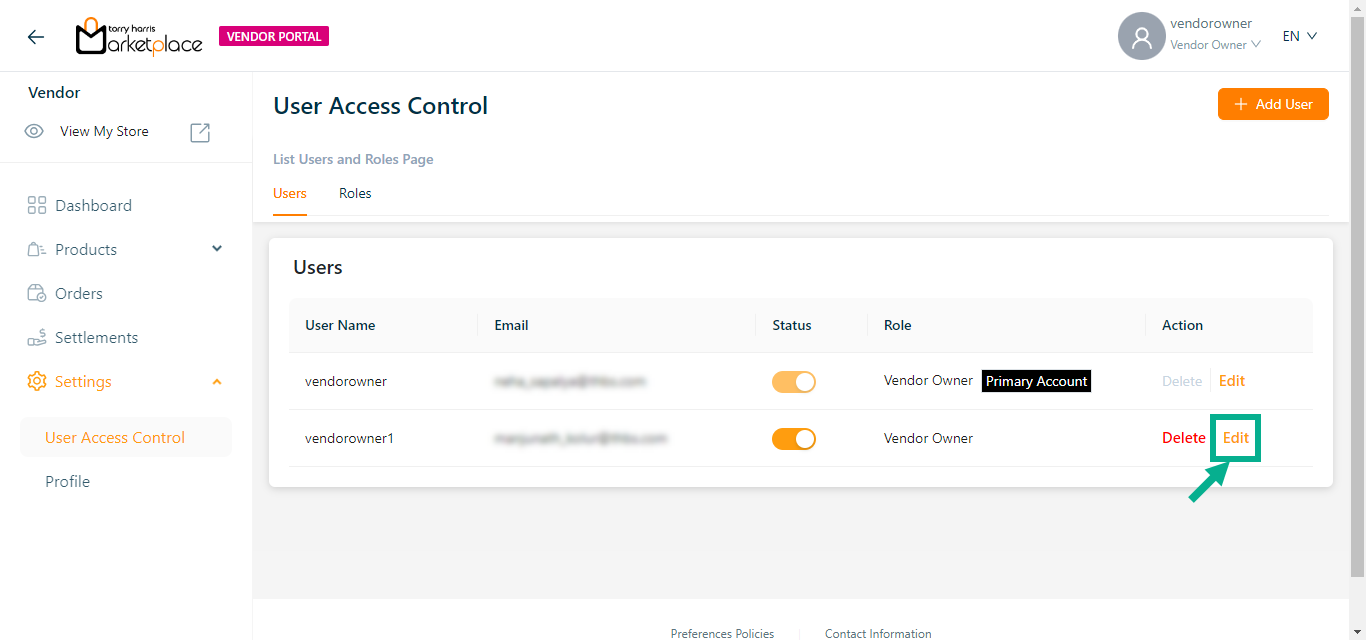
Editing a User
The User can't disable or delete him/her self.
Once created, the User Name and Password cannot be modified.
- Click Edit icon.
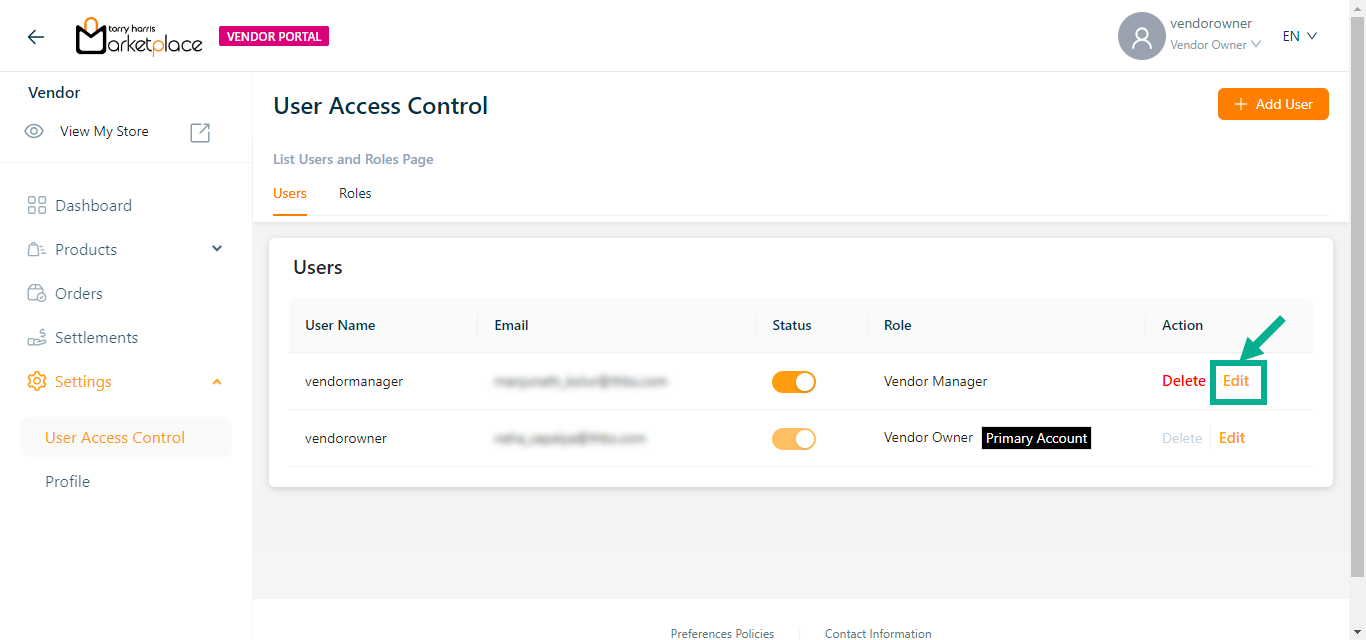
Edit user screen appears as shown below.
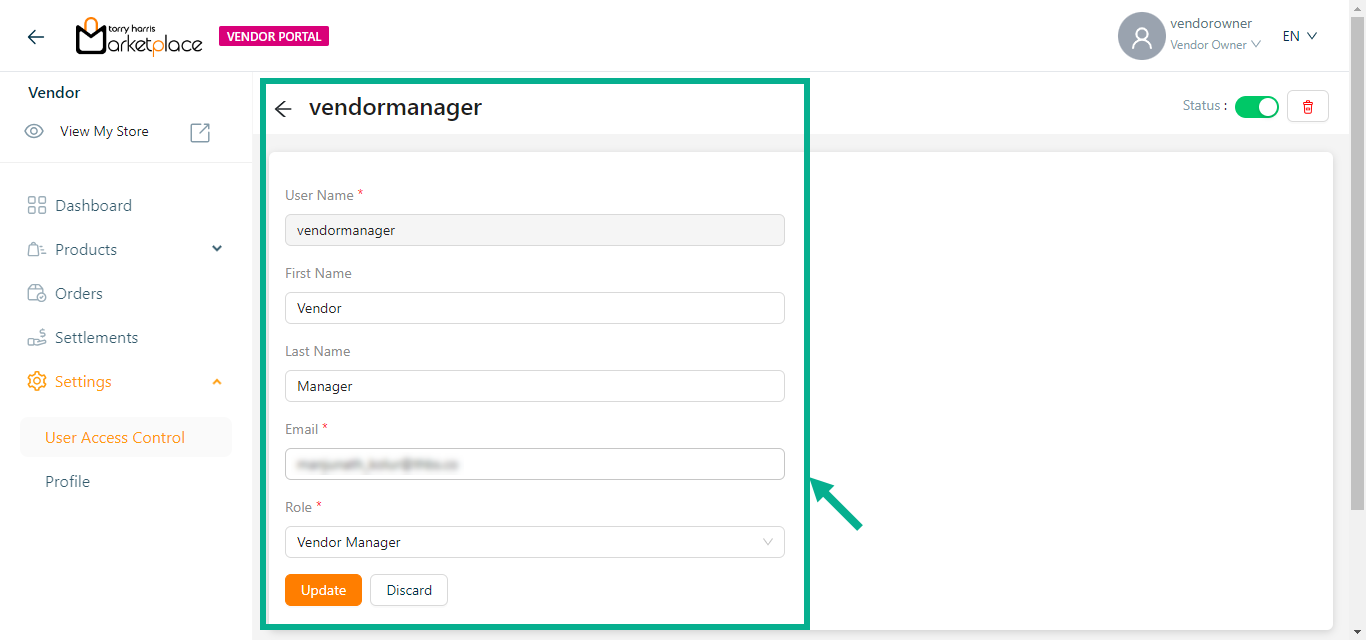
Edit the First Name, Last Name, Email and Role as per the requirement.
Click Update.
Upon updating, the confirmation message appears as shown below.

Disabling a User
The User can't disable or delete him/her self.
- Disable the Status toggle.
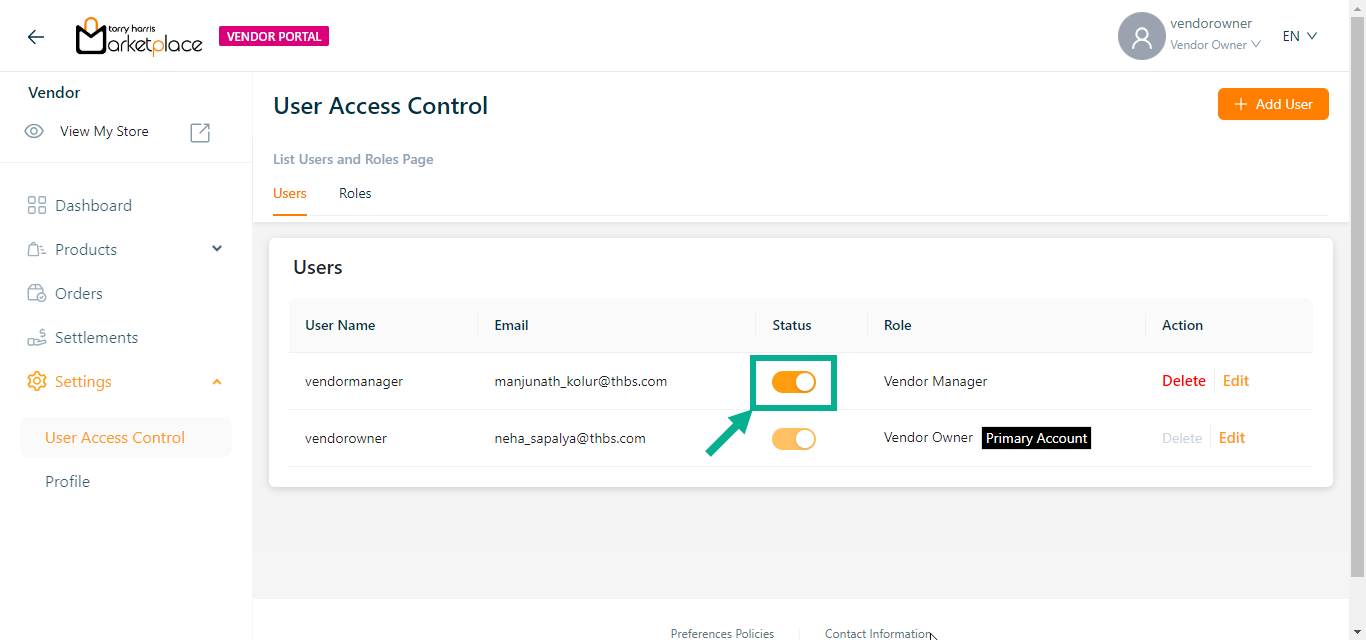
The dialogue box appears as shown below.
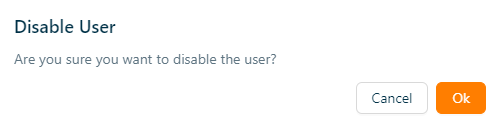
- Click Ok.
On disabling, the confirmation message appears as shown below.

Deleting a User
The User can't disable or delete him/her self.
- Click Delete icon.
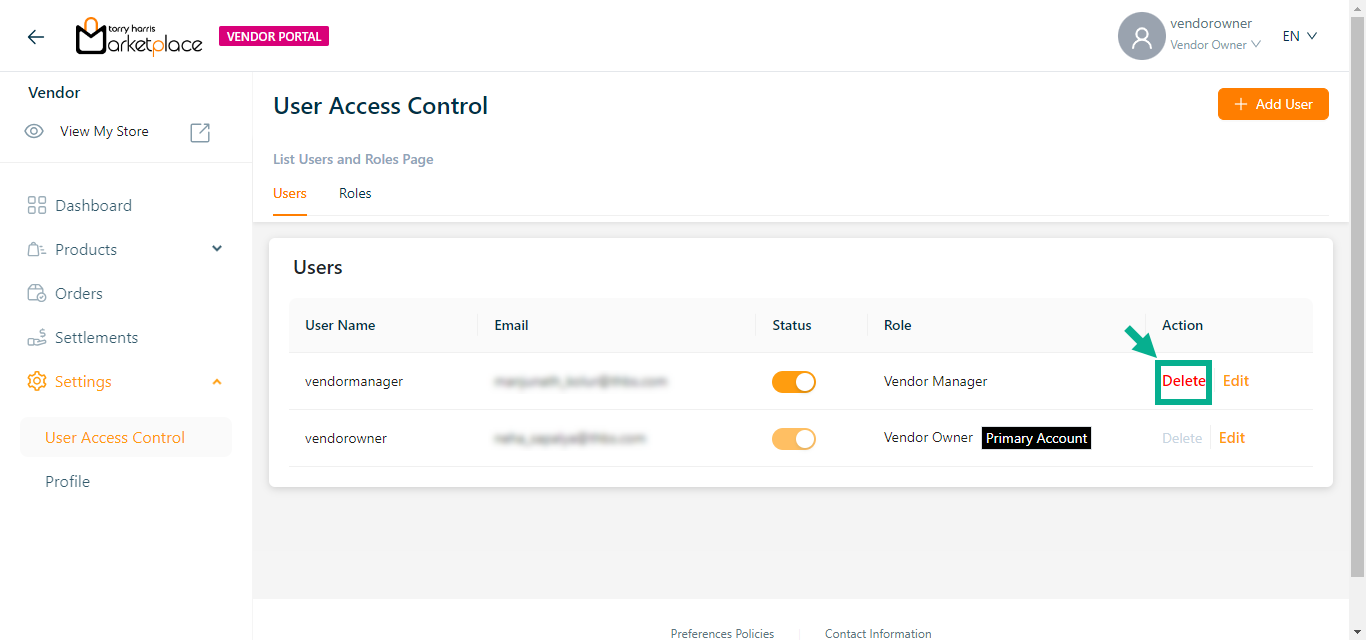
The dialogue box appears as shown below.
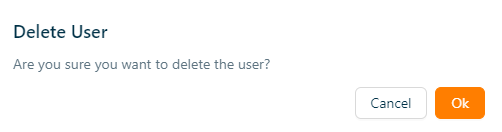
- Click Ok.
On deleting, the confirmation message appears as shown below.

Making another user a primary user by the primary user
Only a primary vendor owner can make another vendor owner a primary user and other vendor owner are unable to upgrade themselves or other users as primary user.
- Click Edit.
The screen appears as shown below.
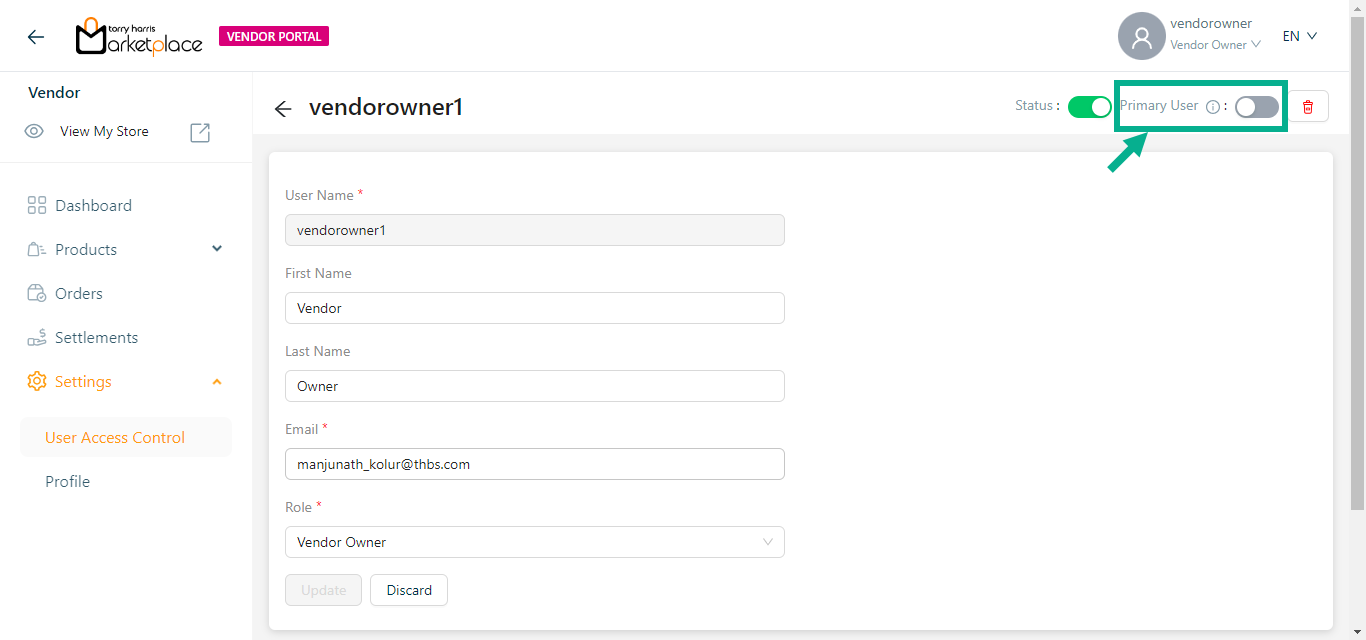
- Enable the Primary User toggle.
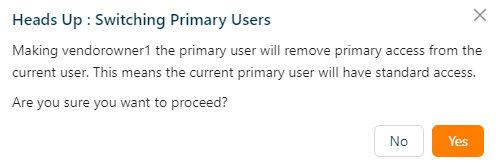
- Click Yes.
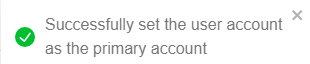
On proceeding, the confirmation message appears as shown below.
Log in as a new user
Upon user creation, an email is sent to the registered email id including the URL, Username, and Temporary password.
Use any basic web browser client (such as Google Chrome, Firefox, or any other browser) to access the Vendor Portal.
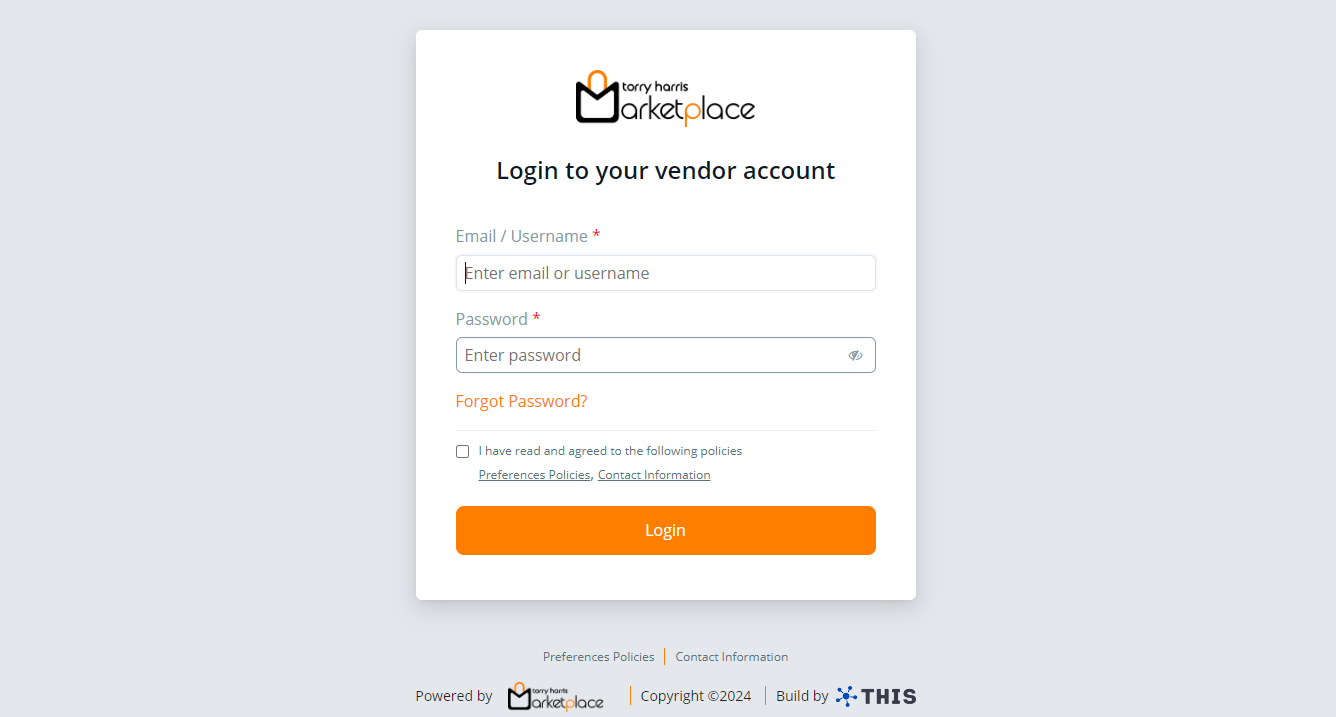
Enter the Email / Username.
Enter the temporary password shared vai mail in the Password section.
The User Consent checkbox appears only when the User Consent explicit toggle is enabled in the Store Management Portal.
- Enable the User Consent checkbox, if available.
- Click Login.
The screen appears as shown below.

- Enter the New password and Confirm password.
Password must contain minimum of 12 characters and include at least one uppercase letter, one lowercase letter, one number, and one special character.
- Click Reset.
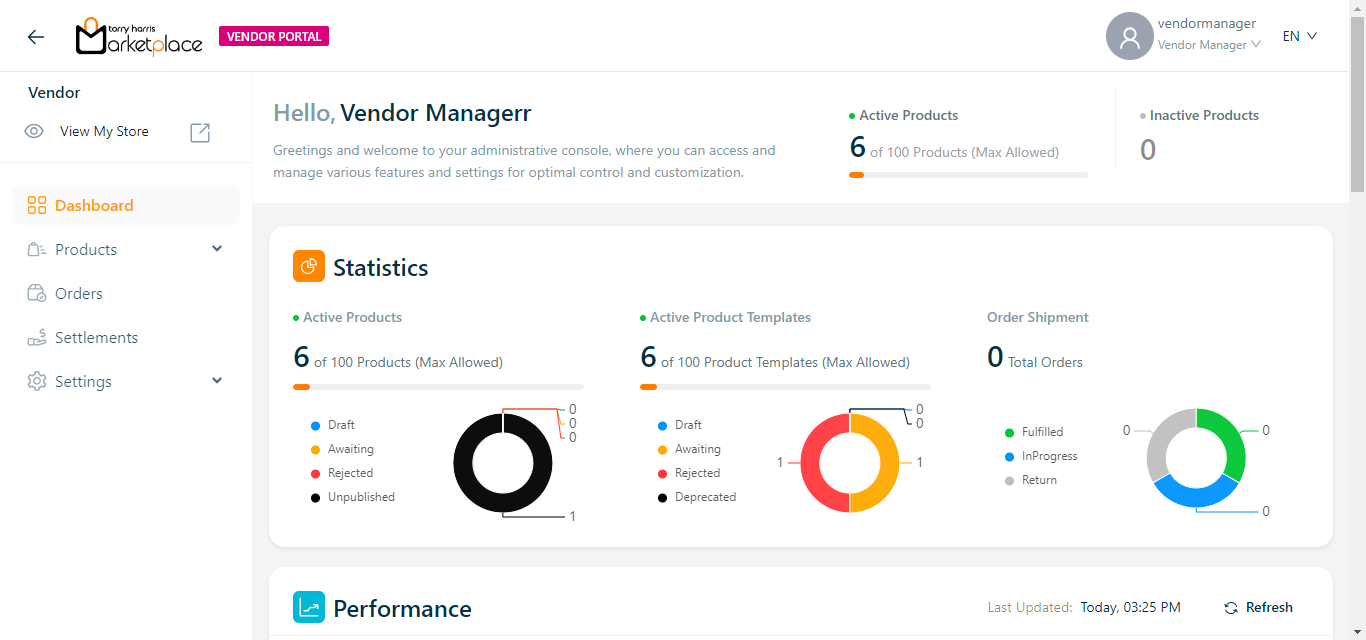
Upon loging in, the Dashboard screen appears as shown below.